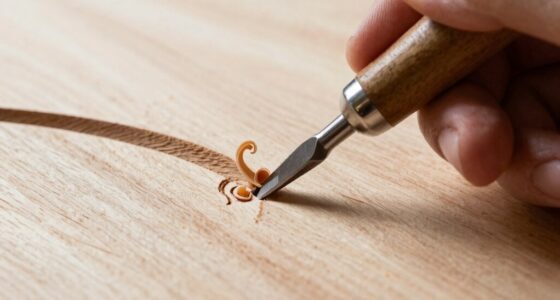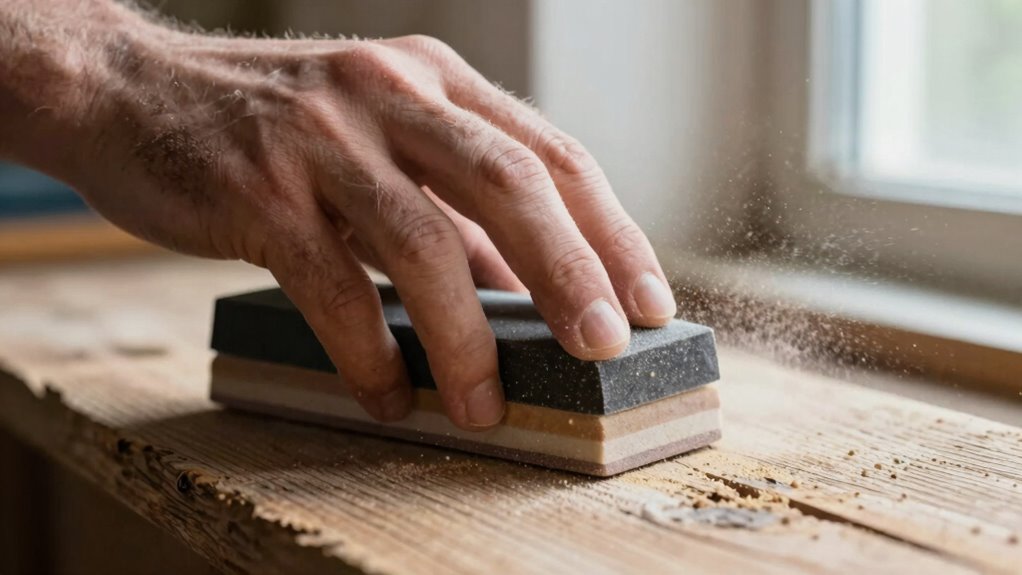
When you apply water or liquids during finishing, moisture causes the wood fibers to swell and stand up, a process called grain raising. This makes the surface feel rough and feel like sanding is never-ending because you keep exposing more fibers with each pass. To get a smooth finish, you need to control this swelling by proper surface prep. Keep exploring, and you’ll discover how to minimize grain raising for a flawless project.

Get business pricing on tools and workshop supplies
- Business-only prices and quantity discounts
- Tax-exempt purchasing
- Multiple users, one account, clear invoices
Key Takeaways
- Grain raising occurs when moisture causes wood fibers to swell and stand up, creating a fuzzy surface.
- Sanding feels never-ending because raised fibers continually emerge after each sanding, especially if moisture isn’t properly managed.
- Applying water or finish can cause fibers to swell again, requiring multiple sanding passes.
- Proper surface prep, like dampening and light sanding, helps control grain raising and reduces the need for excessive sanding.
- Repeated sanding of raised fibers can lead to a very smooth surface, but it may seem endless without proper technique.
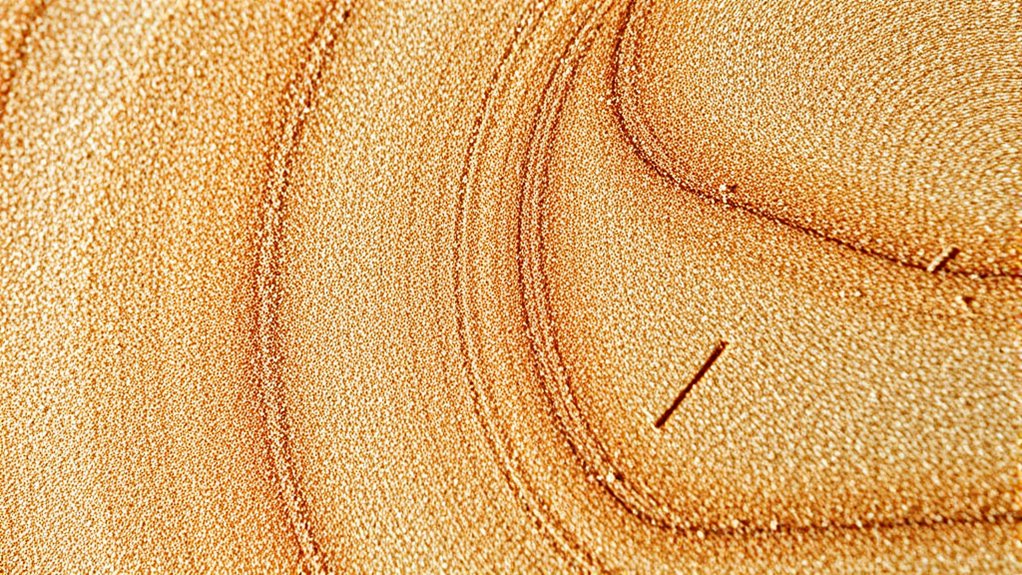
Have you ever wondered what grain raising is and why it’s important in woodworking? It’s a common step many DIYers and professionals overlook, but understanding it can dramatically improve your finished project. Grain raising happens when moisture, whether from water, glue, or finish, causes the wood fibers to swell and stand up. This swelling creates a rough, fuzzy surface that can ruin the smooth look you’re after. Recognizing this process is key to achieving a flawless wood finish, as proper surface preparation directly influences how well your final coat will adhere and look.
Grain raising causes rough, fuzzy surfaces that affect finishing quality and appearance.
When you apply water or other liquids to wood during projects, you’re unintentionally prompting the grain to rise. This is especially true when you’re staining or sealing wood, because these liquids penetrate the surface and cause uneven swelling of the fibers. The raised grain isn’t just a cosmetic issue; it affects how smoothly you can sand and finish the wood. If you skip addressing grain raising, you’ll find yourself fighting a rough, uneven surface that’s difficult to sand evenly, leading to a less professional appearance. That’s why careful surface preparation is vital before applying any finish. By anticipating grain raising, you can take steps to mitigate its effects, ensuring your wood surface remains smooth and ready for the final coat.
The process of controlling grain raising begins with proper surface preparation. Before you start applying your wood finish, you should perform a light sanding with fine-grit sandpaper. This step helps to smooth out any fibers that have raised and removes surface irregularities. After the initial sanding, it’s often helpful to dampen the surface slightly with a damp cloth or use a water-based conditioner, which causes the fibers to swell uniformly. Once the surface dries, you can sand again to remove any raised fibers, creating a perfectly smooth base. This method allows you to minimize the roughness caused by grain raising, so your finish will go on evenly and look polished.
Understanding grain raising also helps you choose the right finishing process. For instance, if you’re applying a clear wood finish like polyurethane or lacquer, addressing grain raising beforehand ensures the final coat adheres well and looks even. Skipping this step often results in a finish that highlights the roughness or fuzziness of the surface, defeating the purpose of a smooth, professional look. Additionally, selecting the appropriate sanding technique can further reduce the likelihood of grain raising and surface imperfections. In short, taking the time for surface preparation to control grain raising isn’t just about making sanding easier; it’s about setting the stage for a beautiful, durable wood finish. When you grasp this concept, you’ll find that what seems like a never-ending sanding process actually becomes a straightforward step toward achieving a sleek, refined result in your woodworking projects.
As an affiliate, we earn on qualifying purchases.
Frequently Asked Questions
Can Grain Raising Damage the Wood?
Yes, grain raising can cause surface damage if you’re not careful, especially with excessive moisture or rough techniques. It leads to wood swelling, which can create uneven surfaces or rough patches. When you sand too aggressively or don’t let the wood dry properly, you risk damaging the surface further. To avoid this, gently raise the grain, allow the wood to dry thoroughly, and sand lightly to maintain a smooth, undamaged finish.
How Long Does Grain Raising Typically Last?
You’ll find that grain raising typically lasts until the wood dries completely, which can take anywhere from a few hours to a day, depending on wood moisture. As you sand using proper techniques, the raised fibers settle, revealing a smooth surface. Keep in mind, patience is key—waiting for the wood to fully dry guarantees that the grain raising subsides, making your sanding more effective and your finish flawless.
Is Grain Raising More Common With Certain Wood Types?
You’ll notice grain raising more with softwoods like pine or cedar because their wood surfaces tend to absorb moisture easily during sanding. Hardwoods like oak or maple usually resist grain raising better, especially if you use proper sanding techniques. To minimize it, use fine-grit sandpaper and keep your pressure gentle. This helps keep the wood surface smooth and reduces the need for multiple sanding rounds, speeding up your project.
Can I Prevent Grain Raising During Sanding?
Oh, sure, you can totally prevent grain raising—if only it were that simple. The trick is to use proper sanding techniques and apply a wood conditioner before finishing. Sand with the grain and avoid overly aggressive grit. A wood conditioner helps tame the fibers, reducing swelling and raising. While you can’t eliminate grain raising entirely, these steps minimize it, making your project smoother and less frustrating.
Does Grain Raising Affect Wood Finishing Quality?
Yes, grain raising effects can negatively impact your wood finishing quality. When the grain lifts during sanding, it creates a rough surface that’s harder to achieve a smooth, polished finish. This roughness can cause uneven stain absorption and visible imperfections. To improve your finishing surface quality, you should sand lightly after the grain raises, remove the lifted fibers, and guarantee your surface remains smooth, enhancing the final appearance of your project.
As an affiliate, we earn on qualifying purchases.
Conclusion
Now that you understand grain raising, you can see how it’s like a ripple in a pond—lasting longer than expected. Patience is your best tool, as sanding reveals more layers beneath the surface, each requiring gentle attention. Embrace the process, knowing each pass gets you closer to that smooth finish you’re after. With time and care, you’ll tame the wood’s wild side and turn it into a masterpiece that’s worth the wait.
As an affiliate, we earn on qualifying purchases.
sanding block for wood finishing
As an affiliate, we earn on qualifying purchases.
As an affiliate, we earn on qualifying purchases.
Halloween Picks
halloween
As an affiliate, we earn on qualifying purchases.