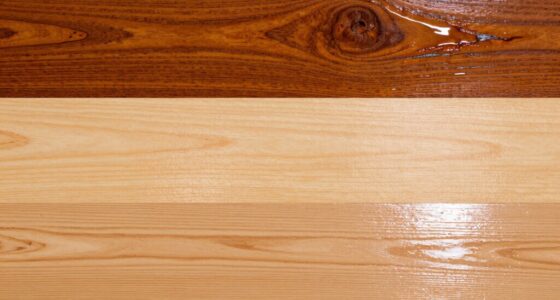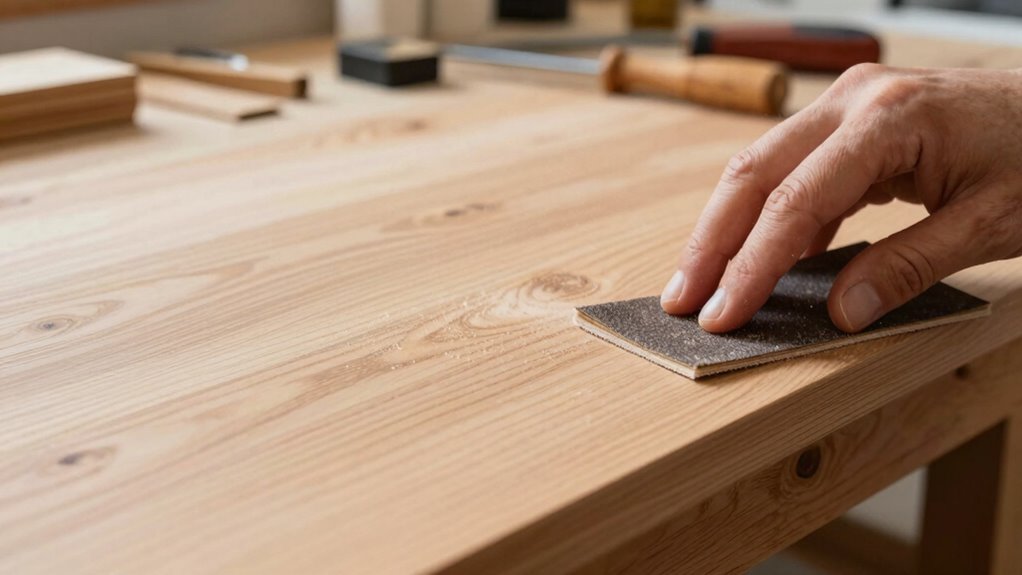

To prevent softening your design while sanding, use gentle pressure and work with the grain, especially on textured surfaces. Start with a coarse grit to remove roughness, then move to finer grits gradually, avoiding aggressive strokes that flatten details. Focus on only the areas that need smoothing, and use light, controlled motions to preserve intricate patterns. If you want to maintain vintage charm, mastering these techniques will help you protect your design—there’s more to discover on how to perfect your approach.

Get business pricing on tools and workshop supplies
- Business-only prices and quantity discounts
- Tax-exempt purchasing
- Multiple users, one account, clear invoices
Key Takeaways
- Use gentle, controlled strokes to avoid removing or softening intricate details.
- Sand with the grain to preserve textured surface patterns.
- Start with a coarse grit and gradually move to finer grits for delicate refinement.
- Focus only on areas needing smoothing, avoiding unnecessary sanding over detailed zones.
- Regularly stop and assess to prevent over-sanding and maintain original design integrity.
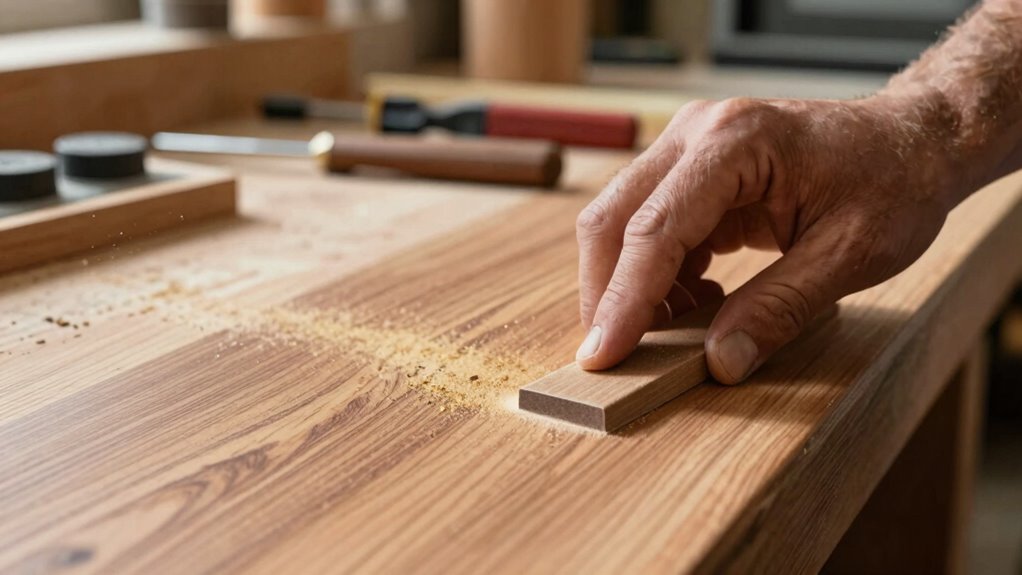
Sanding is a crucial step in achieving a smooth, professional finish, but it can sometimes soften or distort your design if not done carefully. When working on projects that feature vintage finishes or intricate surface textures, you need to be especially cautious. These details often rely on the depth and character created by your original design, and over-sanding can easily diminish that charm. To preserve the integrity of your vintage look, choose your sandpaper grit wisely—starting with a coarse grit to remove roughness and gradually moving to a finer grit for a gentle touch. This guarantees you smooth the surface without erasing or dulling the textured details that give your piece its unique character.
Carefully sand textured vintage finishes to preserve their unique character and avoid softening intricate details.
When working with surface textures, the key is to understand how much material you can safely remove without losing the texture’s definition. For instance, if your design has raised patterns or distressed elements, avoid aggressive sanding that might flatten or soften these features. Instead, lightly sand only the areas that need smoothing, using a gentle touch and controlled motions. This approach helps maintain the surface’s original texture while still achieving a polished finish. Remember, the goal isn’t to erase all imperfections but to refine the surface enough to enhance the vintage appeal without sacrificing the aged, textured look that makes your piece distinctive.
It’s also essential to pay attention to your sanding direction. Sand with the grain whenever possible, especially on wood or painted surfaces, to minimize the risk of softening edges or creating uneven surfaces. When working on detailed or textured surfaces, use small, controlled strokes to avoid removing too much material at once. If you notice areas starting to lose their character, stop sanding and reassess. Sometimes, a light touch with a fine abrasive or even a soft brush can help refine surface textures without overdoing it. Additionally, understanding surface integrity is vital to prevent unintentional damage that can compromise your finish. Proper technique and patience can help you avoid over-sanding, which is a common mistake that can ruin the look of your project.
Finally, consider the type of finish you want to achieve. If you’re aiming for a vintage look, subtle imperfections and soft edges often add charm, so don’t over-sand. Conversely, if you want a cleaner, more refined surface, a more thorough but still cautious approach is necessary. Always test your technique on a small, inconspicuous area first to see how your surface reacts. With patience and precision, you can preserve your design’s details and textures, maintaining the authentic vintage finish you desire without risking unnecessary softening or distortion.
As an affiliate, we earn on qualifying purchases.
Frequently Asked Questions
Can Different Sanding Tools Affect Design Preservation Differently?
Yes, different sanding tools can affect design preservation differently. Using the right tool guarantees you maintain your design’s details, while improper choices may soften or erase features. Always prioritize sanding safety by wearing protective gear, and keep your tools well-maintained to achieve precise results. A sharp, clean tool minimizes unnecessary abrasion, helping you preserve your design’s integrity. Select tools suited for delicate work, and regularly check and maintain them for ideal performance.
How Does Sanding Pressure Impact Design Softness?
Applying too much sanding pressure can soften your design by altering the surface texture and disrupting the initial detail. When you press hard, you risk removing too much material, which leads to inconsistent sanding and a loss of precision. To preserve the design’s sharpness, you should use gentle, consistent pressure. This maintains the surface texture and guarantees even sanding, helping your design stay crisp and well-defined without becoming soft or blurry.
Are There Specific Finishes That Resist Softening After Sanding?
Yes, certain finishes resist softening after sanding. You should consider robust finishing options like polyurethane, varnish, or epoxy, which provide a durable, protective surface. Surface sealing options create a firm shield, safeguarding your design from further softening or damage. Applying these finishes guarantees your work retains its crisp, clean lines and lasting luster, helping your design stay sharp and stunning, even after sanding.
What Are Quick Fixes if Sanding Softens the Design Unexpectedly?
If sanding softens your design unexpectedly, you can quickly restore surface texture by applying a fresh layer of finish or stain that matches your original look. Use gentle, controlled sanding techniques to refine the area without over-softening. Sometimes, lightly re-sanding with fine grit and reapplying finish helps restore the desired texture. Always test on a hidden spot first to prevent further softening, ensuring your design stays crisp and well-defined.
Does the Type of Material Influence Sanding Techniques?
Yes, the type of material greatly influences your sanding techniques because different material textures require specific approaches for ideal results. For example, softer woods need gentle, fine-grit sanding, while harder surfaces might need coarser grit and more pressure. Proper surface preparation ensures the material responds well to sanding, preventing softening or damage. Always consider your material’s unique properties to choose the right tools and techniques, preserving your design’s integrity.
As an affiliate, we earn on qualifying purchases.
Conclusion
By following these sanding tips, you can maintain the sharpness and detail of your design while still achieving a smooth finish. Remember, a well-executed sanding process prevents your design from softening and losing its crispness. Did you know that properly sanded surfaces can increase the durability of your project by up to 30%? So, take your time, stay precise, and you’ll be amazed at how professional your finished piece looks—without sacrificing those fine details.
As an affiliate, we earn on qualifying purchases.
As an affiliate, we earn on qualifying purchases.
Halloween Picks
halloween
As an affiliate, we earn on qualifying purchases.