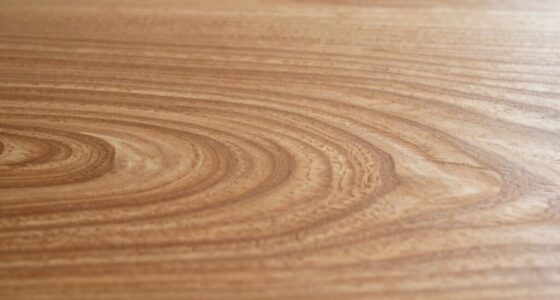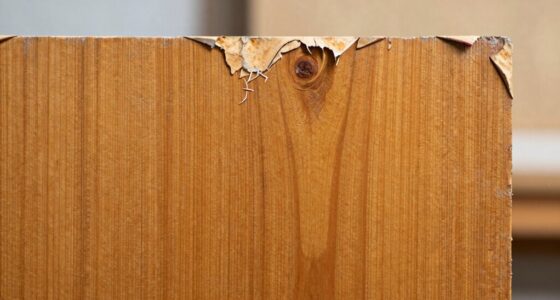
To avoid patchy stain absorption on handmade pieces, start by thoroughly cleaning and sanding the surface to create an even texture. Use a pre-stain conditioner or wood primer on softer or uneven areas to help control absorption. Apply the stain in thin, even coats, working with the grain, and avoid over-brushing. Allow each coat to dry completely, and test on scrap first to adjust techniques if needed. If you want to learn more, keep exploring the steps to perfect your finish.

Get tools and workshop supplies delivered free — and shop member deals
- Fast, free delivery on millions of items
- Access to Prime Big Deal Days deals on October 6–7
- Prime Video, Amazon Music and more included
Key Takeaways
- Thoroughly sand and clean the surface to ensure smooth, even absorption.
- Use a pre-stain conditioner or wood primer on soft or uneven woods.
- Apply stain in thin, even coats, working with the wood grain for uniform coverage.
- Test stain on scrap or hidden area to adjust application and prevent patchiness.
- Allow each coat to dry completely before applying additional layers for consistent color.
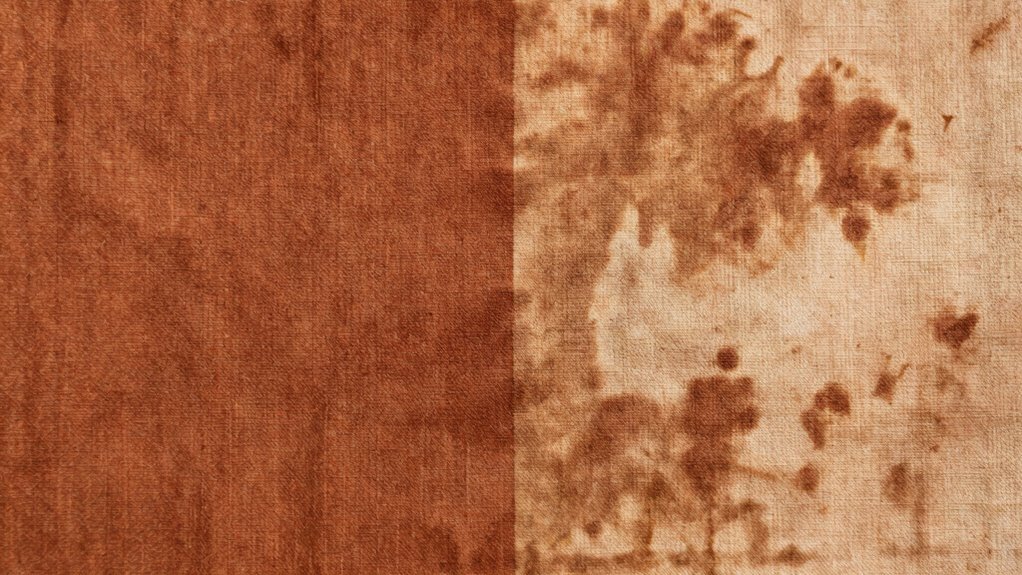
Handmade pieces often showcase unique craftsmanship, but they can be tricky to stain evenly, leading to patchy absorption that ruins their appearance. To achieve a smooth, consistent finish, you need to pay close attention to color consistency and surface preparation. These two factors are key to ensuring your stain application looks professional and uniform across the entire piece.
Handmade items require careful prep and color control for a flawless, even stain finish.
First, focus on surface preparation. Before applying any stain, you must thoroughly clean and sand the surface. Dirt, oils, or old finishes can interfere with how the stain penetrates, resulting in uneven color. Use a gentle cleaner to remove dust and grease, then sand the surface with fine-grit paper to create a smooth, even texture. This step helps the stain absorb uniformly, preventing blotches or streaks. Make sure to wipe away all sanding dust with a tack cloth or damp rag before staining. The cleaner and smoother the surface, the better the stain will adhere evenly, giving you a consistent color throughout. Additionally, understanding the porosity of the material can help you anticipate how the stain will behave, allowing for better control during application. Recognizing the grain pattern of the wood is also important, as it can affect how the stain interacts with the surface. Also, applying a sealant or barrier can further improve control over stain absorption, especially on highly porous or uneven surfaces.
Next, consider color consistency. When working on handmade pieces, especially those with varying wood grains or porous textures, you want to control how the stain interacts with the material. Use a high-quality, pre-stain conditioner or wood primer if necessary, especially on soft or uneven woods. Applying this primer helps seal the surface slightly and reduces the wood’s natural absorbency, minimizing the risk of patchy spots. Always test your stain on a hidden area or scrap piece to see how it reacts. This allows you to adjust your technique—whether that’s diluting the stain with water or choosing a different product—to achieve a uniform hue. When applying the stain, do so evenly and in thin coats, working with the wood grain, and avoid over-brushing or leaving excess stain in one spot. Multiple light coats tend to give you better control over the final color, ensuring it’s consistent and harmonious.
Finally, remember that patience makes a difference. Allow each coat to dry fully before applying the next, and don’t rush the process. If you notice uneven spots after drying, lightly sand and reapply stain as needed. By focusing on surface preparation and maintaining color consistency throughout, you greatly reduce the chances of patchy absorption. The effort you put into preparing and testing will pay off, leaving you with a beautifully finished handmade piece that highlights its craftsmanship without distracting flaws.
wood stain pre-stain conditioner
As an affiliate, we earn on qualifying purchases.
As an affiliate, we earn on qualifying purchases.
Frequently Asked Questions
Can Specific Types of Wood Prevent Patchy Stain Absorption?
Yes, choosing specific types of wood can help prevent patchy stain absorption. Woods with a tight, even wood grain, like maple or cherry, absorb stain more uniformly, ensuring better stain consistency. Avoid woods with uneven grain or open pores, such as oak or pine, which tend to absorb stain unevenly, leading to patchy results. Selecting the right wood type and preparing it properly helps achieve a smooth, consistent finish.
How Does Humidity Affect Stain Absorption in Handmade Pieces?
Humidity plays a vital role in stain absorption because high moisture levels can lead to uneven color, making your handmade piece look patchy. When humidity is low, the wood dries faster and absorbs stain more evenly, ensuring better color consistency. To maintain moisture control, work in a controlled environment, use a dehumidifier if needed, and allow your wood to acclimate. This way, you get a smoother, more uniform finish.
Are There Natural Alternatives to Chemical Stains for Better Absorption?
You can use natural dye options like indigo, madder, or turmeric as eco-friendly stains that often offer better absorption. These natural alternatives tend to penetrate fibers more evenly, reducing patchiness. Plus, they’re safer for the environment and your skin. To enhance absorption, prepare your fabric with proper mordants like alum or iron, which help natural dyes bind better and result in more consistent, vibrant colors on your handmade pieces.
What Tools Are Best for Even Stain Application on Handmade Items?
You should use soft, flat brushes or sponges for even stain application, ensuring better color consistency. These tools help you control the application technique, preventing patchy areas and uneven absorption. For larger areas, consider using a spray bottle or airbrush to distribute stain uniformly. Always practice on scrap material first to refine your technique, ensuring your handmade piece achieves smooth, consistent color without patches or streaks.
How Long Should I Wait Between Stain Coats for Optimal Results?
You should wait about 15-30 minutes between stain coats to guarantee ideal results. Before applying the next coat, check that your wood preparation is thorough and that the stain consistency remains even. Allow the first coat to dry completely, which helps prevent patchy absorption. Patience is key; rushing can lead to uneven coloring. Always test on a small area first to gauge how the stain reacts.
fine grit sanding paper for woodworking
As an affiliate, we earn on qualifying purchases.
As an affiliate, we earn on qualifying purchases.
Conclusion
Remember, a stitch in time saves nine. By preparing your handmade piece with a proper base and testing your stain first, you set yourself up for success. Avoid patchiness by applying stains evenly and patiently, letting each layer dry completely. With careful attention and patience, your work will achieve a beautiful, consistent finish. Don’t rush the process—trust the craft, and your masterpiece will shine without unwanted streaks or patches.
As an affiliate, we earn on qualifying purchases.
wood sealant for porous surfaces
As an affiliate, we earn on qualifying purchases.
As an affiliate, we earn on qualifying purchases.
Halloween Picks
halloween
As an affiliate, we earn on qualifying purchases.