
Even with perfect joinery, your wood projects can still look amateur if you don’t focus on proper finishing. Skipping or rushing the preparation, sanding, and cleaning stages leaves the surface uneven and dull. Applying finishes unevenly or in thick coats can cause streaks and imperfections. Attention to detail in sanding, cleaning, and applying the right finish makes your project look professional. Keep exploring to discover how mastering these finishing techniques will elevate your craftsmanship even further.
Key Takeaways
- Poor surface preparation leads to uneven finishes, making the project appear amateur despite good joinery.
- Insufficient cleaning and residue removal can cause adhesion issues, resulting in dull or uneven surfaces.
- Applying thick coats or rushing finish application creates a less professional appearance.
- Skipping proper sanding between coats leaves surface imperfections visible through the finish.
- Neglecting environmental factors can cause uneven drying or finish defects, diminishing overall project quality.

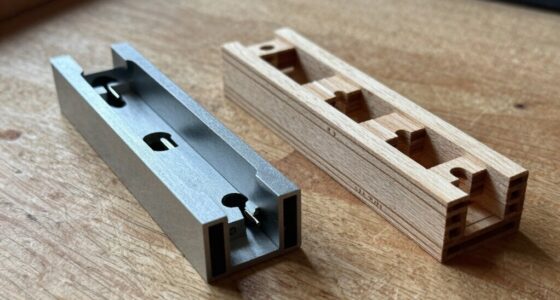
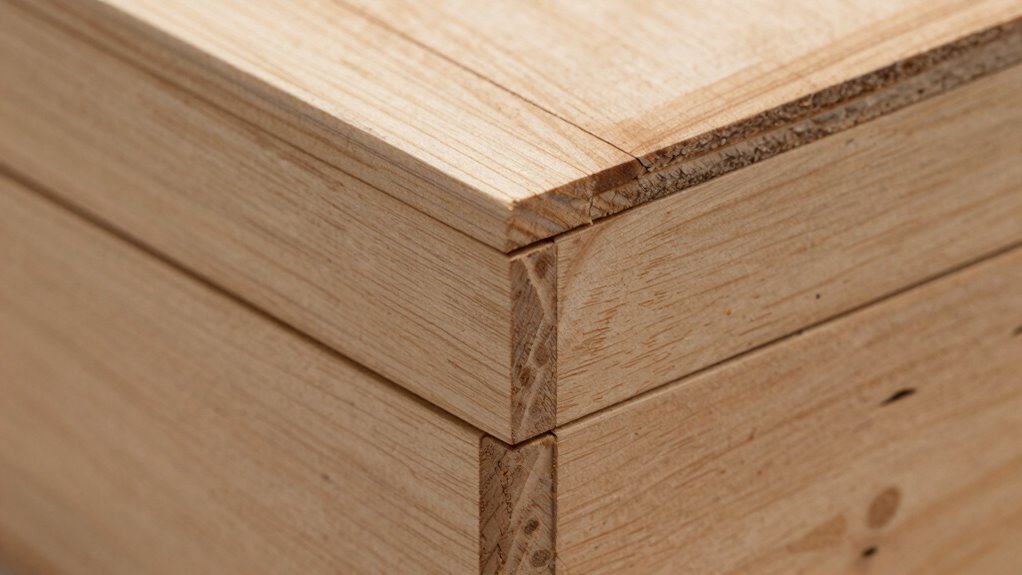
Even when your joinery is precise and well-executed, your wood projects can still appear amateurish if the finishing touches are overlooked. The final appearance hinges heavily on how you handle finishing techniques and surface preparation. No matter how perfect your joints are, a sloppy finish or rough surface can undermine the entire project’s professional look. That’s why paying attention to these details is vital.
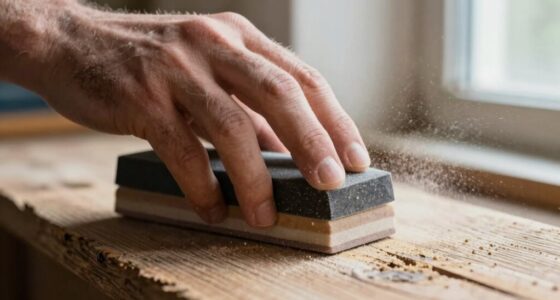
First, you need to understand that surface preparation is the foundation of a great finish. Sanding is your best friend here. You should start with coarse-grit sandpaper to remove any rough spots or machining marks, then progress to finer grits for a smooth surface. Skipping or rushing this step leaves behind imperfections that will show through your stain or paint. Take your time and guarantee every surface is evenly sanded and free of dust or debris before moving on. A clean, smooth surface allows your finish to adhere better and look more uniform. Additionally, proper surface preparation includes removing oils or residues that can affect adhesion. Ensuring proper surface preparation techniques can significantly improve the final result.
Surface preparation, especially thorough sanding, is essential for a smooth, professional-looking finish.
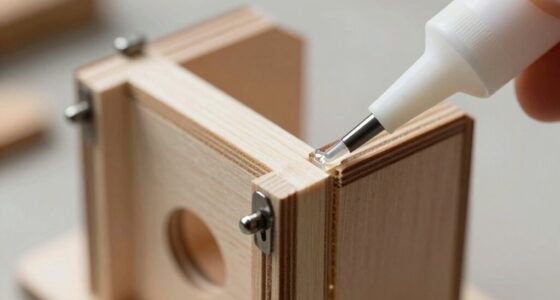
When it comes to finishing techniques, the goal is to enhance the natural beauty of the wood while protecting it. Applying a finish is not just about choosing the right product but also about applying it correctly. Use a clean brush or cloth, and work in long, even strokes to avoid streaks or uneven layers. Multiple thin coats are preferable over a single thick one, as they dry more evenly and reduce the risk of drips or runs. Sand lightly between coats with a very fine grit sandpaper, which smooths out any imperfections and helps the next layer bond better. Patience here pays off—rushing through the finishing process results in a dull, uneven surface that looks unprofessional.
Another vital aspect is understanding the type of finish that suits your project—whether it’s oil, polyurethane, shellac, or stain—and applying it under appropriate conditions. Temperature and humidity can affect drying times and the final look, so follow the manufacturer’s instructions carefully. Remember, a well-applied finish should highlight the wood’s grain and color, not hide imperfections or create a blotchy appearance. Mastering the finishing process ensures your project looks polished and professional, rather than amateurish.
In the end, your project’s professional look depends on how meticulously you prepare the surface and execute your finishing techniques. These steps may seem small, but they make a significant impact. When you pay attention to surface preparation and apply your finish carefully, your project will look polished and refined, elevating it beyond amateurish craftsmanship. It’s these finishing touches that truly make your work stand out and reflect your skill and dedication.
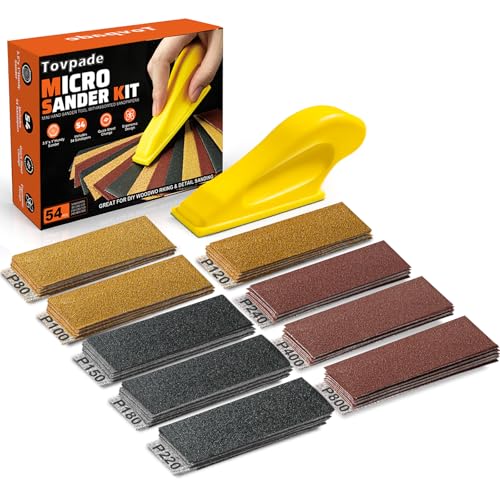
TOVPADE 54PCS Premium Micro Sander, Detail & Mini Sander Block – Precision Small Hand Sanding Tool, 80–800 Grit Sandpaper Kit, 3-in-1 Set for Wood, Crafts, Furniture, Tight Spaces & DIY Projects
All-in-One Sanding Kit for Every Detail: Includes a compact sanding block and 54 sandpapers in 9 grit types…
As an affiliate, we earn on qualifying purchases.
As an affiliate, we earn on qualifying purchases.
Frequently Asked Questions
How Can I Improve the Overall Finish of My Wood Projects?
To improve your wood project’s finish, focus on grain alignment and color consistency. Sand your wood smoothly, following the grain, to create an even surface. Apply stain or finish evenly, ensuring consistent color, and wipe away excess. Use quality materials, and consider pre-staining wood to prevent blotchiness. Regularly inspect your work, refine your technique, and practice patience—these steps will elevate your project’s professional appearance.
What Are Common Mistakes That Make Projects Look Amateur?
Think of your project as a painting; misaligned grain and inconsistent color are like mismatched colors that break the harmony. Common mistakes include neglecting grain alignment, causing wood to look chaotic, and overlooking color consistency, which makes the piece appear uneven. You might also rush finishing, leaving brush strokes or blotches. Paying attention to grain direction and ensuring even staining or finishing can turn your work from amateurish to professional.
How Important Is Sanding and Surface Preparation?
Sanding and surface preparation are essential because they directly impact the project’s grain alignment and surface smoothness. If you skip or rush this step, your wood will look rough and unrefined, making even perfect joinery appear amateurish. Take your time to sand thoroughly, gradually using finer grits, and guarantee the surface is smooth. This attention to detail elevates the overall quality, giving your project a professional finish.
Which Finishing Techniques Enhance the Professional Look?
Clear coats and wood staining elevate your project’s look, transforming amateur pieces into professional ones. Applying a fine stain enhances the wood’s natural grain, adding depth and richness. Follow with a smooth, even clear coat to protect the surface and give a polished finish. These techniques, when executed with precision, create a sleek, sophisticated appearance that highlights craftsmanship, making your project stand out as refined and expertly finished.
How Does Lighting Affect the Perception of My Wood Work?
Lighting dramatically influences how your woodworking projects are perceived. When you use natural shadows, they add depth and dimension, making your work look more refined. Proper lighting also highlights the wood’s grain and craftsmanship, enhancing its overall appearance. By focusing on highlight enhancement with well-placed light, you can emphasize the details that make your project look professional, elevating even simple designs to a polished, sophisticated level.

Total 56 PCS Hand Sanding Block Set- 16 PCS Contoured Profile Sander Block + 40 Sheet Sandpaper Kit – Interchangeable Assorted Convex & Concave Shapes for Moldings,Woodworking, Auto Paint and Crafts
Versatile sanding set: Featuring 16 pieces of assorted shape sanding blocks,and 40 Sheet Hook & Loop Sandpaper(5 Sheets…
As an affiliate, we earn on qualifying purchases.
As an affiliate, we earn on qualifying purchases.
Conclusion
Imagine running your hand over a piece of wood, feeling the smooth, flawless joinery, yet somehow sensing it’s missing that polished, professional glow. It’s like a perfectly baked cake that looks beautiful but lacks that irresistible aroma—something’s just a little off. To elevate your project from good to great, focus not just on the joints but on the final touch—sanding, finishing, and attention to detail—that transforms your work into a true masterpiece.
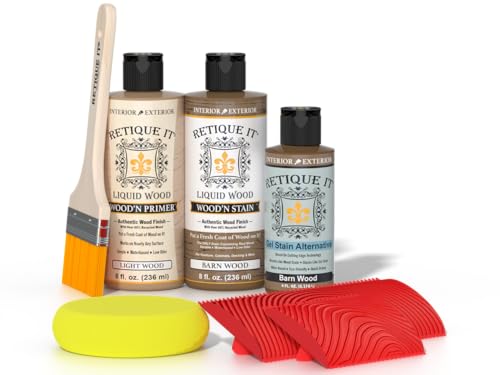
Retique It Muli-Purpose Wood Finish Kit – GO Beyond Faux Wood with Paintable Liquid Wood Based Primer and Gel Stain – Graining Tools Included (2X 8oz, Barn Wood)
AUTHENTIC WOOD FINISH – Go Beyond Faux with our patented liquid wood technology. It looks and feels like…
As an affiliate, we earn on qualifying purchases.
As an affiliate, we earn on qualifying purchases.

Mister Rui Chalk Wax Paint Brush, 3pcs, Chalk Paint Brushes for Furniture
Mister Rui Chalk Wax Paint Brush: Includes 3 different sizes wax paint brushes, with 1 pointed wax brush,…
As an affiliate, we earn on qualifying purchases.
As an affiliate, we earn on qualifying purchases.