
Creating dedicated zones in your craft room helps you work faster and more efficiently. By organizing areas for sewing, painting, paper crafting, and storage, you reduce time spent searching for supplies and minimize clutter. Keep frequently used tools close to your work surfaces for quicker access. A well-thought-out layout supports your workflow and keeps everything in its place. Keep exploring to discover how to design the perfect craft room layout that saves you time and sparks creativity.
Key Takeaways
- Designate specific zones for activities like sewing, painting, and paper crafts to streamline workflow.
- Position frequently used supplies near workstations to reduce search time and increase efficiency.
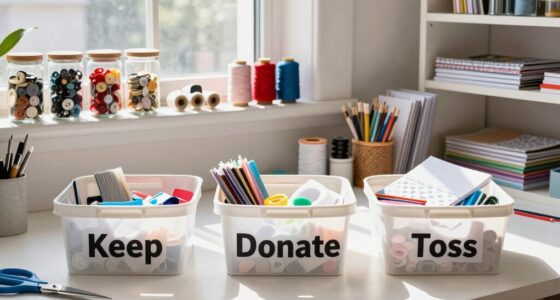
- Use clear storage bins and labeled containers within each zone for quick item identification.
- Arrange the layout to minimize movement between zones, supporting a smooth project flow.
- Regularly reassess and adapt zones to accommodate growing collections and evolving craft needs.
Creating designated zones in your craft room can boost your creativity and keep your supplies organized. When you set up specific areas for different activities, you streamline your workflow and reduce the time spent searching for tools or materials. The key to achieving this efficiency lies in choosing the right storage solutions and organizational systems. By thoughtfully designing each zone, you create a space that encourages productivity and minimizes clutter, making your craft sessions more enjoyable and less frustrating.
Designate zones in your craft space to boost creativity, stay organized, and enjoy clutter-free crafting sessions.
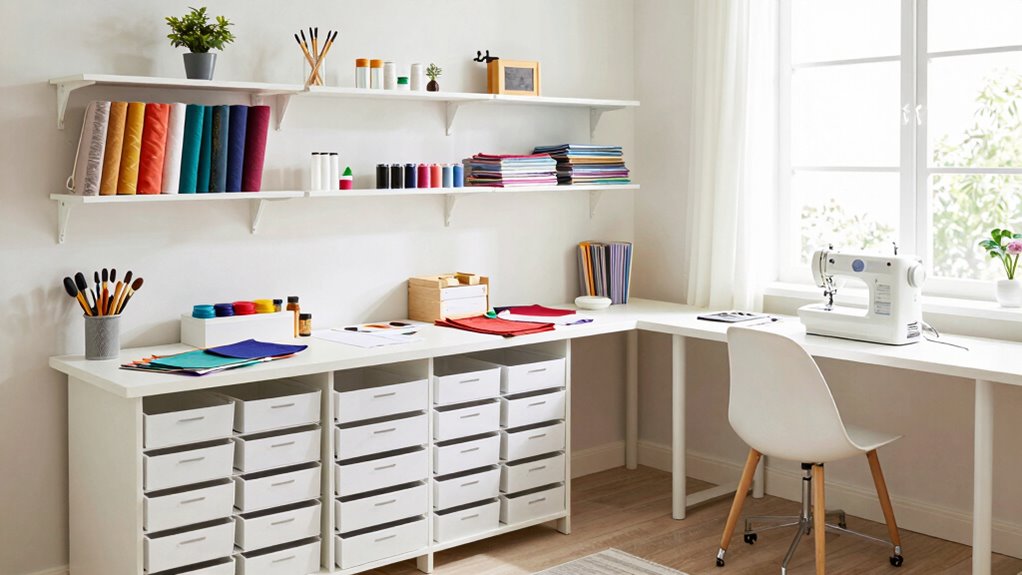
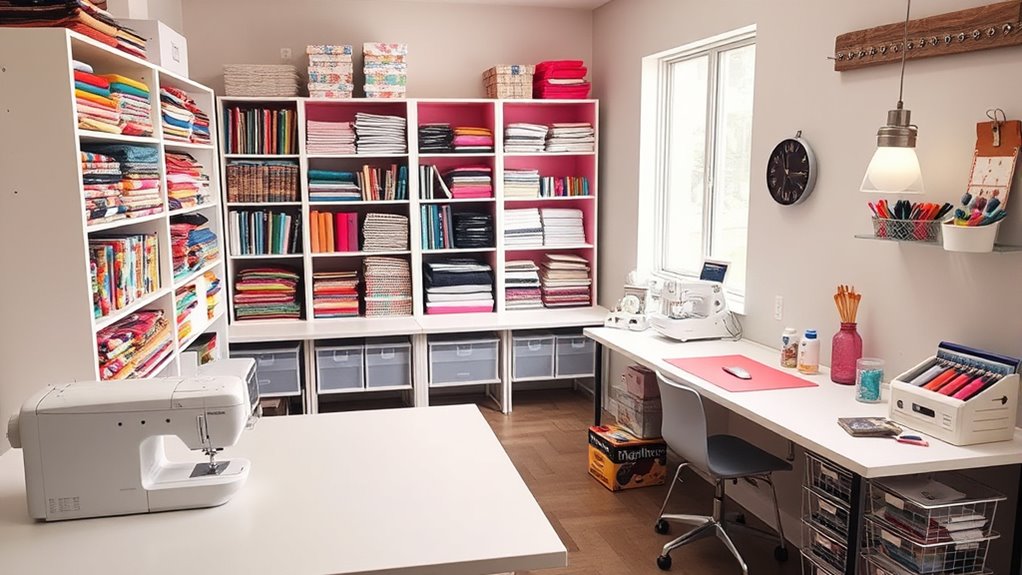
Start by identifying the main functions you perform in your craft room. For example, you might have a sewing area, a painting corner, a paper crafting station, and a general supplies zone. Once you’ve pinpointed these zones, invest in storage solutions that suit each purpose. Use clear plastic bins or stackable drawers for small items like beads, buttons, and embellishments. Incorporate wall-mounted shelves or pegboards for quick access to frequently used tools such as scissors, glue guns, or paintbrushes. Labeling containers and shelves helps you locate items instantly, saving you time and effort during your projects.
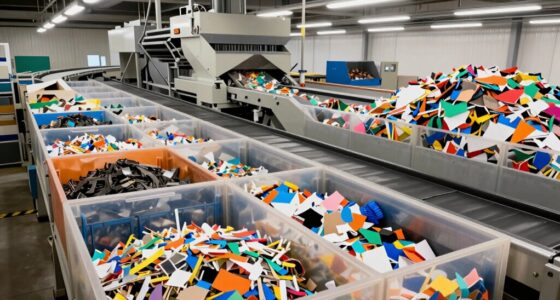
Organizational systems play a crucial role in maintaining these zones. Consider installing adjustable shelving to accommodate different supplies as your collection grows. Use drawer dividers or small containers within larger storage units to further categorize items, preventing clutter from piling up. If you work with paper or fabric, designate specific drawers or bins for different colors or types, so you always know where to find what you need. Keeping your supplies within arm’s reach within each zone minimizes interruptions and keeps your creative momentum flowing.
In addition to storage solutions, layout plays a vital role in your craft room’s efficiency. Position your most-used supplies near your work surface, so you don’t have to constantly get up and walk across the room. Create a dedicated space for your cutting mat, sewing machine, or painting station, and keep everything related to that activity nearby. This setup reduces the need to shuffle around and allows you to focus solely on your craft.
Maintaining these zones is just as important as creating them. Regularly reassess your organizational systems and storage solutions to ensure they still meet your needs. As your crafting skills develop or your collection grows, adapt your layout accordingly. When your craft room is well-organized with clear zones and smart storage options, you’ll find yourself spending less time hunting for supplies and more time doing what you love—creating beautiful, meaningful projects.
A well-designed craft space also benefits from wave and wind considerations, such as ensuring proper ventilation and airflow, especially if you work with paints, adhesives, or other fumes.
clear plastic storage bins for craft supplies
As an affiliate, we earn on qualifying purchases.
As an affiliate, we earn on qualifying purchases.
Frequently Asked Questions
How Do I Customize Zones for Different Craft Hobbies?
To customize zones for different craft hobbies, start by creating a dedicated crafting zone for each hobby. Arrange tools, materials, and storage specific to each activity, ensuring easy access and organization. For example, a sewing zone might include a sewing machine and fabric, while a painting zone has brushes and paints. A hobby-specific setup allows you to switch seamlessly between crafts, saving time and boosting your creativity.
What Are the Best Storage Solutions for Each Zone?
You should use storage containers and shelving units tailored to each zone’s needs. For your sewing area, opt for clear, stackable containers to organize notions and fabrics, while sturdy shelving units keep supplies accessible. In your painting zone, use drawers or small bins for brushes and paints, and install wall-mounted shelves for frequently used tools. This setup keeps everything organized, saves space, and makes your craft time more efficient.
How Can I Optimize Lighting in My Craft Room?
Maximize your craft room’s lighting by combining natural light and task lighting. Position your workstations near windows to leverage natural light, which reduces eye strain and brightens your space. Add adjustable task lights for focused illumination during detailed projects, ensuring even lighting across your workspace. Use daylight bulbs for a natural glow, and install dimmer switches to control brightness levels. This balanced approach enhances visibility, inspires creativity, and makes your craft room more inviting.
What Budget-Friendly Ways to Create Effective Zones?
To create effective zones on a budget, start with DIY decor like painted labels or washi tape to define each area. Use affordable storage solutions like plastic bins, repurposed jars, or open shelves for easy access and organization. Keep your workspace functional by clearly separating crafting, cutting, and storage zones, making your craft room more efficient without spending much. These simple DIY decor and budget organization tips transform your space affordably.
How Do I Maintain Organization Over Time?
To keep your craft room organized over time, stick to a consistent cleaning schedule and update your labeling system regularly. After each project, put supplies back in their designated zones and check for clutter. Use clear labels to identify storage areas, making it easier to maintain order. Setting aside a few minutes weekly guarantees your space stays tidy and functional, saving you time and frustration during your creative sessions.
labeling storage containers for craft room
As an affiliate, we earn on qualifying purchases.
As an affiliate, we earn on qualifying purchases.
Conclusion
By organizing your craft room into dedicated zones, you’re building a well-oiled machine that runs smoothly and efficiently. Think of it as creating a secret garden where every plant has its place, making your creative flow effortless. When each zone is clearly defined, you’ll spend less time searching and more time creating. So, embrace these zones and watch your crafting days become as enjoyable and stress-free as a peaceful stroll through your favorite garden.
wall-mounted pegboard for craft tools
As an affiliate, we earn on qualifying purchases.
As an affiliate, we earn on qualifying purchases.
stackable craft storage drawers
As an affiliate, we earn on qualifying purchases.
As an affiliate, we earn on qualifying purchases.