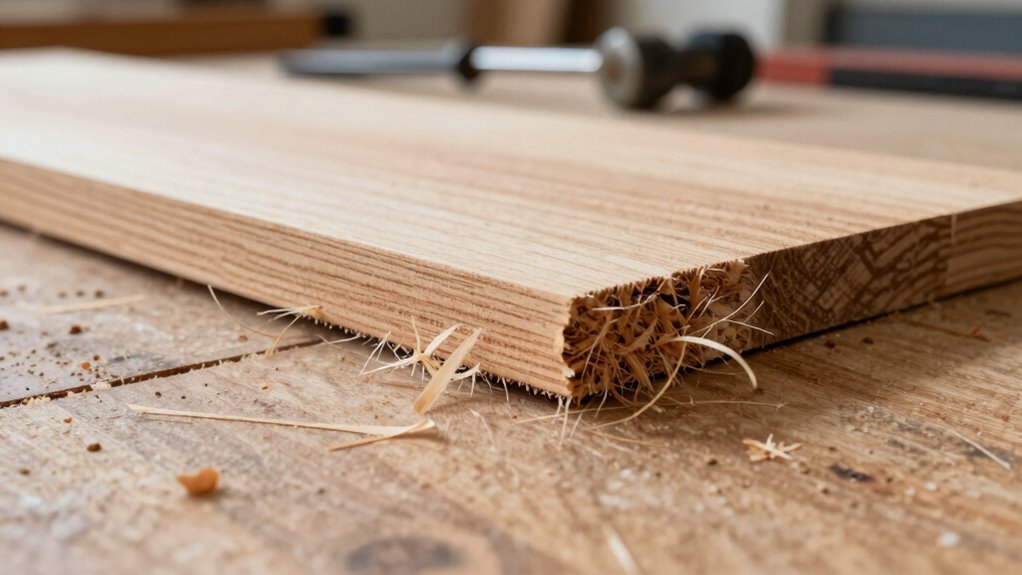
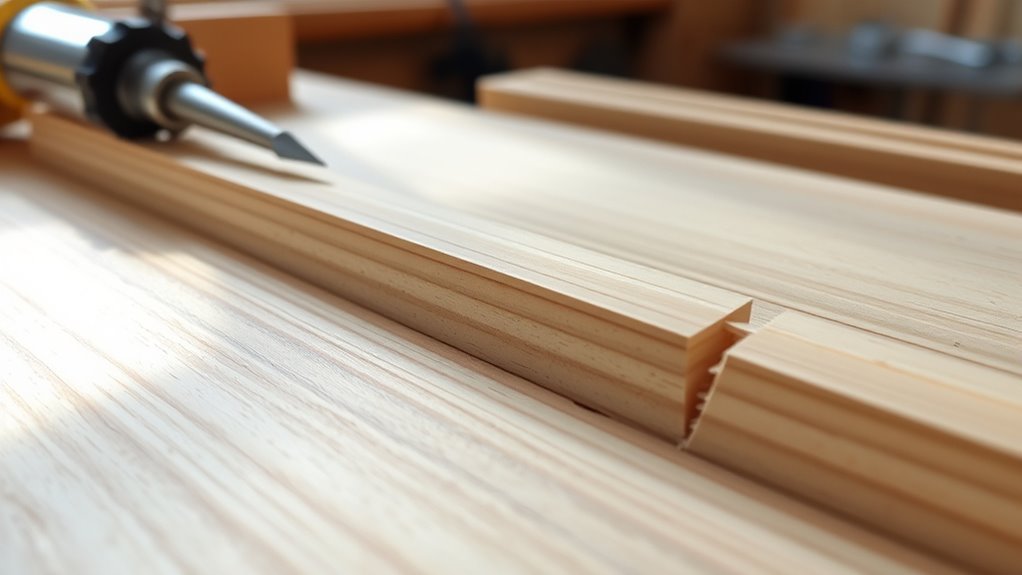
Tearout happens when your saw or router tears away rough fibers instead of cutting them cleanly, often caused by working against the grain, dull blades, or too-fast cuts. Hardwoods like oak and maple are especially prone to fuzzy surfaces. Using sharp tools, cutting with the grain, and making slow cuts can reduce tearout. If you keep these tips in mind, you’ll improve your cuts and achieve smoother results — you’ll discover how to fix and prevent tearout more effectively.
Key Takeaways
- Tearout occurs when wood fibers are torn instead of cleanly cut, often resulting in fuzzy-looking surfaces.
- Cutting against the grain increases the likelihood of tearout and fuzzy edges.
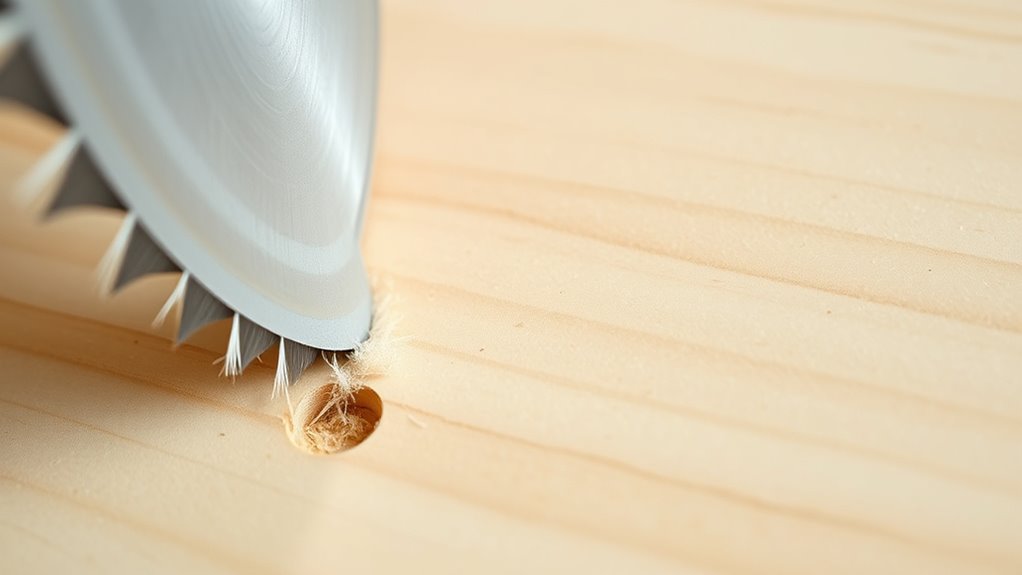
- Dull blades or bits tend to tear fibers rather than slice them cleanly, causing fuzzy cuts.
- Cutting at high speeds or making deep cuts can strain fibers and produce fuzzy, rough surfaces.
- Using sharp tools, cutting with the grain, and slow, controlled cuts help prevent fuzzy, tearout-prone edges.

20 Piece Jigsaw Blades Set, Assorted T-Shank Jig Saw Blades for Wood, Plastic & Metal Cutting(T118A, T118B, T101AO, T101B, T101BR, T144D, T111C, T111D, T244D, T127D)
【10-Type Blade Selection】This jig saw blade set includes 2x T101AO, 2x T101B, 2x T101BR for clean wood cuts,…
As an affiliate, we earn on qualifying purchases.
As an affiliate, we earn on qualifying purchases.
What Causes Tearout in Woodworking

Tearout in woodworking occurs when wood fibers are torn away instead of cleanly cut, often resulting in rough or splintered surfaces. One common cause is working against the grain direction; when you cut perpendicular to the grain, fibers are more likely to tear rather than cut cleanly. To reduce tearout, always pay attention to the grain direction and align your cut accordingly. Another factor is cutting speed: moving too quickly can cause the blade to grab and tear fibers, especially in hardwoods. Using a slower, consistent cutting speed helps the blade slice through fibers smoothly. Additionally, understanding the importance of cutting technology, such as choosing the right blade type, can significantly influence tearout prevention. By understanding how grain direction and cutting speed influence tearout, you can achieve cleaner, smoother cuts and improve your woodworking results.
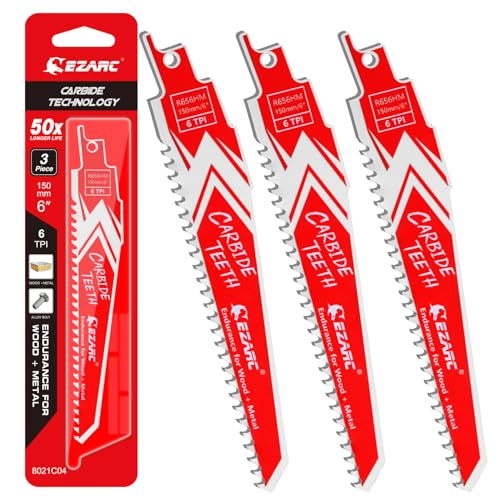
EZARC Carbide Reciprocating Saw Blades 6-Inch, Endurance Sabre Saw Blade Set for Hard Wood and Metal Demolition 6TPI, 3-Pack R656HM
[Carbide Technology] Up to 50x longer life than bi-metal reciprocating saw blades
As an affiliate, we earn on qualifying purchases.
As an affiliate, we earn on qualifying purchases.
Types of Wood Prone to Tearout

Hardwoods like oak, cherry, and maple are particularly prone to tearout because their dense fibers tend to split easily when cut against the grain. Their high wood density makes them especially vulnerable if your cut isn’t aligned with the grain direction. Softwoods such as pine and cedar generally resist tearout better, but they can still cause issues if cut improperly. The table below highlights how different wood types respond to tearout based on grain direction and density:
| Wood Type | Grain Direction | Density Level | Tearout Susceptibility |
|---|---|---|---|
| Oak | Against | High | Very prone |
| Pine | With | Low | Less prone |
| Maple | Against | High | Prone |
Knowing these traits helps you choose the right approach to minimize tearout.

Junreox 4PCS Flush Trim Route Bit 1/4 Shank, Premium Pattern Flush Cut Route Bit with Bearing to Prevent Tear-Out, Straight Cut Carbide Tipped Template Router Bit for Woodworking, Milling, Trimming
【Precise & Durable Performance】Junreox flush trim router bits are crafted with heat-treated tungsten steel blades for sharp, clean…
As an affiliate, we earn on qualifying purchases.
As an affiliate, we earn on qualifying purchases.
Tools and Techniques to Minimize Tearout
Using the right tools and techniques can considerably reduce tearout during woodworking projects. First, always pay attention to the grain direction; cutting parallel to the grain minimizes tearout, while cutting against it increases risk. Use sharp blades or bits, as dull tools tear the wood fibers instead of slicing cleanly. Adjust your cutting speed—slower speeds provide cleaner cuts and reduce tearout, especially on delicate or figured woods. When possible, make shallow passes rather than one deep cut, which lessens strain on the tool and reduces tearout. Additionally, consider using specialized blades designed for smooth cuts or applying masking tape along the cut line to help hold fibers in place. Proper luggage & bags selection and organization techniques can also help keep your workspace tidy and reduce accidental damage during cuts. These tools and techniques work together to produce cleaner, fuzz-free edges in your woodworking projects.

XFasten Double Sided Woodworking Tape 1 Inch x 108 Feet (3-Pack), Residue-Free, Removable Double Sided Woodworking Masking Tape for Wood Template, Mounting Boards MDF Edge Banding, Routing, Anchoring
Industrial-grade double sided woodworking tape specially calibrated for woodworking activities such as splicing, machine cutting, CNC routing, edge…
As an affiliate, we earn on qualifying purchases.
As an affiliate, we earn on qualifying purchases.
How to Repair Torn Wood Surfaces

When you notice torn or damaged wood surfaces, quick and careful repair can restore their appearance and strength. First, assess the tear and determine the grain orientation. If the tear runs with the grain, you can carefully sand or scrape the area to smooth out rough edges. For deeper damage, fill the tear with wood filler that matches the color, then sand it down once dry. Ensuring your blade sharpness is key when making any cuts or trims around the repair, as a dull blade can cause further tearout. When sanding, follow the grain direction to prevent additional damage. Using the appropriate tools and materials ensures a better repair and reduces the risk of infection or further damage. Additionally, checking your ventilation setup can help prevent future issues caused by moisture buildup. Proper sanding techniques can significantly improve the seamlessness of the repair and prevent additional tearout during finishing. Practicing technique consistency helps achieve a more professional-looking result. Incorporating moisture control into your woodworking environment is essential to avoid future tearout issues. With patience and proper technique, you can considerably improve the surface, making the repair blend seamlessly with the surrounding wood.
Preventative Measures for Cleaner Cuts
To achieve cleaner cuts and minimize tearout, you should start by preparing your tools properly. Ensure your saw blade is sharp, as a dull blade increases the risk of tearout and fuzzy edges. Regularly check and replace blades when they become dull. Pay close attention to grain direction; always cut with the grain whenever possible, as cutting against it can cause fibers to lift and tear out. Use a zero-clearance insert or a sacrificial fence to support the wood near the cut line, reducing splintering. Clamping your work securely also prevents vibrations that can worsen tearout. Making slow, controlled cuts allows the blade to cleanly slice through fibers. By sharpening your blades and understanding grain direction, you markedly improve cut quality and reduce tearout. Additionally, using proper techniques and tools—such as cutting guides—can further enhance your results.
Frequently Asked Questions
Can Tearout Occur With Hand Tools or Only Power Tools?
Tearout can happen with both hand tools and power tools if you’re not careful. When using hand tool techniques, you might still experience tearout if your blade or chisel isn’t sharp or if your cuts aren’t supported properly. To prevent tearout, focus on proper technique, support the wood, and use sharp tools. Good tearout prevention ensures cleaner cuts and reduces the need for extra sanding or finishing.
Does Wood Moisture Content Affect Tearout Risk?
Yes, wood moisture content considerably impacts tearout risk. When wood is too moist, its drying effects can cause internal stresses, making the fibers more prone to tearing during cuts. You should check moisture levels before working, especially with freshly cut or green wood. Proper drying reduces moisture impact and strengthens fibers, leading to cleaner cuts and less tearout. Always allow your wood to reach the ideal moisture content for your project.
Are Certain Woodworking Joints More Prone to Tearout?
Yes, certain woodworking joints are more prone to tearout. You’ll notice that joints like dados and dovetails can be especially vulnerable if your grain orientation isn’t ideal. When the grain runs perpendicular to the cut, tearout is more likely. To prevent this, always pay attention to grain direction and choose joint types that suit your wood’s grain, using sharp tools and proper techniques for cleaner, smoother cuts.
How Does Grain Direction Influence Tearout Severity?
Grain direction greatly determines tearout severity. When your cut direction opposes the grain orientation, you invite fuzzy, frayed fibers to form tearout. Conversely, cutting with the grain produces cleaner, smoother results. To prevent tearout, pay close attention to grain flow and align your cut direction accordingly. Properly understanding and respecting grain patterns helps you achieve flawless finishes and avoids frustrating fuzziness in your woodworking projects.
Can Specialized Blades Reduce Tearout in Delicate Woods?
Yes, specialized blades can lessen tearout in delicate woods. Look for blades with coatings like Teflon or carbide tips, which minimize friction and chipping. Adjust cutting angles to be more aggressive or beveled, helping to support the wood fibers. Using blades designed for fine cuts guarantees cleaner results, especially in fragile woods, by reducing tearout and creating smoother surfaces.
Conclusion
Understanding tearout is key to achieving smooth, professional-looking cuts. By choosing the right tools and techniques, you can substantially reduce tearout and improve your woodworking results. Remember, studies show that using sharp blades and proper blade direction can decrease tearout by up to 70%. So, next time you’re cutting, take those extra steps for cleaner edges—your projects will look better, and you’ll enjoy the process even more. Happy woodworking!