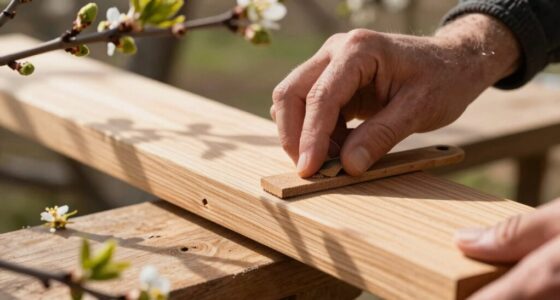
To sand wood without losing fine details, start with the right grit—medium to fine—and sand along the grain carefully. Use a sanding block or gentle hand motion for better control, avoiding excessive pressure that can erode intricate features. Switch to finer grits gradually for a smooth finish, and make certain your workspace is well-lit. Proper technique and patience help preserve delicate details, and exploring more tips will enhance your results further.
Key Takeaways
- Always sand along the wood grain to prevent scratches and preserve fine details.
- Start with medium grit and progress to finer grits for a smooth, detailed finish.
- Use consistent, gentle pressure to avoid removing intricate carvings or delicate features.
- Employ hand sanding for control over detail areas and power tools for larger, flat surfaces.
- Regularly check your work to ensure evenness and avoid over-sanding, which can erode details.

Romeda 8-Pack Sanding Sponge, Four Grits Per Pack 60/80/120/220, Washable and Reusable Handmade Sandpaper Block, Drywall Sandpaper Blocks for Wooden Drywall Sheetrock and Metal Glazing
【ASSORTED GRIT SANDING BLOCKS】 8 sand blocks, 4 sizes from coarse to ultra-fine sand, 60/80/120/220 grit, 2 blocks…
As an affiliate, we earn on qualifying purchases.
As an affiliate, we earn on qualifying purchases.
Understanding Different Types of Sandpaper and Grits

When choosing sandpaper for your woodworking project, understanding the different types and grit levels is essential. There are various types of sandpaper, such as aluminum oxide, silicon carbide, and garnet, each suited for specific tasks. Grit levels range from coarse (around 40-60) to very fine (up to 2000+). Coarse grits remove material quickly and are ideal for shaping or stripping, while finer grits smooth surfaces and prepare wood for finishing. Medium grits (80-120) serve as a bridge between rough and fine sanding. Knowing which grit level to use helps you avoid damaging your project or wasting time. Selecting the right type of sandpaper and grit level guarantees effective, efficient sanding without erasing the wood’s details. Understanding abrasive materials can help you choose the most durable and suitable sandpaper for your needs. Additionally, recognizing the different grit ranges ensures that you select the appropriate abrasive for each stage of your project.

Shineboc Sandpaper Assortment, Wet Dry Sand Paper 9 x 3.6 Inch
Multi-Stage Sandpaper Assortment: This Shineboc 9×3.6 inch sandpaper pack includes 21 sheets with 7 grits (120/220/400/600/800/1000/2000), 3 sheets…
As an affiliate, we earn on qualifying purchases.
As an affiliate, we earn on qualifying purchases.
Preparing Your Workspace and Tools for Effective Sanding

Before you start sanding, set up your workspace with everything organized and within reach. Gather your essential tools, like sandpaper, a sanding block, and safety gear, so you’re ready to work efficiently. Make sure your area is well-lit, allowing you to see your progress clearly and sand smoothly. Additionally, ensuring proper ventilation helps reduce dust exposure and keeps the workspace comfortable. To achieve the best results, understanding the contrast ratio of your project can help you select appropriate lighting conditions for inspecting your work. Proper lighting conditions are crucial for identifying fine details and achieving an even finish. Being aware of Gold IRA markets can also inform your investment decisions if you’re considering diversifying your assets during your project planning. Recognizing the importance of workspace setup can significantly impact the quality and ease of your sanding process.
Organize Your Workspace
To guarantee smooth and efficient sanding, you need to set up your workspace thoughtfully. Start with good workspace organization by clearing clutter and designating a dedicated area for your project. This helps you stay focused and prevents accidents. Next, prioritize dust containment by using a vacuum attachment on your sander or laying down a drop cloth to catch dust. Keep your workspace well-ventilated to reduce airborne particles and wear a dust mask for added protection. Proper organization makes tools easy to find and reduces the risk of damage or injury. Containing dust minimizes cleanup and keeps your work area safe and tidy. With a clean, organized setup, you’ll sand more effectively and preserve the fine details of your woodwork.
Gather Essential Tools
Gathering the right tools sets the foundation for effective sanding. Proper tool selection guarantees you can execute sanding techniques smoothly and avoid damaging your wood. Start with a good selection of sandpapers in various grits, from coarse to fine, to progressively refine your surface. Choose a comfortable sanding block or a power sander for larger projects, but keep hand sanding in mind for detailed areas. Keep a vacuum or brush nearby to clear dust and maintain visibility. Have safety gear like masks and goggles ready to protect yourself from dust particles. Ensuring your tools are clean and in good condition helps achieve a smooth finish. Well-prepared tools and materials streamline your workflow and allow you to focus on detailed sanding, preventing unnecessary mistakes. Incorporating proper technique into your sanding process can significantly improve your results and protect your workpiece. Additionally, understanding Free Floating can help you maintain consistent pressure and motion during sanding for optimal results.
Ensure Proper Lighting
Good lighting is essential for spotting imperfections and ensuring even sanding. Without proper lighting, you might overlook scratches, rough spots, or uneven surfaces that can ruin your finish. Make sure your workspace is well-lit, ideally with natural light or bright, adjustable LEDs that eliminate shadows. Proper lighting helps you see the wood’s surface clearly and assess your progress accurately. Additionally, organizing your workspace enhances efficiency; keep your tools within reach and free of clutter. A clean, well-lit area allows you to focus solely on sanding, reducing mistakes and saving time. Remember, good lighting isn’t just about brightness—it’s about visibility and contrast. proper lighting is also crucial for maintaining safety while handling sanding tools. Well-organized workspace and adequate illumination are key to achieving smooth, professional results. Incorporating adequate lighting can also help prevent eye strain during extended sanding sessions. Ensuring your workspace has the right lighting conditions can greatly improve your overall sanding experience and quality. Paying attention to lighting quality can make a significant difference in your ability to detect subtle surface flaws.

TOVPADE 54PCS Premium Micro Sander, Detail & Mini Sander Block – Precision Small Hand Sanding Tool, 80–800 Grit Sandpaper Kit, 3-in-1 Set for Wood, Crafts, Furniture, Tight Spaces & DIY Projects
All-in-One Sanding Kit for Every Detail: Includes a compact sanding block and 54 sandpapers in 9 grit types…
As an affiliate, we earn on qualifying purchases.
As an affiliate, we earn on qualifying purchases.
Identifying When and Why to Sand Your Wood Project
Knowing when and why to sand your wood project is essential for achieving a smooth, professional finish. Sanding helps reveal beautiful grain patterns and smooths out imperfections, but timing is key. You should sand after cutting or shaping to remove rough spots and before applying finishes for a flawless look. Different wood types respond uniquely: softer woods may need gentle sanding to avoid scars, while hardwoods require more careful attention to preserve details. Use the table below to guide your decision-making: proper sanding techniques.
| When to Sand | Why to Sand |
|---|---|
| After shaping or cutting | To smooth rough edges and prepare for finishing |
| Before staining or sealing | To enhance grain patterns and ensure even application |

3M Xtract Portable Dust Extractor, 64256, 9 Gallon/35 Liter, Industrial Vacuum with Automatic Filter Clean Without Flow Stoppage, HEPA Filter, Compatibility with Pneumatic and Electric Sanders , Black
INCLUDES: 9 Gallon portable dust extractor, poly filter bag (3M 95981), conductive hose (3M 95291), push handle (3M…
As an affiliate, we earn on qualifying purchases.
As an affiliate, we earn on qualifying purchases.
Techniques for Sanding Without Losing Fine Details

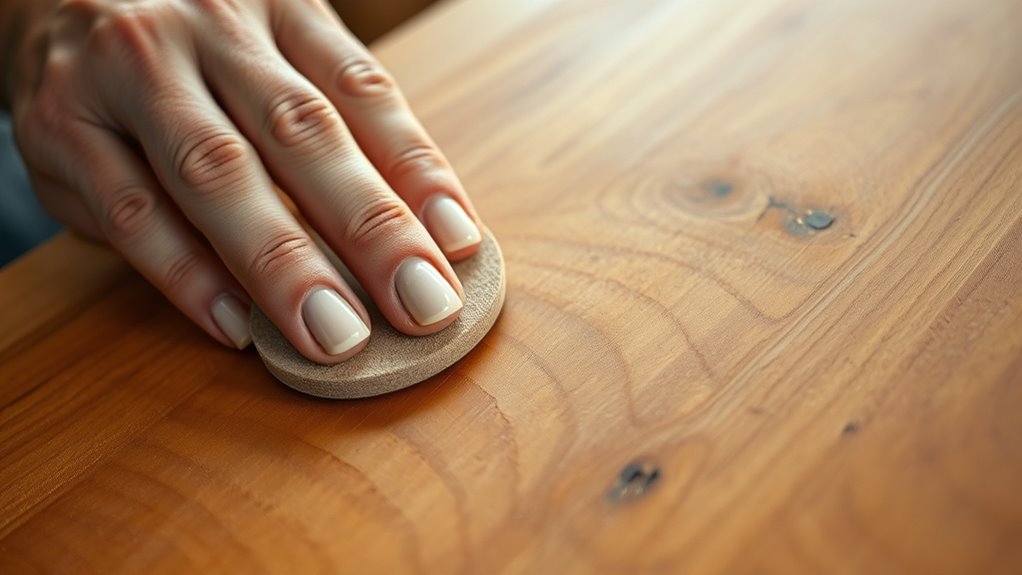
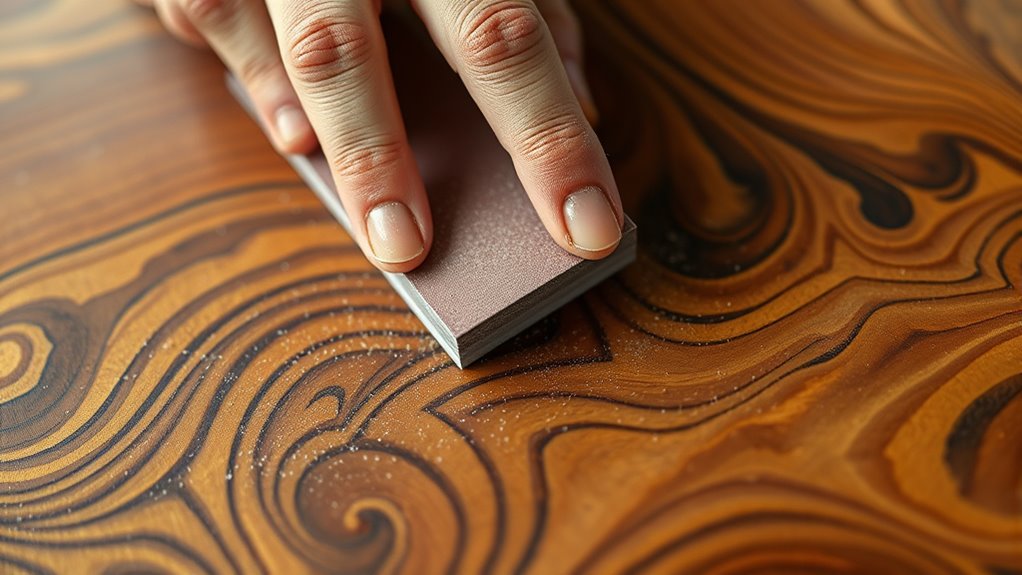
To preserve fine details during sanding, you need to adopt careful techniques that minimize the risk of removing delicate features. Always follow the grain direction when sanding to avoid scratching or gouging the wood. Sand with light, even pressure and use gentle, consistent sanding patterns, moving along the grain rather than against it. This helps maintain intricate carvings or embossed patterns. Use finer grit sandpaper gradually to smooth the surface without erasing details. If you encounter tight corners or detailed areas, switch to a sanding sponge or use small, controlled motions to avoid over-sanding. Patience is key—rushing can cause loss of fine features. Additionally, understanding wood grain orientation can further help in selecting the appropriate sanding techniques to protect delicate features. Paying attention to grain pattern can also assist in choosing the best sanding approach for complex or decorative woodwork. Recognizing how grain direction varies across the wood can help you plan your sanding strategy more effectively. Incorporating proper sanding tools can also make a significant difference in preserving intricate details. Using the right grit sequence ensures a smooth finish without compromising the fine details.
How to Avoid Common Sanding Mistakes
Sanding mistakes can easily ruin a project if you’re not careful, but many of these errors are preventable with attentive practice. To avoid common pitfalls, focus on these key points:
- Always follow the grain direction to prevent uneven scratches and damage.
- Apply consistent sanding pressure—too much pressure can gouge the wood, while too little may not remove enough material.
- Don’t rush; take your time to ensure even sanding and avoid creating dips or grooves.
- Use progressively finer grits to refine the surface without erasing fine details or leaving visible scratches.
- Incorporate proper sanding techniques that help maintain the integrity of intricate details and prevent over-sanding.
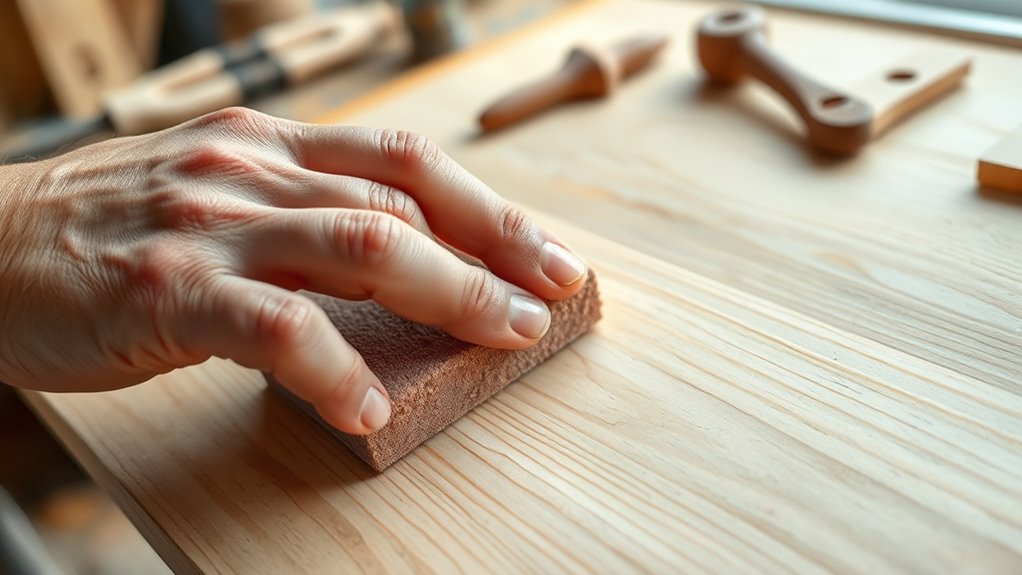
Using Hand Sanding Versus Power Sanders
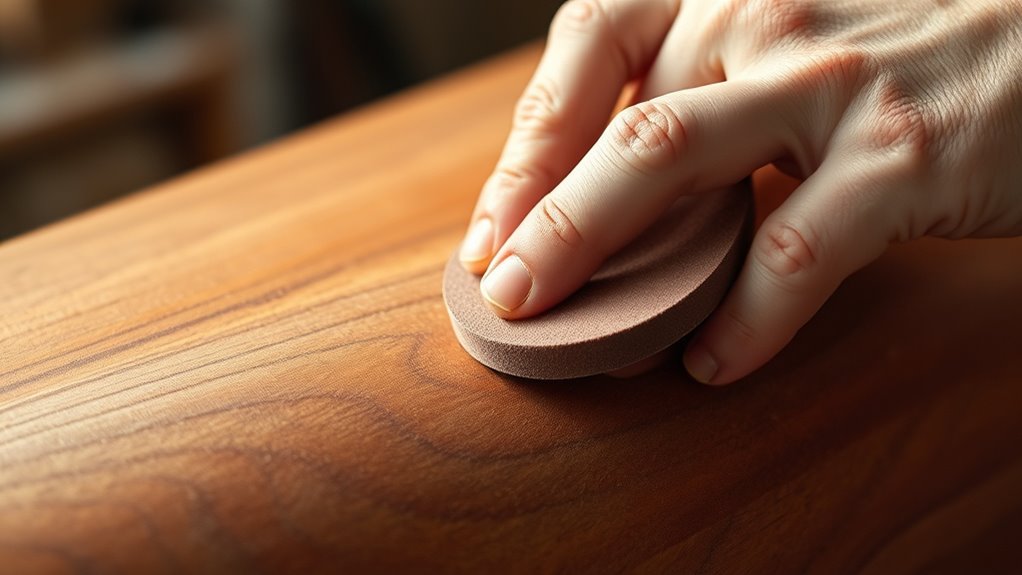
When choosing between hand sanding and power Sanders, consider how much control and precision you need for your project. Power Sanders can save time and boost efficiency, but hand sanding offers finer surface finish quality on detailed areas. Understanding these differences helps you pick the right method for your specific task. For delicate or detailed work, manual control is often preferable to maintain the integrity of intricate features. Additionally, dust control is an important factor to consider, as hand sanding generally produces less airborne debris, making it safer and cleaner for your workspace.
Control and Precision
While both hand sanding and power sanding can achieve smooth results, they offer different levels of control and precision. Hand sanding allows you to carefully follow the grain direction, giving you better control over delicate details. It also lets you adjust sanding pressure precisely, preventing over-sanding or removing too much material. Power sanders, on the other hand, cover large areas quickly but can be harder to control, risking uneven surfaces or removing intricate details. To maximize control:
- Use light, consistent pressure when hand sanding.
- Always follow the grain direction.
- Switch to a finer grit as you progress.
- Keep the sander moving steadily to avoid gouging.
Your choice depends on the project’s detail level and the finish you desire.
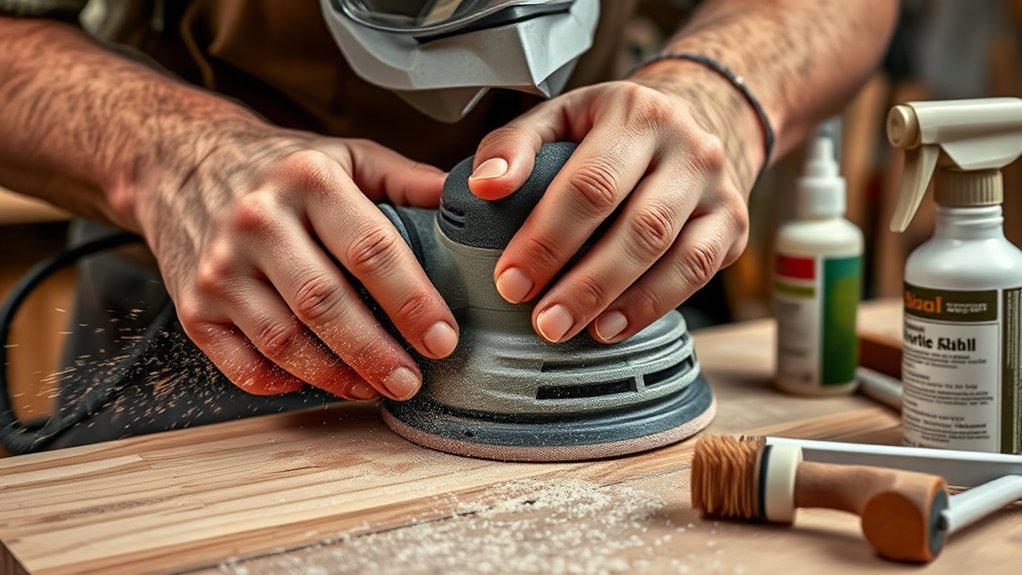
Speed and Efficiency
Power sanders substantially speed up the sanding process, making them ideal for large surfaces or projects that require quick results. They efficiently remove material, helping you maintain consistent grain patterns. However, they generate more dust, so dust control becomes essential. Hand sanding offers more control and precision, especially for delicate details, but is slower. Use a table to compare:
| Aspect | Hand Sanding | Power Sanders |
|---|---|---|
| Speed | Slower | Faster |
| Grain Patterns | Easier to control | Can alter grain if not careful |
| Dust Control | Easier to manage | More dust generated |
| Precision | High for details | Good for large areas |
Choosing between them depends on your project needs, balancing speed with control.
Surface Finish Quality
The quality of your surface finish depends heavily on whether you choose hand sanding or power sanding. Hand sanding offers better control, promoting proper grain alignment and minimizing surface imperfections. Power sanders can quickly smooth large areas but risk uneven surface uniformity if not used carefully. To achieve a high-quality finish, consider these points:
- Use finer grits gradually to maintain grain alignment and prevent scratches.
- Check for consistent pressure to ensure surface uniformity.
- Sand along the wood grain to avoid erasing details.
- Switch to hand sanding for delicate areas or intricate details to preserve surface quality.
Choosing the right method impacts the final look and feel of your project, so weigh precision against efficiency to get the best surface finish.
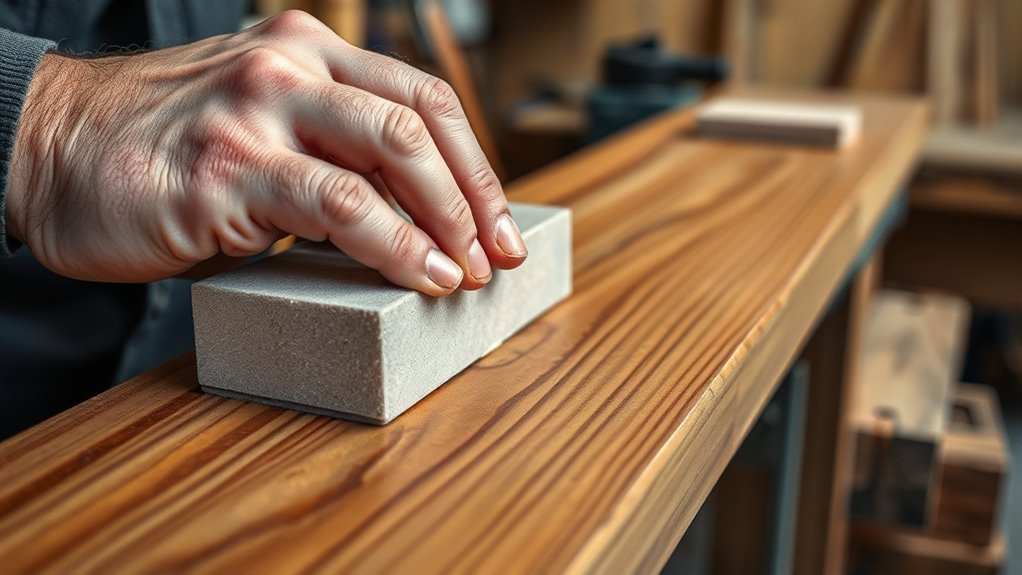
Tips for Achieving a Smooth, Even Finish
Achieving a smooth, even finish starts with selecting the right sandpaper grit and using proper techniques. Pay attention to the grain pattern and sand along it to prevent scratches and maintain the wood’s natural look. Use even, consistent sanding pressure—too much pressure damages the surface, while too little won’t remove imperfections. Start with a medium grit to smooth rough areas, then switch to a finer grit for a polished surface. Keep the sandpaper flat and move it in long, controlled strokes. Regularly check your progress to ensure evenness, and don’t rush the process. Proper technique will help you attain a consistent, professional finish that highlights the wood’s natural beauty without erasing details.
Finishing Touches After Sanding to Enhance Your Wood
Once you’ve sanded your wood to a smooth, even surface, adding finishing touches can considerably enhance its appearance and durability. To achieve this, consider these steps:
- Apply stain evenly to bring out the wood’s natural beauty and color.
- Wipe away excess stain to prevent uneven patches.
- Seal surfaces with a clear finish or varnish to protect against moisture and wear.
- Lightly sand between coats of sealant for a smooth, polished look.
These finishing touches not only improve the aesthetic appeal but also extend the life of your project. Properly applying stain and sealing surfaces guarantee your wood remains vibrant and sturdy over time. Take your time with each step to achieve professional results.
Safety Tips and Proper Maintenance of Sanding Tools
After completing your sanding and applying finishes, it’s important to prioritize safety and proper tool maintenance to keep your workspace secure and your tools in top condition. Always wear protective gear such as goggles, a dust mask, and ear protection to safeguard against dust and debris. Regularly inspect your sanding tools for wear or damage, and clean them after each use to prevent buildup that can hinder performance. Proper tool maintenance extends the lifespan of your equipment and ensures safe operation. Store your sanding tools in a dry, organized space to prevent rust and damage. Remember, well-maintained tools reduce accidents and produce better results, so develop a routine of safety checks and cleaning after every project to keep your workspace efficient and safe.
Frequently Asked Questions
How Do I Choose the Right Grit for Different Wood Types?
You choose the right grit based on grain size and wood hardness. For soft woods with fine grain, start with a medium grit like 120 to smooth surfaces, then move to finer grits for a polished finish. Harder woods need coarser grits initially, around 80, to remove roughness. Always adjust grit choices based on the grain size and hardness to avoid damaging the wood and achieve a smooth, professional look.
Can I Sand Painted or Stained Wood Without Damaging the Finish?
You can sand painted or stained wood without damaging the finish by using gentle methods, careful paint removal, and precise stain removal. Start with fine grit sandpaper to avoid gouging the surface, and opt for a sanding block or a fine abrasive pad for controlled pressure. Keep the sander moving, work gradually, and test small areas first. This approach preserves the underlying finish while effectively removing paint or stain.
How Do I Prevent Swirl Marks When Using Power Sanders?
To prevent swirl marks when using power sanders, you should apply consistent sanding pressure and avoid pressing down too hard, which causes uneven marks. Keep your sander well-maintained by cleaning or replacing pads regularly, ensuring smooth operation. Move the sander in even, overlapping strokes, and don’t stay in one spot too long. This approach minimizes swirl marks, preserves your finish, and extends your sander’s lifespan.
What Are Eco-Friendly Alternatives to Traditional Sandpaper?
You can opt for eco-friendly alternatives like biodegradable abrasives and plant-based sanding pads. These options reduce environmental impact by breaking down naturally and avoiding harmful chemicals. Biodegradable abrasives work effectively on wood, providing smooth finishes without releasing microplastics. Plant-based sanding pads are durable and gentle, making your sanding process sustainable while maintaining quality. Switching to these eco-friendly choices helps protect the environment without sacrificing your project’s results.
How Can I Restore a Wood Surface After Over-Sanding?
If you’ve over-sanded a wood surface, start by cleaning it thoroughly to remove dust. Use gentle restoration methods like applying a wood filler to even out uneven spots, then lightly sand again with fine-grit sandpaper. Adjust your sanding techniques to avoid over-sanding in future. Consider applying a stain or finish to hide any imperfections and protect the surface, ensuring it looks smooth and restored.
Conclusion
As you master sanding, you might find that patience and attention to detail unexpectedly align, revealing the true beauty of your wood projects. Sometimes, a simple touch or a slight adjustment can make all the difference, turning rough surfaces into smooth masterpieces. Remember, the key is to stay mindful and enjoy the process—because in sanding, just like in life, small efforts often lead to the most satisfying results.