
To use contrast in wood tone without overdoing it, apply stain gradually and focus on highlighting the natural grain. Use controlled, light coats and build up color slowly, allowing each layer to dry thoroughly. Use techniques like wiping or brushing to enhance grain patterns without masking their beauty. Finishing with a clear, low-gloss coat helps preserve the subtlety. If you want to master balance and create refined wood finishes, keep exploring these techniques.
Open a free Amazon Business account
Business pricing, bulk buying and tax-exempt orders.
As an affiliate, we earn on qualifying purchases.
Key Takeaways
- Apply stain gradually in thin coats, allowing each layer to dry completely for controlled contrast.
- Focus contrast on specific areas to create depth without overwhelming the entire piece.
- Use brushing or wiping techniques to enhance natural grain subtly and guide visual flow.
- Select stains and finishes that complement the wood’s inherent color and avoid excessive gloss or glare.
- Understand wood properties to tailor contrast levels, emphasizing natural beauty without overpowering it.
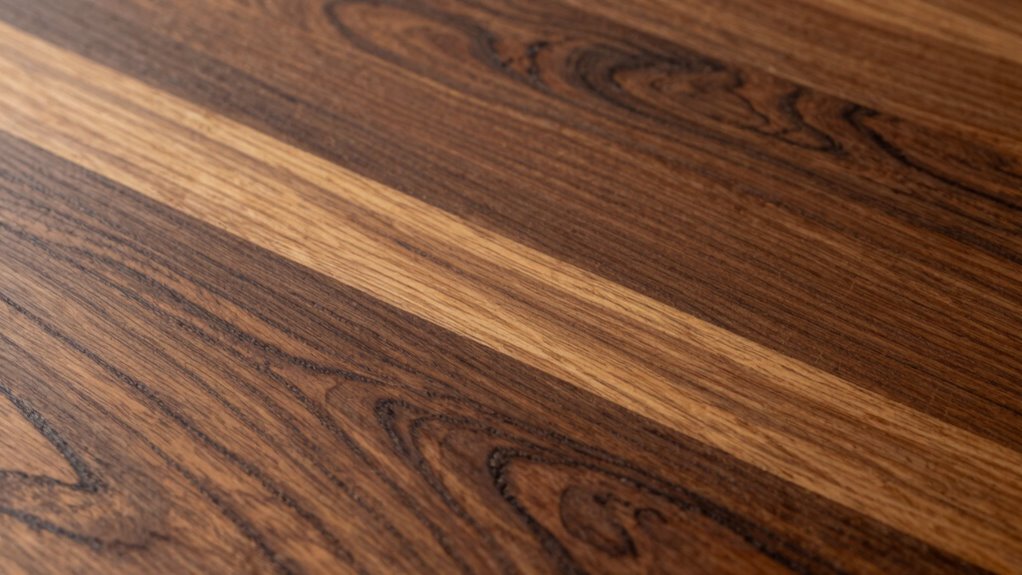
Have you ever wondered how to make your woodworking projects stand out? Using contrast in wood tone is a powerful way to add visual interest and depth, but it’s easy to go overboard. The key is mastering subtlety—balancing contrast so your piece catches the eye without becoming overwhelming. When it comes to stain application, less is often more. Start by choosing a stain that highlights the natural grain of your wood. Lightly applying stain allows you to enhance the grain without obscuring its inherent beauty. You can build up color gradually, letting each coat dry thoroughly before adding another. This controlled approach guarantees you don’t accidentally create a stark divide between dark and light areas, which can disrupt the harmony of the piece. Paying close attention to stain layering techniques can help you achieve a more seamless contrast. Grain enhancement plays an essential role in achieving the right contrast. Techniques like brushing or wiping stain into the wood can accentuate the natural patterns, making them pop without overpowering the overall design. Think of it as bringing the wood’s personality to the forefront instead of masking it. To avoid overdoing it, focus on highlighting certain areas—perhaps the more intricate grain patterns—while keeping other sections more subdued. This contrast will give your project depth and dimension, guiding the viewer’s eye across the piece naturally. Additionally, understanding how different finishes interact with stained wood can significantly influence the final look and contrast levels. Using finish compatibility can help you select the best topcoat to enhance your desired effect. Exploring wood properties can provide insights into how different woods respond to staining and finishing, enabling you to better control contrast.
Another way to control contrast is through the choice of wood and finish. Light-colored woods like maple or birch respond well to subtle stain application, creating gentle contrasts that emphasize grain without overwhelming. Darker woods such as walnut or mahogany can handle more pronounced stain effects, but even then, it’s wise to apply stain with a light touch, building layers carefully. When you’re ready to finish, consider using a clear coat or varnish that complements your stain and enhances the contrast without adding glare or gloss. This final step helps preserve the subtle differences in tone, making sure your project remains balanced and refined. Understanding the properties of different wood species can further help you tailor your approach to achieving the desired contrast and overall aesthetic. Ultimately, using contrast in wood tone requires a keen eye and patience. By paying attention to stain application and focusing on grain enhancement, you can craft pieces that are visually compelling yet harmonious. Remember, the goal isn’t to shout with bold contrasts but to whisper with gentle variations that invite viewers to appreciate every detail. With practice, you’ll learn how to create stunning effects that elevate your woodworking projects to a new level of sophistication.
As an affiliate, we earn on qualifying purchases.
Frequently Asked Questions
Can Contrast Affect the Durability of Wood Finishes?
Yes, contrast can affect the durability of wood finishes. When you highlight the wood grain with high contrast, it may expose more surface imperfections or areas prone to wear, potentially reducing finish durability. To maintain strength, you should balance contrast levels, ensuring your finish protects the wood while showcasing its natural beauty. Proper application and sealing help prevent contrast from compromising the wood’s resilience over time.
What Tools Are Best for Applying Contrasting Wood Tones?
You should use quality application tools like brushes, rags, or foam applicators for applying contrasting wood tones. Staining techniques matter, so opt for brushes for precise control or rags for a more blended look. Foam applicators work well for smooth finishes. Experimenting with these tools allows you to achieve the desired contrast without overdoing it, giving your wood a rich, dynamic appearance.
How Does Lighting Influence Perceived Contrast in Wood?
Lighting considerably influences how you perceive contrast in wood. Bright, direct light enhances color saturation, making dark and light tones stand out more vividly. Conversely, softer lighting reduces contrast, creating a subtler, more uniform appearance. Shadow depth also plays a role; deeper shadows increase perceived contrast, emphasizing differences in wood tone. Adjusting your lighting setup helps you control the contrast’s impact, ensuring your wood surfaces look balanced and appealing without overdoing it.
Are Certain Wood Species Better for High-Contrast Designs?
Certain wood species, like walnut and cherry, are better for high-contrast designs because their rich wood grain and deep, warm tones create striking visual differences. You should focus on smart color pairing, combining lighter woods like maple or ash with these darker species for more contrast. These choices help you achieve bold, balanced looks without overdoing it, ensuring your design remains visually appealing and harmonious.
How to Maintain Contrast Over Time With Wood Aging?
To keep contrast engaging as wood ages, you should regularly reseal and apply protective finishes. This technique slows down wood aging, preserving the original contrast and preventing uneven discoloration. Consistent cleaning and avoiding direct sunlight also defend against fading. By maintaining moisture levels and choosing durable, high-quality finishes, you help guarantee your wood’s contrast stays vibrant, resisting the ravages of time and weather while showcasing its natural beauty.
As an affiliate, we earn on qualifying purchases.
Conclusion
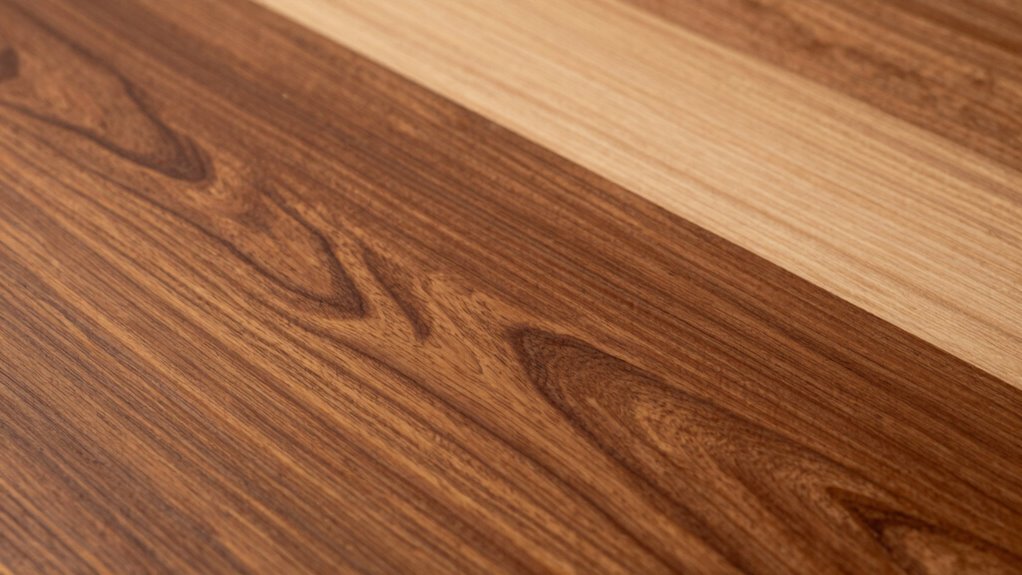
By carefully balancing contrast in your wood tones, you can create a space that feels both dynamic and harmonious. For instance, imagine pairing a deep espresso furniture piece with soft, pale oak flooring—done right, it highlights each element without overwhelming the room. Remember, moderation is key; subtle contrasts often make the most sophisticated statement. When you strike that perfect balance, your space will feel inviting, stylish, and thoughtfully designed.
As an affiliate, we earn on qualifying purchases.
controlled stain application kit
As an affiliate, we earn on qualifying purchases.
As an affiliate, we earn on qualifying purchases.
Flea & tick season Picks
flea and tick prevention
As an affiliate, we earn on qualifying purchases.