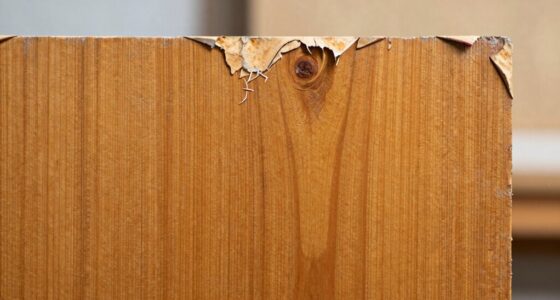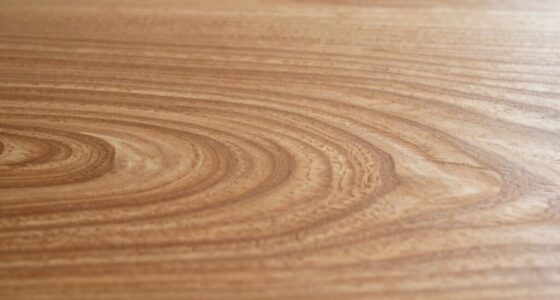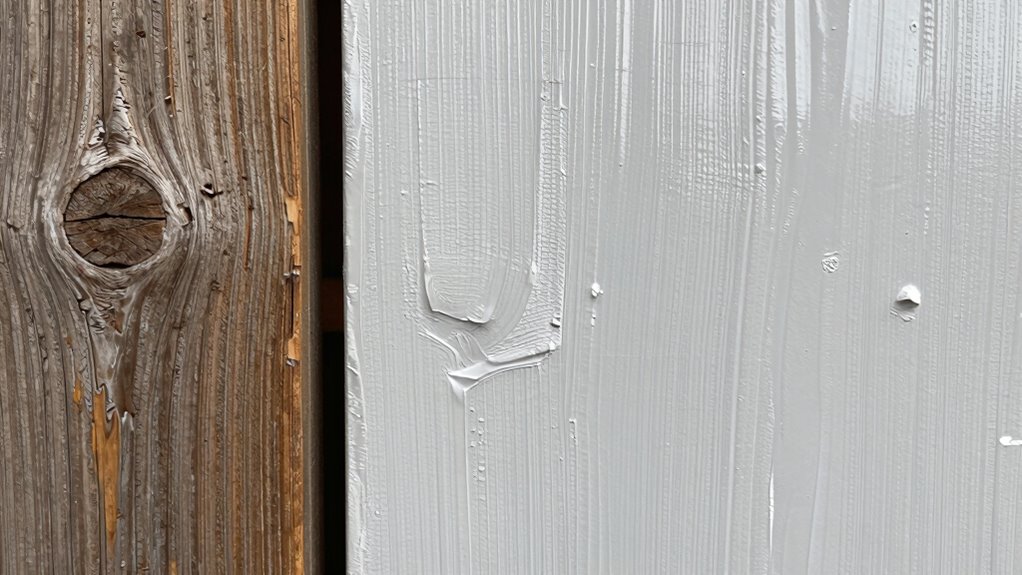

Rustic texture highlights natural grain, imperfections, and character in your surface, creating an authentic, charming look. Bad surface prep, on the other hand, leaves surfaces rough, patchy, or flawed, causing finishes to peel, crack, or wear quickly. While rustic charm embraces imperfections, poor prep creates problems that undermine durability and appearance. Understanding the difference helps you achieve beautiful, long-lasting results. Keep exploring how proper prep makes your rustic finishes truly stand out and last over time.

Get business pricing on tools and workshop supplies
- Business-only prices and quantity discounts
- Tax-exempt purchasing
- Multiple users, one account, clear invoices
Key Takeaways
- Rustic texture highlights natural grain and imperfections, while bad surface prep leaves surfaces rough, uneven, and poorly finished.
- Proper surface prep ensures finishes adhere smoothly; poor prep causes peeling, cracking, and long-term damage.
- Rustic charm relies on clean, well-prepared surfaces; neglecting prep results in flawed, patchy, and unappealing results.
- Rustic textures maintain their beauty over time with good prep; bad prep accelerates deterioration and diminishes rustic appeal.
- Proper surface preparation creates a durable, authentic look; bad prep leads to short-lived finishes and compromised rustic integrity.
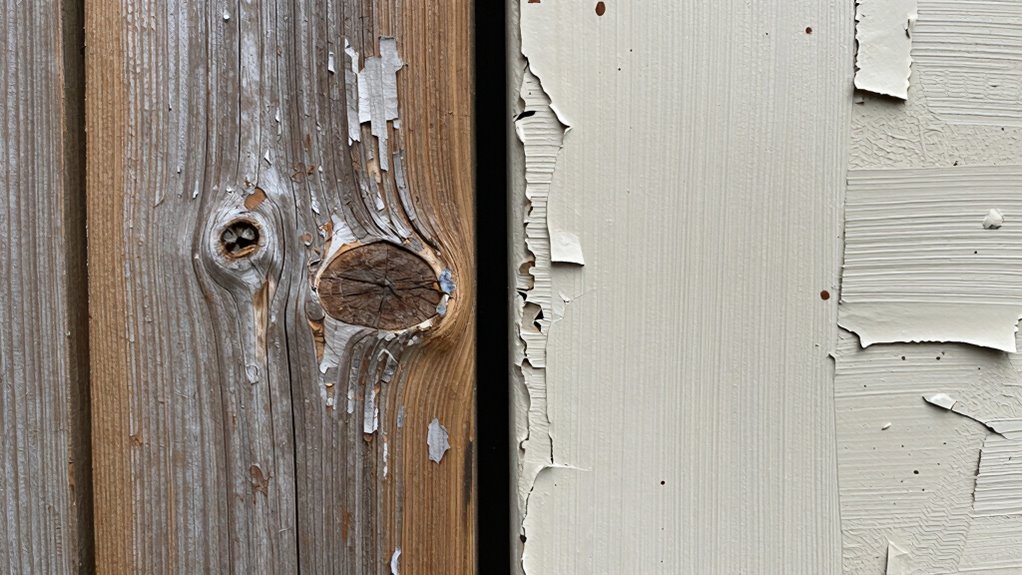
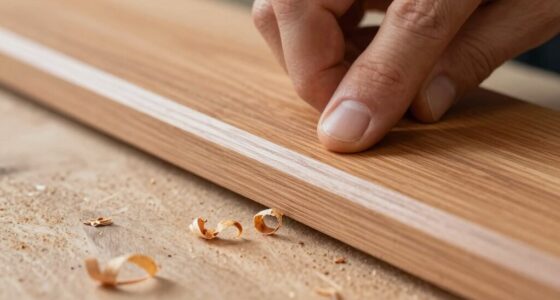
When it comes to achieving a rustic look in your project, surface preparation plays a vital role. The difference between creating an authentic appeal and ending up with a flawed surface often boils down to how well you prep your materials. The core of surface preparation is about creating a solid foundation. When you start with a clean, smooth, and properly treated surface, you’re setting yourself up for success. This includes removing dust, grease, old paint, or any other contaminants that could interfere with adhesion. A surface that isn’t adequately prepared will not only compromise the authenticity of your rustic appeal but also reduce the surface’s durability. For example, if you’re working with wood, sanding it properly will highlight its natural grain and textures, creating that sought-after rustic charm. But if you skip sanding or don’t clean off debris afterward, the uneven surface can cause the finish to look patchy or inconsistent, undermining the authentic appeal you aim for.
Proper surface prep preserves rustic charm and ensures lasting durability for your project.
Bad surface prep often results in a surface that looks rough or patchy, but worse, it can cause long-term damage. Paint or finishes may peel or crack because they’re not adhering properly, which shortens the surface’s lifespan. Moisture can seep into unsealed or poorly prepared areas, leading to warping or rotting, especially on wood surfaces. When you invest time and effort into proper surface prep, however, you increase surface longevity and ensure your rustic texture remains intact over time. It’s about making sure that every layer you add, whether stain, paint, or sealant, bonds well and endures weathering. Proper surface preparation techniques are essential for maximizing durability and achieving the authentic rustic appearance you desire. Paying attention to surface contaminants like dust and grease is another crucial step, as these can prevent finishes from properly adhering and compromise the overall look. Additionally, understanding the importance of surface condition can help you identify issues early and apply the appropriate solutions. Using the right surface treatment methods can significantly enhance the durability of your finished project. Proper surface assessments can help you determine the best approach for different materials and conditions, ensuring a high-quality result.
In the end, the difference between a rustic texture with authentic appeal and a surface marred by poor prep is clear. Good surface preparation is the key to preserving the natural beauty and ensuring your project remains durable. When you pay attention to these details, you’re not just creating a rustic look—you’re building a lasting masterpiece that truly embodies the charm and character you envision.
As an affiliate, we earn on qualifying purchases.
Frequently Asked Questions
Can Rustic Texture Be Intentionally Created for Aesthetic Purposes?
Yes, you can intentionally create rustic texture for aesthetic purposes. Using decorative finishes and artistic techniques, you can craft a deliberately rugged, aged look that adds character to your space. By applying specific methods like sponging, stippling, or layering paints, you achieve a rustic finish that enhances visual interest. Embracing these creative approaches allows you to customize your environment, giving it a warm, inviting, and uniquely textured appearance.
How Do You Correct a Surface With Bad Prep Before Finishing?
To correct a surface with bad prep before finishing, you need to perform surface repair by first cleaning the area thoroughly. Use proper prep techniques like sanding or sanding down uneven spots to create a smoother base. Fill any cracks or holes with appropriate filler, then sand again for a uniform surface. This guarantees your finish adheres well and looks professional, preventing future issues caused by poor surface prep.
Is Rustic Texture Suitable for All Types of Paint or Finishes?
Is rustic texture suitable for all types of paint or finishes? Absolutely, like a chameleon adapting to its environment. Rustic appeal pairs well with both matte and glossy finishes, enhancing surface durability and adding character. However, for smooth, modern looks, it might not be ideal. You should consider the overall style and desired durability to make certain the rustic texture complements your chosen paint or finish.
What Tools Are Best for Achieving Rustic Texture?
You should choose tools like palette knives, wire brushes, or textured rollers to achieve rustic texture. Proper surface preparation is essential to guarantee the texture adheres well and looks authentic. Start by cleaning and roughening the surface, then select your tools based on the desired finish—stippling brushes for subtle textures or trowels for more pronounced effects. Using the right tools and preparing the surface properly will give you a natural, rustic look.
How Long Does Rustic Texture Typically Last Compared to Poorly Prepared Surfaces?
Rustic texture generally lasts longer than poorly prepared surfaces because it’s intentionally designed to enhance surface durability and material longevity. When properly applied, rustic finishes resist wear and environmental damage well, often maintaining their look for years. In contrast, bad surface prep leads to peeling, cracking, or deterioration over time, substantially reducing longevity. Proper preparation ensures your rustic texture remains attractive and durable, giving you better value and a longer-lasting finish.
As an affiliate, we earn on qualifying purchases.
Conclusion
Remember, embracing rustic texture is like savoring the character of a well-loved book—full of stories and warmth. But if your surface prep is bad, it’s like trying to paint on a cracked, barren canvas—futile and frustrating. When you understand the difference, you’re not just fixing surfaces; you’re shaping the soul of your space. So, approach each project with care, turning rough patches into stories of craftsmanship rather than scars of neglect.
As an affiliate, we earn on qualifying purchases.
As an affiliate, we earn on qualifying purchases.
Fall Picks
fall essentials
As an affiliate, we earn on qualifying purchases.