Blotching happens when stain and finish don’t absorb evenly into your wood’s grain, porosity, or moisture content. Different woods, grain patterns, and surface prep affect how finishes seep in, causing uneven color and texture. By understanding these factors and applying proper techniques—like sanding, controlling moisture, and using thin coats—you can minimize blotches. Stay tuned; learning the chemistry behind finishes and preparation steps can help you achieve a smooth, professional look.
Key Takeaways
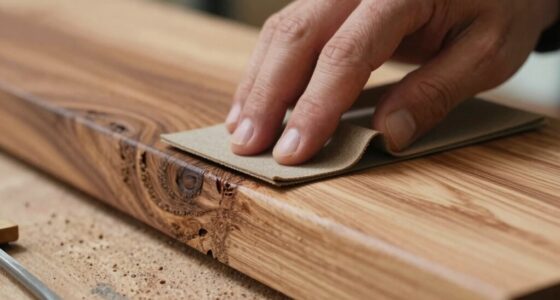
- Proper surface preparation and sanding along the grain promote even stain absorption.
- Using thinned stains and applying multiple thin coats prevent blotches and ensure uniform color.
- Understanding wood grain and moisture content helps tailor finishing techniques for consistent results.
- Applying finish in even strokes and avoiding over-application reduces uneven absorption and blotchiness.
- Choosing the right finish chemistry and allowing adequate drying time minimizes blotches and enhances durability.
wood stain applicator brush
As an affiliate, we earn on qualifying purchases.
As an affiliate, we earn on qualifying purchases.
The Chemistry Behind Wood Stains and Finishes

Understanding the chemistry behind wood stains and finishes is key to achieving a smooth, blotch-free surface. Wood dye interacts with the wood’s porous structure, penetrating evenly based on the finish chemistry involved. The pigments in a dye dissolve in water or alcohol, allowing for uniform absorption. Finish chemistry determines how the stain bonds and settles into the wood, affecting color consistency. Oil-based finishes tend to penetrate more slowly and deepen color gradually, while water-based options dry quickly and can highlight uneven absorption. Knowing how wood dye and finish chemistry work together helps you control the staining process. Proper understanding guides you in choosing the right products and application techniques, ultimately preventing blotches and ensuring a professional-looking finish. Regular practice and understanding visual and auditory cues can further improve your staining skills and results. Additionally, understanding wood porosity can help you predict how the stain will behave on different types of wood. Recognizing the reactivity of different woods can also help you tailor your approach for better results. Being aware of surface preparation techniques ensures the wood is primed for optimal stain absorption and finish adhesion. Moreover, considering how wood grain influences stain absorption can help you achieve more uniform results.
wood finishing sanding block
As an affiliate, we earn on qualifying purchases.
As an affiliate, we earn on qualifying purchases.
How Wood’s Composition Affects Absorption

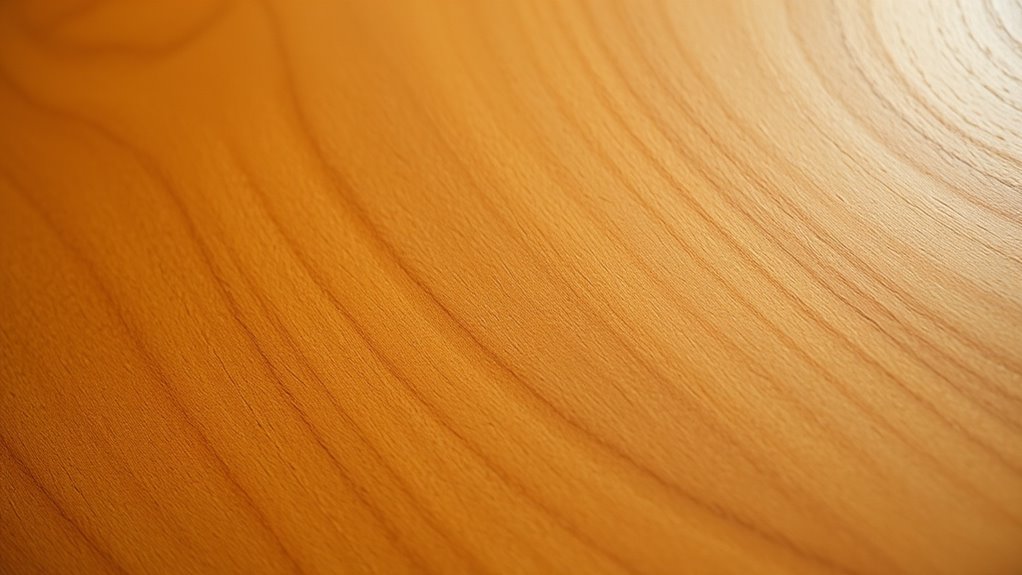
The composition of wood plays a crucial role in how it absorbs stains and finishes. Different wood species have unique grain patterns that influence absorption rates. For example, open-grained woods like oak have larger pores, allowing finishes to penetrate more deeply, which can lead to uneven color if not properly prepared. Conversely, dense woods like maple have tighter grain structures, resulting in slower, more uniform absorption. Variations in cell structure and density affect how quickly and evenly finishes seep into the wood. Understanding these differences helps you predict and control blotchiness. By considering the specific composition of your wood, you can choose appropriate preparation and finishing techniques to achieve a consistent, professional-looking result.
thinned wood stain for even application
As an affiliate, we earn on qualifying purchases.
As an affiliate, we earn on qualifying purchases.
The Role of Wood Grain and Moisture Content
Wood grain and moisture content both substantially influence how finishes interact with your project. The grain pattern determines how the wood will absorb stain and finish, with open or irregular grains prone to uneven absorption that can cause blotches. Moisture balance is equally critical; if the wood is too moist or too dry, it affects how the finish penetrates and adheres. When moisture levels are uneven, certain areas may absorb more finish, leading to a blotchy appearance. To achieve a uniform finish, you need to guarantee consistent moisture content before applying any product. Properly sanding the wood along the grain pattern and allowing moisture levels to stabilize helps create a smooth, even surface. Proper moisture content is essential to prevent uneven absorption and blotching. Additionally, using quality finishing products can further ensure a consistent and durable result. Understanding how moisture content impacts absorption helps you select the right conditions for finishing your wood, and employing techniques like moisture testing can help you monitor levels effectively. Ensuring wood preparation techniques are thoroughly followed can also significantly reduce the chances of blotches appearing after finishing.
oil-based wood finish
As an affiliate, we earn on qualifying purchases.
As an affiliate, we earn on qualifying purchases.
Common Mistakes That Lead to Blotching
One common mistake that causes blotching is applying stain or finish without proper preparation. When you skip surface prep, uneven absorption occurs, leading to inconsistent color. Poor application techniques—such as uneven brushing or wiping—also contribute to blotches. To improve color consistency, you must control how the stain is applied across the wood. Here’s a quick guide:
| Issue | Effect | Solution |
|---|---|---|
| Inconsistent application | Uneven color, blotches | Use uniform techniques |
| Skipping surface prep | Uneven absorption, blotting | Sand and clean thoroughly |
| Applying too much stain | Dark spots, uneven finish | Use thin coats, wipe excess |
| Ignoring wood grain | Blotchy appearance | Follow grain direction |
Strategies for Achieving a Even, Professional Finish

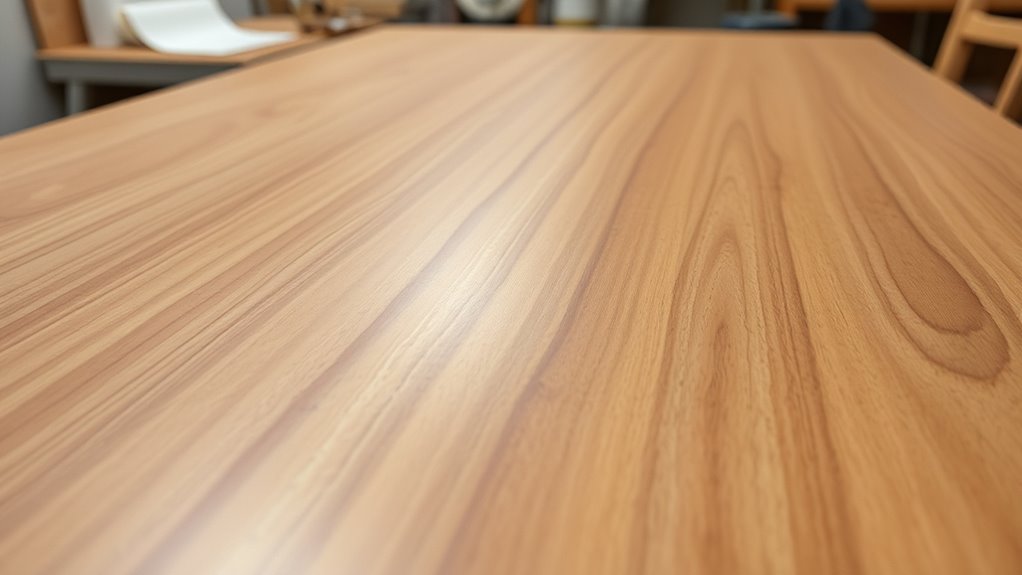
Achieving a smooth, professional finish requires careful preparation and attention to detail throughout the staining process. Start with proper application techniques, such as using even strokes and avoiding overloading your brush or roller. Consistent pressure helps prevent streaks and uneven color. Use quality finishing tools like foam brushes, lint-free cloths, or applicator pads for smooth, controlled application. Work in manageable sections, blending edges seamlessly to prevent lap marks. Thin your stain if necessary, as it promotes even absorption. Always follow manufacturer instructions for drying times and recoats. Applying multiple thin coats rather than one thick layer ensures a more uniform finish. Proper surface preparation and understanding wood characteristics, such as wood grain, are essential for a flawless outcome. Additionally, recognizing how wood characteristics influence stain absorption can help you select the best finishing techniques. Taking the time to properly prepare the surface can make a significant difference in the final appearance. Being mindful of wood grain direction can also help you achieve a more even application. Using techniques like sanding between coats can further enhance the smoothness and durability of your finish. With patience and the right techniques, you’ll achieve a polished, professional look that highlights the wood’s beauty.
Frequently Asked Questions
How Do Different Types of Wood Respond to Various Finishing Techniques?
Different types of wood respond uniquely to finishing techniques due to grain patterning and wood grain variation. You’ll notice that hardwoods like oak and maple often absorb stain evenly, while softer woods like pine may blotch because of uneven grain absorption. To achieve a smooth finish, you should sand well, apply a wood conditioner, and choose the right stain or finish tailored to each wood type.
Can Environmental Factors Influence Blotching During Finishing?
Yes, environmental factors can definitely influence blotching during finishing. You’ll notice moisture fluctuations cause wood to absorb stain unevenly, leading to blotches. Temperature variations can also alter how finishes set, making some areas more prone to uneven coloration. To combat this, control your workspace’s humidity and temperature, ensuring consistent conditions. Properly preparing the wood and using a pre-stain conditioner helps minimize blotching caused by these environmental influences.
Are There Specific Tools That Help Prevent Blotches?
Yes, certain tools can help prevent blotches. Use high-quality brushes and foam applicators to guarantee smooth, even coats, and employ proper brushing techniques to avoid streaks. Additionally, good sanding methods, like using fine-grit sandpaper, create a smooth surface that promotes uniform finish absorption. These tools and techniques help you control application and minimize blotching, resulting in a more professional, even finish on your wood.
How Does Aging or Previous Treatments Affect Finishing Outcomes?
Aging or previous treatments can considerably impact your finishing results. Wood that’s aged often has a different absorption rate, making it prone to blotches if you don’t prep properly. Surface treatments like stains or sealers alter how the wood reacts to finish, potentially causing uneven color or blotches. To get a smooth finish, you need to adjust your approach based on these factors, like sanding thoroughly or using compatible products.
What Are the Best Practices for Touch-Up Repairs After Blotching Occurs?
Think of your finish like a painting needing delicate touch-ups. When blotches appear, start with gentle wood stain removal to even out the surface. Use a fine brush for finish touch-up, carefully blending the repair area into the surrounding finish. Keep a light hand, and test in a hidden spot first. Patience guarantees a seamless repair, making your project look flawless again without leaving obvious marks.
Conclusion
So, next time you’re about to slap on that stain without thinking, remember: blotching isn’t some mysterious curse—it’s science teasing you. Master the chemistry, prep your wood, and follow those foolproof tips. Or, keep battling uneven finishes and convince yourself it’s “art.” Either way, your furniture’s future depends on whether you want a professional look or a patchwork masterpiece. Choose wisely—your sanity (and your wood) will thank you.