
To make your woodburning look cleaner and more controlled, focus on steady, deliberate strokes with consistent pressure and smooth hand movements. Practice on scrap wood first to get comfortable with your tools and develop a steady hand. Keep your tools well-maintained and your workspace organized for precision. Use light touches initially, gradually building depth and detail, and follow your design carefully. For more mastery tips, keep exploring effective techniques to perfect your craft.

Get business pricing on tools and workshop supplies
- Business-only prices and quantity discounts
- Tax-exempt purchasing
- Multiple users, one account, clear invoices
Key Takeaways
- Use light, deliberate strokes and gradually increase depth to maintain control and precision.
- Keep the tool tip clean and sharp for cleaner lines and consistent shading.
- Work in a well-lit, organized workspace to improve accuracy and visibility.
- Practice on scrap wood and use preliminary sketches to guide your design.
- Maintain steady hand movements and avoid pressing too hard to ensure clean, controlled burns.
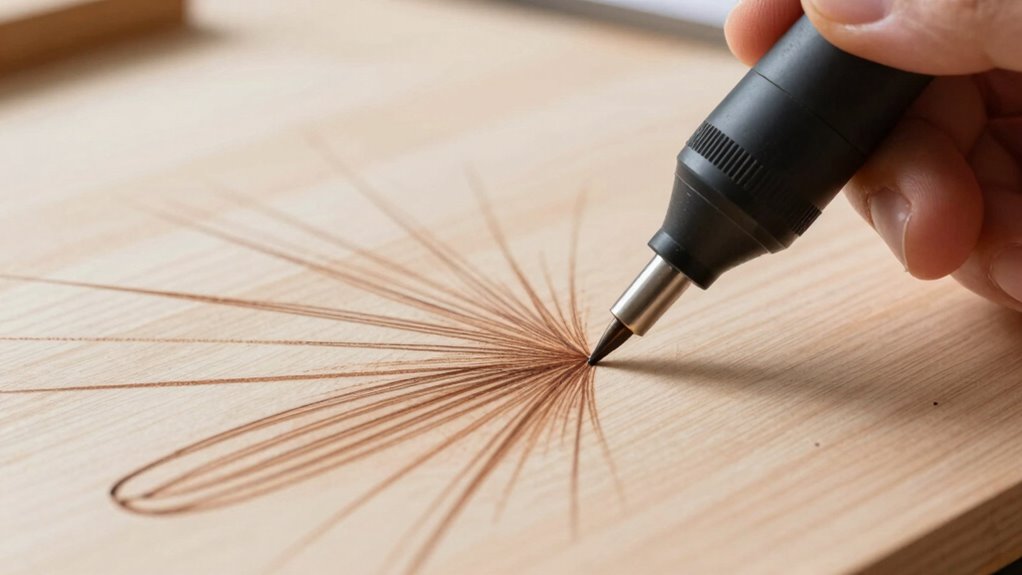
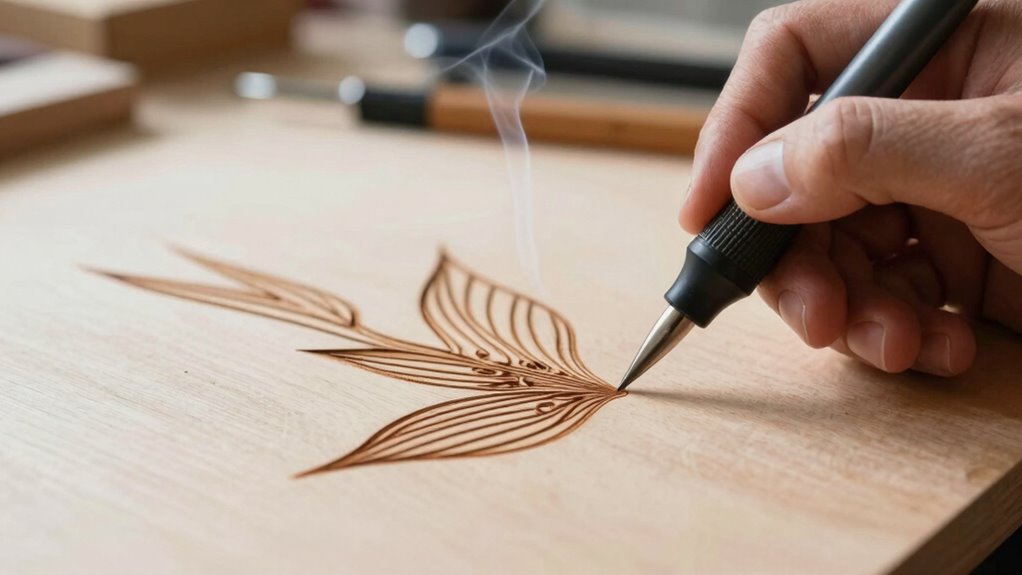
Woodburning can create beautiful, detailed designs, but achieving a clean, professional look requires some essential techniques. One of the most important aspects is mastering your burning techniques. You want your lines to be smooth and controlled, so practice steady hand movements and consistent pressure. When you start, don’t press too hard—use light, deliberate strokes, gradually building up depth and detail. Varying your burning techniques, like cross-hatching or shading, can add dimension, but always aim for uniformity when outlining or filling in areas. Precision comes from controlled movements, so take your time and make deliberate strokes rather than rushing through. If you make a mistake, don’t panic—gently go over the area again or use a lighter touch to blend or erase unintended marks. Additionally, understanding how tool maintenance impacts your burn quality can help you maintain consistent results. Proper maintenance is key to achieving that polished, controlled look you’re after.
Equally crucial is tool maintenance. Your woodburning pen or tool needs to be kept in top condition to guarantee clean lines and consistent heat. Regularly clean the tip with a damp cloth to remove char buildup, which can cause uneven burning or smudges. Proper maintenance also involves checking that your temperature controls work correctly; a stable heat source allows for more accurate, controlled burning. If your tool has interchangeable tips, keep them sharp and free from debris, swapping them out when they become dull or clogged. Using a well-maintained tool reduces the chances of accidental slips or uneven burns, helping you achieve that polished, controlled look you’re after.
Another tip is to work in a well-lit, comfortable space, so you can see every detail clearly and maintain steady hand control. Keep your workspace organized, with your tools within easy reach, and use a heat-resistant surface to protect your work area. To keep your lines clean, consider using a light pencil sketch as a guide before burning. This way, you can focus on following your design with precision, reducing the chance of stray marks. Also, practice on scrap wood before working on your final piece; this helps you get a feel for your tool’s heat and how different burning techniques translate into the finished look.
As an affiliate, we earn on qualifying purchases.
Frequently Asked Questions
What Safety Gear Should I Wear While Woodburning?
You should wear safety precautions like safety goggles to protect your eyes from sparks and debris, and a dust mask to avoid inhaling fumes or smoke. Protective gear such as heat-resistant gloves keeps your hands safe from burns, and a long-sleeved shirt adds extra protection against accidental flames. Always work in a well-ventilated area, and take these safety precautions seriously to guarantee a safe, controlled woodburning experience.
How Do I Prevent Smudging or Accidental Marks?
Prevent pesky smudges and accidental marks by practicing precise pattern placement and planning. Keep your design patterns clear and consistent, and use light pencil sketches to guide your burning. Employ steady strokes and controlled color techniques, avoiding hurried hand movements. Protect your work with masking tape or painter’s tape, and work slowly, focusing on accuracy. These techniques will help you produce polished, professional-looking woodburnings, free from unwanted smudges and accidental marks.
Can I Fix Mistakes After Burning?
Yes, you can fix mistakes after burning. For mistake correction, gently erase or sand away light scorch marks if the surface allows. For more significant errors, burn repair techniques like carefully re-burning or applying darker shading over mistakes work well. Always work slowly and cautiously to maintain control. Practice makes perfect, so don’t get discouraged if your initial attempts aren’t flawless—refining your technique will help you achieve cleaner, more controlled woodburning results.
What Type of Wood Is Best for Clean Lines?
For clean lines, choose basswood or birch, as their smooth surfaces and fine woodgrain patterns make detailed work easier. Proper surface preparation, like sanding smoothly and removing dust, allows your pyrography tool to glide effortlessly. These woods prevent uneven burn marks, helping you achieve more controlled, crisp lines. Avoid rough or knotty woods, which can cause splintering or uneven burns, making your artwork look less refined.
How Do I Choose the Right Burning Tip Size?
Choosing the right burning tip size might seem trivial, but it’s essential for control and precision. You’ll want a smaller tip for fine lines and detailed work, while larger tips handle bold strokes. Remember, burning tip maintenance and tip temperature control are critical—keep tips clean and adjust temperature to prevent smudging or uneven lines. Irony strikes: the perfect tip size makes your art look effortless, yet mastering it takes patience and care.
woodburning tool maintenance kit
As an affiliate, we earn on qualifying purchases.
As an affiliate, we earn on qualifying purchases.
Conclusion
To achieve a cleaner, more controlled woodburning result, practice your technique regularly and use steady, deliberate movements. Incorporate different tip sizes for detail work and shading, and always keep your tools clean for crisp lines. Notably, studies show that artists who practice intentionally and refine their skills see a 40% improvement in precision over time. So, stay patient, keep practicing, and your woodburning projects will look more polished and professional with each attempt.
woodburning stencils and templates
As an affiliate, we earn on qualifying purchases.
As an affiliate, we earn on qualifying purchases.
adjustable temperature woodburning pen
As an affiliate, we earn on qualifying purchases.
As an affiliate, we earn on qualifying purchases.
Fall yard work Picks
leaf blowers
As an affiliate, we earn on qualifying purchases.