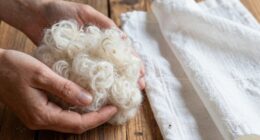

To quickly fix bent needles, carefully remove and gently straighten them with fine-nose pliers, checking for alignment with a magnifying glass, or replace severely damaged ones. For warped hoops, loosen or adjust the frame to restore proper shape, ensuring fabric stays taut. Twisted tools should be carefully straightened or replaced if safety is compromised. Proper maintenance prevents major damages; keeping an eye on these issues will help keep your projects smooth—keep going for more detailed tips.
Key Takeaways
- Inspect bent needles, hoops, and tools regularly using a magnifying glass to identify warps or distortions early.
- Carefully straighten minor bends on needles with fine-nose pliers, avoiding excessive force to prevent breakage.
- Replace severely warped hoops or twisted tools promptly to ensure proper function and prevent damage.
- Always test repaired or replaced parts on scrap fabric to confirm smooth operation and accurate stitching.
- Maintain a toolkit with spare needles, hoops, and tools for quick replacement and ongoing sewing quality.
Bent needles can disrupt your sewing projects and cause frustration, but fixing them is often simple. Whether you’re working with hand sewing needles or machine needles, a bent needle can lead to skipped stitches, fabric damage, or uneven sewing. The importance is knowing how to perform needle straightening and bent needle repair efficiently. When you notice your needle isn’t sewing smoothly or it appears bent, don’t ignore it. Continuing to sew with a damaged needle can worsen the problem and damage your fabric or machine.
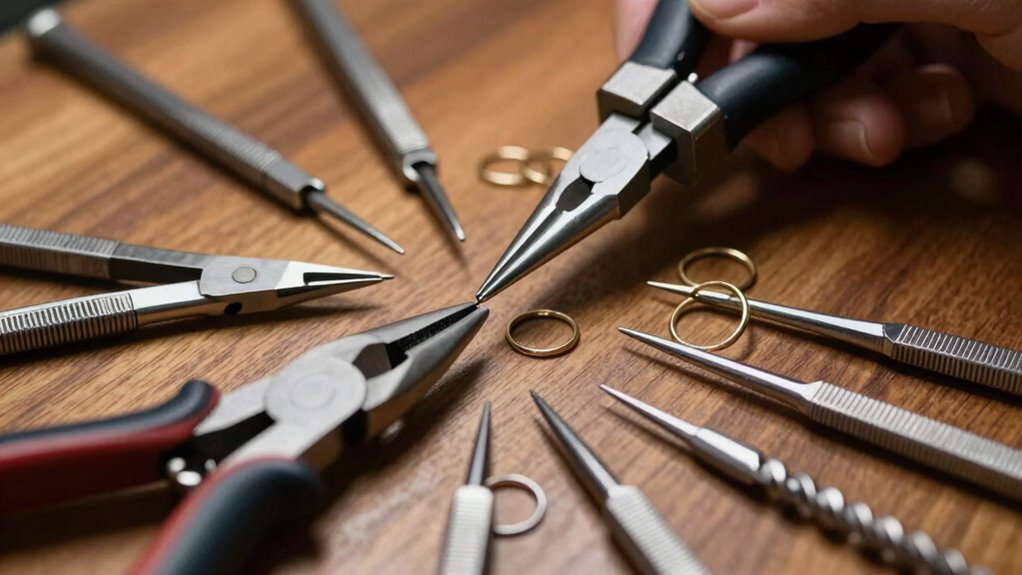
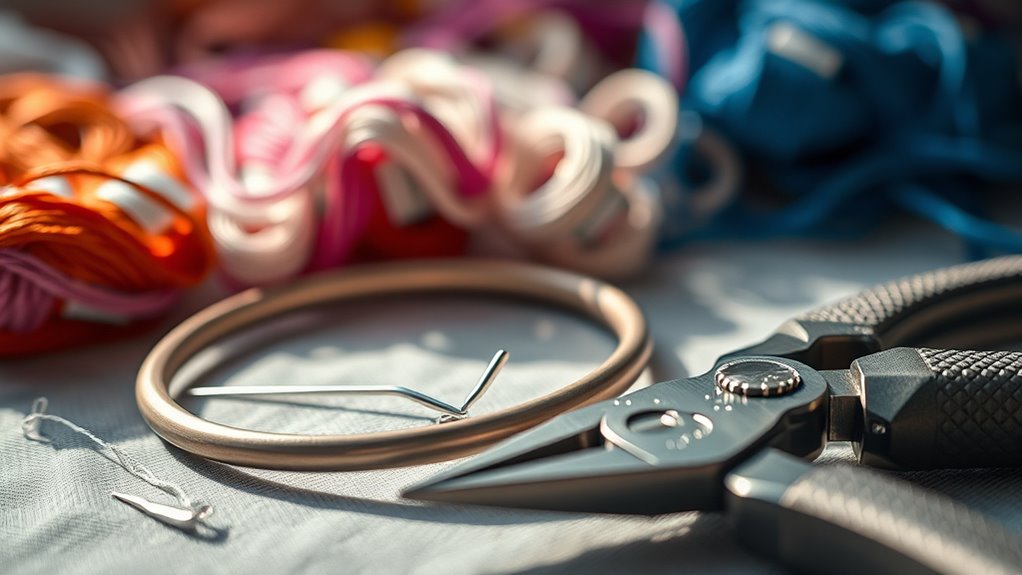
To start, you need a few basic tools: a pair of fine-nose pliers, a magnifying glass (if necessary), and a steady hand. Carefully remove the bent needle from your sewing machine or sewing kit. Once removed, examine it closely under the magnifying glass. If the bend is minor, you can attempt needle straightening by gently gripping the needle with your pliers. Be cautious not to apply too much pressure, as excessive force might cause the needle to break. Gently straighten the needle by twisting it back into alignment, working slowly and carefully.
For more severe bends, it’s best to replace the needle entirely. Trying to straighten a severely bent needle can compromise its integrity, risking breakage during sewing and potential damage to your machine. If you opt for needle straightening, always double-check the needle’s alignment by holding it up to a light or comparing it to a new needle. Make sure it’s straight and smooth, with no visible bends or warps. After straightening, reinsert the needle into your machine, making sure it’s properly secured and aligned according to your machine’s instructions. Test the sewing machine on scrap fabric to confirm everything runs smoothly.
In cases where the needle is warped or twisted beyond repair, replacing it is your best option. Always keep spare needles on hand, and use the correct type and size for your project. Remember, a damaged or bent needle can cause uneven stitches, skipped stitches, or fabric snags, so addressing the issue promptly is vital. Regularly inspecting your needles and performing bent needle repair when needed can save you time and frustration in the long run. Additionally, understanding the importance of high-quality projectors can help you achieve better results in your sewing or crafting projects by ensuring clear and precise stitching.
Frequently Asked Questions
Can Bent Needles Be Safely Used After Repair?
Yes, bent needles can be safely used after repair if you check the safety considerations and make certain the repair is durable. Inspect the needle thoroughly for any weak spots or signs of stress, and make sure it’s straight and secure. Testing it on a scrap material first helps confirm its strength. If it passes these checks, you can confidently use it again, but always stay cautious to prevent further damage.
What Tools Are Best for Straightening Warped Hoops?
To straighten warped hoops, use smooth-jawed pliers or a hoop bending tool designed for metal bending. These tools allow precise hoop restoration without damaging the metal. Gently apply even pressure along the warped area, gradually restoring the hoop’s shape. Always work on a stable surface and take your time. Proper tools and careful technique guarantee your hoop is restored safely, maintaining its integrity for continued use.
How Do I Prevent Twisting Tools From Warping?
To prevent twisting tools from warping, you should prioritize proper tool maintenance and storage solutions. Regularly clean and check your tools for signs of wear, and avoid exposing them to excessive heat or moisture. Store your tools in a designated, organized space where they won’t be knocked around or bent. Using padded cases or wall racks helps protect them, ensuring they stay straight and ready for your next project.
Are There Professional Services for Fixing Damaged Tools?
Yes, there are professional repair services available for fixing your damaged tools. You can find specialized tool maintenance and repair services at local jewelry repair shops or dedicated tool repair centers. These professionals have the expertise to straighten, reshape, or refurbish bent needles, warped hoops, and twisted tools, ensuring your equipment works properly again. Investing in professional repair services helps extend your tools’ lifespan and maintains their performance.
How Often Should I Check My Tools for Damage?
You should check your tools every few uses or weekly, whichever comes first. Research shows that proper tool maintenance reduces injury risk by 30%. Regular inspections help you spot damage early, ensuring safety precautions are in place and tools stay in top condition. By staying vigilant, you prevent accidents and prolong your tools’ lifespan, making your work safer and more efficient. Remember, consistent checks are key to safe, effective crafting.
Conclusion
Now that you’ve got the tools to tame bent needles, warped hoops, and twisted tools, you’re the captain steering your sewing ship through choppy waters. Think of each fix as a small victory, turning chaos into harmony. With a little patience and these tricks up your sleeve, your sewing adventures will sail smoothly again. So go ahead, mend with confidence, and let your creativity flow like a river unblocked—unstoppable and free.