To sew crisp corners without bulk, sew nearly to the corner and backstitch to secure, then clip or notch seam allowances to reduce bulk and help the fabric lay flat. Use sharp pins or clips to handle light fabrics, and press seams open with steam for a smooth finish. Trimming seam allowances carefully and grading them can further minimize bulk. If you keep these techniques in mind, you’ll achieve sharp, professional corners every time.
Key Takeaways
- Trim seam allowances carefully and consider seam grading to reduce inside bulk at corners.
- Clip or notch seam allowances at corners to allow fabric to lay flat when turned right side out.
- Sew close to the corner point, then backstitch to secure, for a neat, sharp finish.
- Use pressing and steam to flatten seams and set crisp corners during finishing.
- Use appropriate techniques and tools, like tissue paper or stabilizer, for slippery or delicate fabrics.

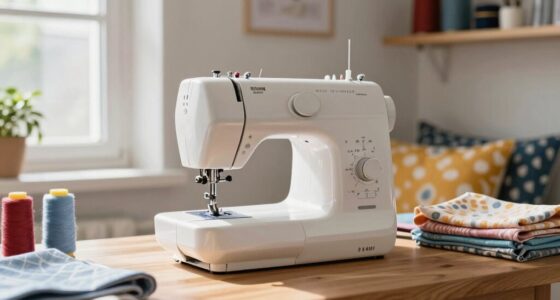
Sewing crisp corners without bulk can be tricky, but with the right techniques, you can achieve neat, professional-looking results. The key lies in understanding fabric types and how they behave, as well as employing effective seam finishes. Different fabric types, like lightweight cotton, silk, or heavier upholstery fabrics, each require specific handling to prevent bulk at the corners. Lightweight fabrics tend to shift easily and can fray, so you’ll want to use sharp pins or clips and sew slowly to maintain precision. Thicker or woven fabrics can create bulk, especially at corners, so it’s essential to trim seam allowances carefully and press seams flat to reduce bulk.
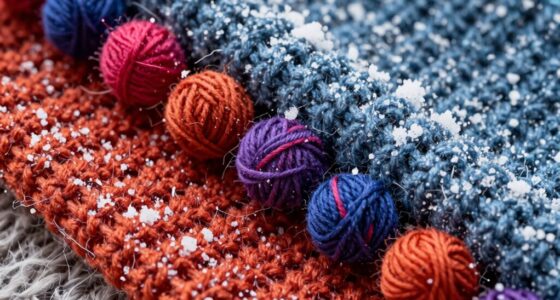
Master different fabrics and trim seam allowances to achieve neat, crisp corners without bulk.
When sewing corners, consider the seam finishes you use. If you leave raw edges exposed, bulk can accumulate as you turn corners, making them less sharp. Using seam finishes such as serging, zigzag stitches, or pinking shears helps to prevent fraying and reduces bulk. For lighter fabrics, a simple zigzag or pinking shears often suffice; for heavier fabrics, a serger can create a clean, flat finish that minimizes bulk at the corners. No matter what seam finish you choose, pressing your seams open or to one side is vital. Pressing helps flatten the fabric, especially at corners, so they turn crisp and neat without adding unnecessary bulk. Additionally, understanding fabric behavior can help you select the best sewing techniques for each material. Recognizing how different fabrics respond during sewing can also inform your choice of seam finishes, ensuring a smooth and polished final product.
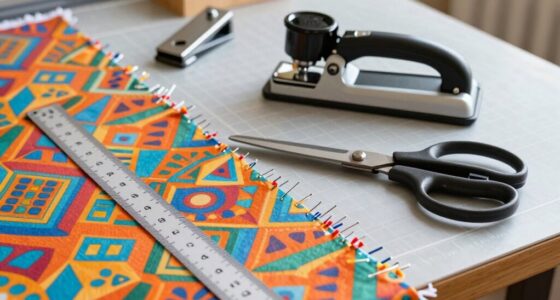
To achieve sharp corners, start by sewing almost to the corner point, then backstitch to secure. Before turning the corner right-side out, clip or notch the seam allowances close to the stitching, especially at the corners. This step allows the fabric to lay flatter when turned, preventing puckering or bulging. As you turn the corner, use a point turner or the end of a pencil to gently push out the corner edges, ensuring they’re sharp and defined. Press the corner flat with an iron, using steam if necessary, to set the shape. A well-pressed corner will look crisp and professional. Proper seam allowances, combined with seam grading, can further help reduce bulk and improve the overall appearance of your finished corners. Practicing these techniques regularly will help you develop consistency in creating crisp corners.
Adjust your sewing technique based on fabric types. For slippery fabrics, use tissue paper or a stabilizer underneath to keep the fabric in place. For bulky seams, consider grading the seam allowances—trimming the thicker parts—so they lay flatter inside the corner. Proper seam finishes combined with careful trimming and pressing are essential to avoid bulk and create sharp, clean corners. With practice and patience, you’ll master the art of sewing crisp corners that look polished and professional, regardless of fabric type.

The Quilted Bear Wooden Point Turner – Ergonomic Point Turner Sewing Tool for Crisp Corners, Curved Edges & Seam Marking, Durable Wooden Turning Tool for Sewing & Quilting
Ergonomic Design: The Quilted Bear Wooden Point Turner is ergonomically designed for optimal grip, making it an essential…
As an affiliate, we earn on qualifying purchases.
As an affiliate, we earn on qualifying purchases.
Frequently Asked Questions
Can I Use This Technique on Thick or Layered Fabrics?
Yes, you can use this technique on thick or layered fabrics. Just keep in mind that fabric thickness and layered materials require extra attention. Use sharp, heavy-duty needles and strong thread to handle the bulk. Sew slowly to maintain control and precision. If the layers are too bulky, consider trimming or grading seams to reduce bulk and achieve sharp, crisp corners without adding extra bulk or difficulty.
What Seam Allowance Is Best for Sharp Corners?
For sharp corners, a seam allowance of about 1/4 inch works best. This allows you to clip or notch the seam to reduce bulk, helping you achieve crisp, clean points. If you want even sharper corners, consider using a slightly narrower seam allowance, but be careful to prevent fraying or weakening the seam. Adjusting your seam allowance helps you control the sharpness and neatness of your corners.
How Do I Press Corners Without Flattening the Point?
To press corners without flattening the point, use the right corner techniques and pressing tools. First, clip the seam allowance at the point to reduce bulk. Then, press the seam open or to one side gently with a pointed pressing tool or a small, narrow iron. Keep the tip of the tool right on the point, applying gentle pressure to maintain its sharpness without flattening. This method preserves crisp, precise corners.
Is This Method Suitable for Curved or Rounded Corners?
Ever wondered if this method works for curved or rounded corners? Yes, it can, especially with curved corner techniques and rounded corner finishing. You’ll want to carefully clip and clip again, easing the fabric around the curve. Use small, gentle stitches and press gently to prevent flattening the point. This way, you achieve smooth, professional-looking rounded corners without bulk, making your project look polished and clean.
Can I Sew Crisp Corners on Stretch or Slippery Fabrics?
Yes, you can sew crisp corners on stretch or slippery fabrics. To do so, guarantee good fabric stability by using a stabilizer or tissue paper during sewing. Reinforce your seams with a slight zigzag stitch or stretch stitch to prevent puckering or stretching. Press carefully with a pressing cloth to set the corners, and avoid pulling or stretching the fabric as you sew. This approach helps achieve sharp, clean corners on tricky fabrics.

Seam Ripper Clipper
Creative Notions Seam Ripper & Clipper.
As an affiliate, we earn on qualifying purchases.
As an affiliate, we earn on qualifying purchases.
Conclusion
Mastering crisp corners without bulk is like perfecting a dance move—you’ll feel confident and graceful with practice. By carefully trimming, pressing, and stitching, you’ll create sharp, professional-looking edges every time. Remember, patience and attention to detail are your best friends here. Once you get the hang of it, your sewing projects will turn out as polished as a mirror’s reflection. Keep practicing, and watch your skills blossom like a flower in full bloom.

Savina Stiletto & Pressing Tool – Essential Quilting/Sewing Tool Stiletto, Presser – Precision Placement Tool for Getting Seams to Lay Correctly (1 Pieces)
Smart tool for quilters, sewers & tailors: Stiletto & Pressing tool has a pointed end made of stainless…
As an affiliate, we earn on qualifying purchases.
As an affiliate, we earn on qualifying purchases.

Ortarco Seam Ripper and Thread Remover Kit for Sewing 2 Big 2 Small Stitch Ripper Tool and 1 Thread Snips
Made of ABS plastic handle with High-carbon steel blades, Sharp and Durable.
As an affiliate, we earn on qualifying purchases.
As an affiliate, we earn on qualifying purchases.