To fix a pottery piece that feels awkward, start by inspecting for rough spots, sharp edges, or uneven shapes that may cause discomfort. Smooth these areas with gentle sanding or manual refinement after firing to improve the surface feel. Applying a thin, controlled glaze layer can fill imperfections, and adjusting firing temperatures helps guarantee a smooth finish. Combining these techniques and noticing how surface and shape affect comfort will lead to a better final piece—you’ll find even more tips ahead.

Get business pricing on tools and workshop supplies
- Business-only prices and quantity discounts
- Tax-exempt purchasing
- Multiple users, one account, clear invoices
Key Takeaways
- Identify and smooth rough or uneven surfaces using fine sandpaper or abrasive pads after firing.
- Adjust shape and edges to eliminate sharp or awkward areas for a more comfortable grip.
- Apply a thin, controlled glaze layer to fill imperfections and create a smooth surface.
- Ensure proper firing temperature to achieve a uniform glaze and avoid warping or roughness.
- Manually refine the surface post-firing to blend repairs and enhance overall feel.
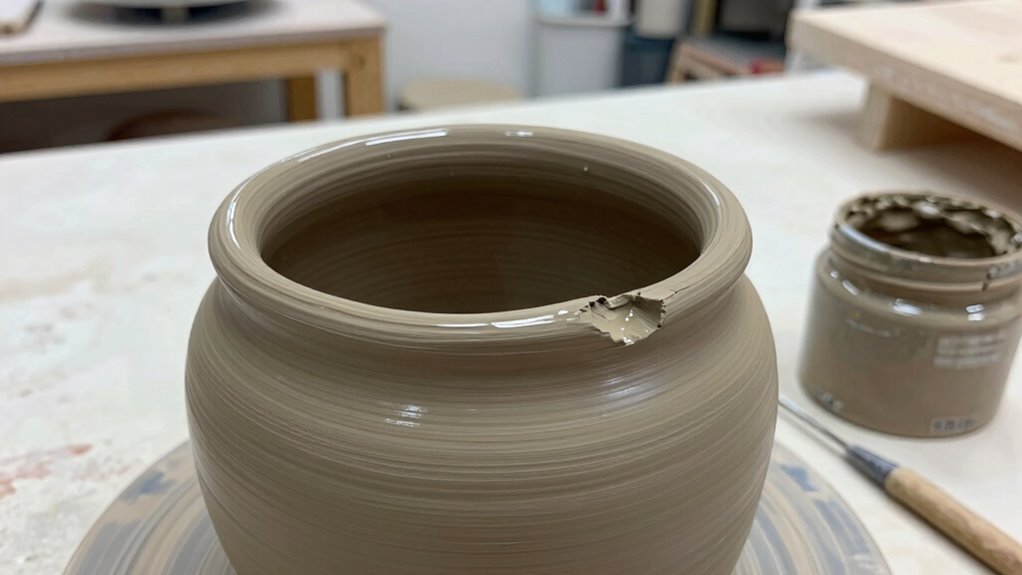
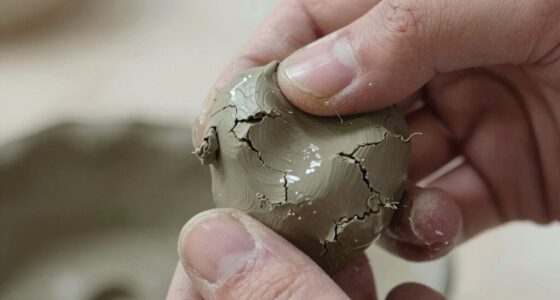
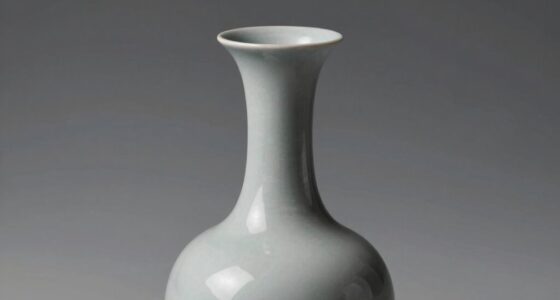
Cracks and chips can happen to even the most carefully crafted pottery, but you don’t have to throw away a damaged piece. When your pottery feels awkward in the hand, it often means it needs a bit of refinement or repair. The good news is that with some patience and the right techniques, you can improve its comfort and appearance. One key step is understanding how glazing techniques can help smooth out rough or uneven surfaces, making the piece more pleasant to hold. If your pottery feels rough or uneven, consider applying a thin layer of glaze over the affected areas. Using a smooth, controlled application can fill in small imperfections and create a more uniform surface. Afterward, firing the piece again at the correct temperature will help the glaze melt evenly, sealing any surface irregularities.
Applying a thin glaze layer and firing at the correct temperature smooths imperfections and enhances your pottery’s comfort and appearance.
Adjusting the firing temperature is crucial in this process. If your piece has been under-fired, the glaze may not have melted properly, leaving a rough or uneven surface that feels uncomfortable in your hand. Conversely, over-firing can cause warping or a brittle feel. Experiment with firing temperature adjustments to find the firing schedule that ensures the glaze flows smoothly and bonds well with the clay body. This often requires testing small samples first, especially if you’re working with a new glaze or clay type. Remember, different glazes and clays have specific firing ranges; adhering to those recommendations guarantees a more refined finish. Additionally, understanding how to control kiln atmosphere can help influence the surface quality and overall firing results. Keeping detailed notes on your firing process can also contribute to consistent success in refining your pottery.
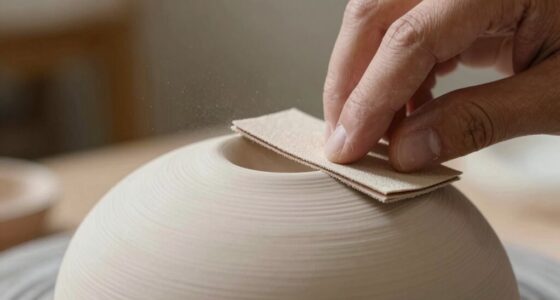
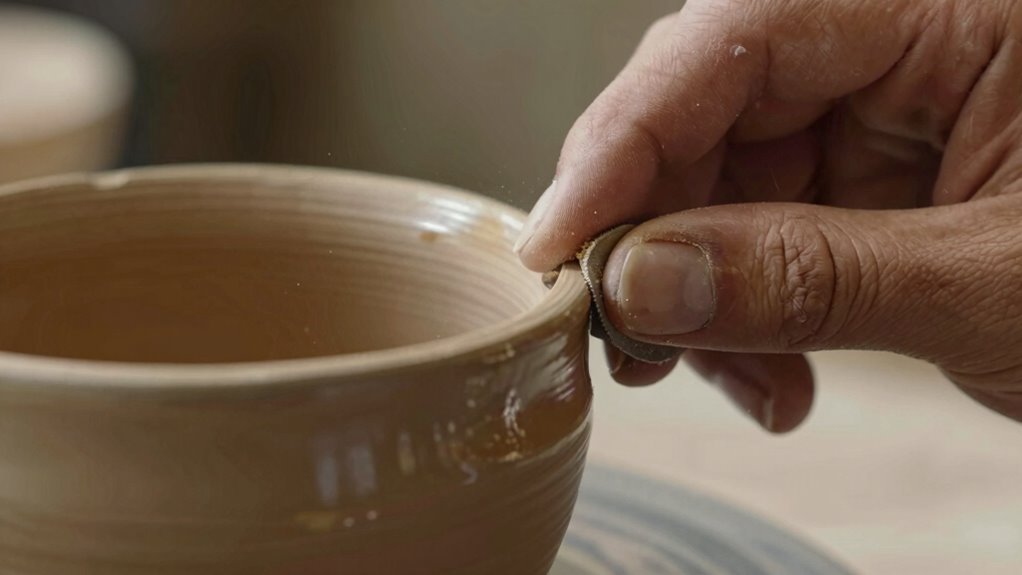
Sometimes, the shape of your pottery might be the root cause of its awkward feel. If a surface is uneven or edges are sharp, gently sanding or smoothing those areas can significantly enhance comfort. Use fine-grit sandpaper or abrasive pads after firing, avoiding excessive pressure that could damage the glaze. When smoothing, take care to blend any repaired areas seamlessly with the original surface, paying attention to how the piece feels in your hand. This manual touch-up can often make a noticeable difference in how comfortable it is to hold. Proper surface preparation before glazing can also reduce the likelihood of surface irregularities, ensuring a smoother final product. Additionally, understanding how to refine pottery surfaces can help you achieve a more professional and comfortable finish. Incorporating kiln atmosphere control techniques can also influence the surface quality, ensuring a more consistent and desirable outcome.
Ultimately, the goal is to balance proper glazing techniques with precise firing adjustments. These steps will not only improve the aesthetic quality of your pottery but also make it more enjoyable to use. By paying close attention to glaze application and firing schedules, you can correct surface irregularities and shape issues, transforming an awkward piece into a beautifully finished, comfortable object. Rest assured, with some patience and experimentation, you’ll be able to turn a flawed piece into a functional and attractive work of art.
fine sandpaper for pottery smoothing
As an affiliate, we earn on qualifying purchases.
As an affiliate, we earn on qualifying purchases.
Frequently Asked Questions
Can I Reshape a Glazed Pottery Piece Without Damaging the Glaze?
You can reshape a glazed pottery piece without damaging the glaze if you carefully rework it when it’s leather-hard. Use gentle pressure and avoid excessive force. Be mindful of glazing techniques, as they influence how the glaze reacts during firing. Reshaping after firing risks damaging the glaze, especially if the firing temperature wasn’t uniform. Always adjust while the clay is still malleable to preserve the glaze’s integrity and avoid cracks.
What Tools Are Best for Adjusting a Pottery Piece’s Shape?
Imagine sculpting clay with precision—your best tools are metal rib tools and loop or needle tools. They let you carve, reshape, and smooth with control. Keep your tools clean and well-maintained; dull or dirty tools can mar your work. Use wooden or silicone shapers for gentle adjustments. Proper tool maintenance guarantees sharpness and hygiene, making shaping easier. These tools help you fine-tune your pottery’s form, giving it a comfortable, refined feel.
How Long Should I Wait Before Fixing a Pottery Piece?
You should wait until your pottery piece reaches a ceramic texture that’s firm but still slightly damp, usually after the initial drying phase. Avoid fixing it too early, as the clay is too soft, or too late, when it’s too dry and brittle. Check the firing temperature guidelines for your clay type; proper timing guarantees your adjustments won’t crack or warp during firing. Patience helps achieve a smooth, comfortable finish.
Is It Possible to Correct an Awkward Fit After Firing?
Yes, you can correct an awkward fit after firing through surface repair and aesthetic correction. Use fine tools or sandpaper to smooth rough edges, then apply a matching slip or glaze to blend repairs seamlessly. For larger adjustments, consider carefully reshaping the piece with heat or re-firing, but be cautious—most fixes involve surface work to improve comfort and appearance without compromising the piece’s integrity.
What Common Mistakes Cause Pottery to Feel Uncomfortable in the Hand?
You might feel uncomfortable in the hand because of common mistakes like neglecting ergonomic grip and hand comfort. When shaping your pottery, if you don’t consider how it fits naturally, it can lead to awkwardness. Overly thick or uneven walls, poor weight distribution, or sharp edges also cause discomfort. Pay attention to how your piece feels during creation, ensuring it supports a comfortable, ergonomic grip for better handling and user experience.
As an affiliate, we earn on qualifying purchases.
Conclusion
Remember, every pottery piece has its own story, and sometimes a gentle touch can help it find its comfort again. When a piece feels a bit off, a little patience and care can transform it into something even more special—like a quiet whisper of potential waiting to be realized. Embrace these moments as opportunities to learn and grow, turning small imperfections into the charm that makes your pottery uniquely yours.
ceramic kiln temperature controller
As an affiliate, we earn on qualifying purchases.
As an affiliate, we earn on qualifying purchases.
As an affiliate, we earn on qualifying purchases.
Fall yard work Picks
leaf blowers
As an affiliate, we earn on qualifying purchases.