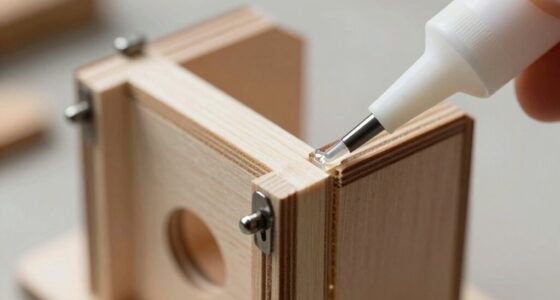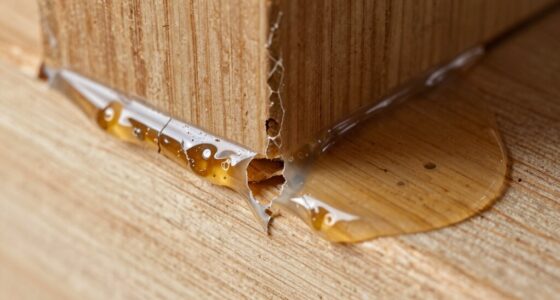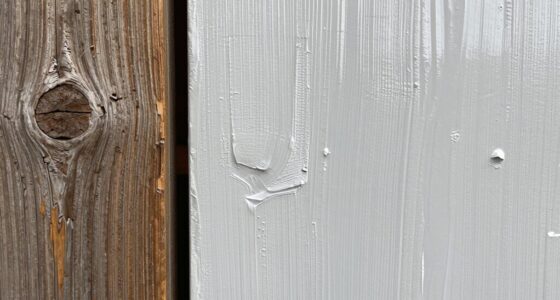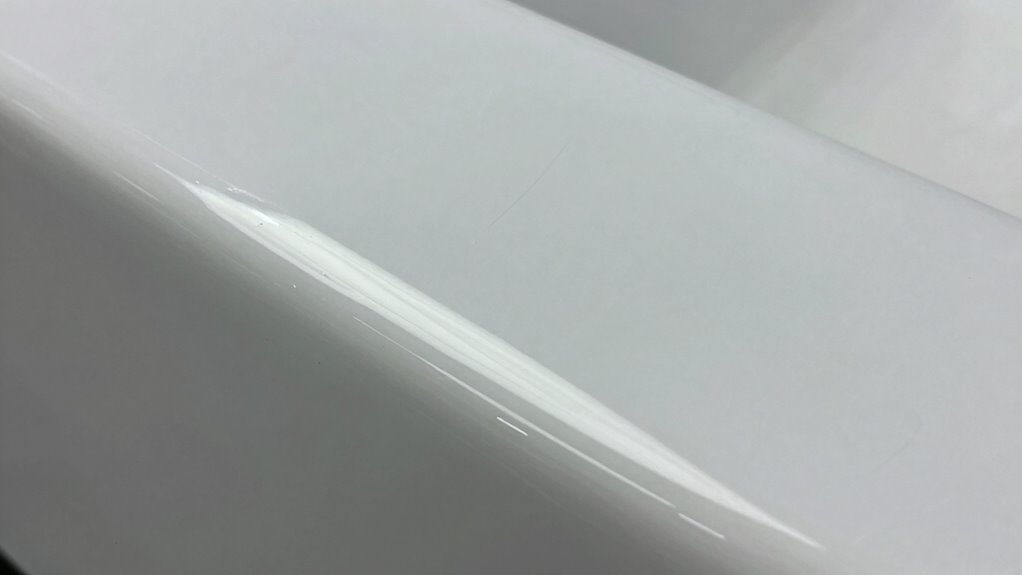

Tiny surface defects like scratches, pits, or even invisible dust and oil can ruin an otherwise perfect finish. These imperfections weaken paint adhesion, causing peeling, bubbling, or uneven texture over time. Contaminants trapped beneath the surface can also compromise durability and appearance. Paying attention to small flaws and ensuring thorough cleaning and surface preparation is essential for a professional, long-lasting result. Keep going to discover how proper prep can prevent these tiny but costly mistakes.
Key Takeaways
- Small surface scratches or pitting can cause uneven paint application and affect the final appearance.
- Invisible contaminants like oil or dust prevent proper adhesion, leading to peeling or flaking.
- Tiny imperfections can expand over time, resulting in costly repairs and compromised durability.
- Uncorrected surface flaws create uneven coatings and diminish overall finish quality.
- Neglecting thorough surface preparation allows minor defects to escalate into major finish issues.
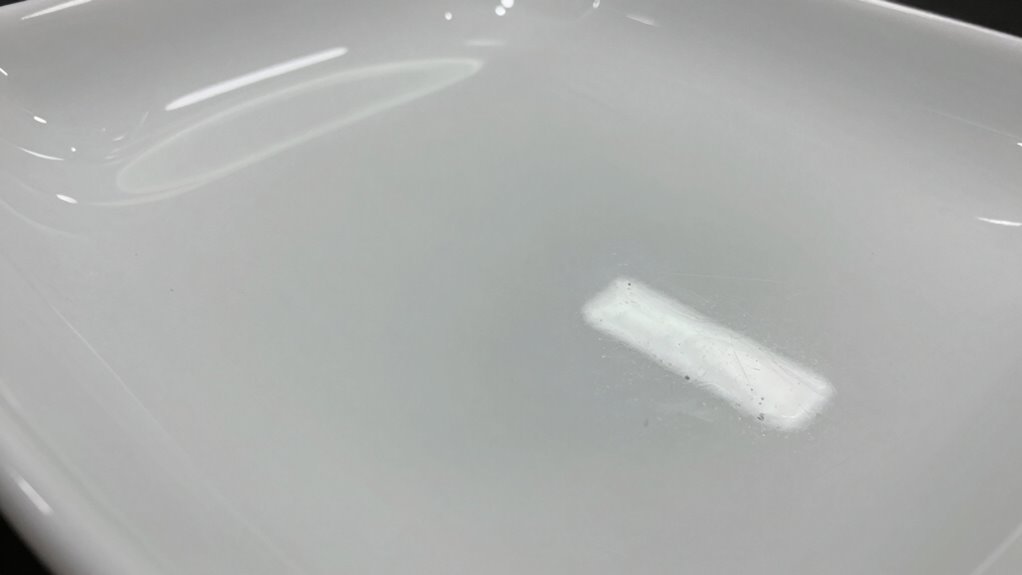
Even though they seem insignificant, tiny surface defects can reveal much about a material’s quality and history. These small imperfections, often overlooked, can be the difference between a flawless finish and a costly failure. When you’re preparing a surface for painting or finishing, understanding the role of surface contamination is crucial. Contaminants like oil, grease, dust, or moisture cling to the surface, creating tiny flaws that disrupt the surface’s smoothness. These contaminants aren’t always visible to the naked eye, but they can undermine paint adhesion, causing peeling, flaking, or bubbling down the line. If you skip proper cleaning, you risk trapping these impurities beneath the paint layer, which can compromise the durability and appearance of your work.
Paint adhesion is a critical factor in achieving a long-lasting finish. When the surface isn’t properly prepared, even the tiniest defect can prevent the paint from sticking uniformly. Surface contamination acts like a barrier, preventing the paint from bonding effectively to the substrate. This leads to weak spots that flake or peel prematurely, ruining what seemed like a perfect job initially. To avoid this, you need to meticulously clean the surface, removing any oils, dust, or residues. Using the right cleaning agents and techniques ensures that the surface is free of contamination, providing a perfect foundation for paint or coating. Remember, the success of your project hinges on attention to these minute details. Recognizing how surface defects can impact the overall outcome emphasizes the importance of thorough preparation. Additionally, understanding surface quality and its influence on finishing results can help you identify potential issues before they escalate. Paying attention to surface integrity can prevent small flaws from developing into larger problems over time.
In addition to contamination, other tiny surface defects like scratches, pitting, or uneven textures can also interfere with paint adhesion. These flaws create areas where the coating doesn’t spread evenly, resulting in an inconsistent finish. Over time, these small imperfections can expand, leading to more significant problems and higher maintenance costs. You should inspect your surface thoroughly before applying any finish, removing or smoothing out defects to ensure a uniform application. Sanding, filling, or grinding can help eliminate surface irregularities that might compromise the final look and longevity of your work. Proper surface assessment and correction are essential steps in the preparation process to ensure a durable, professional-quality finish. Being aware of the material properties can help you select the most suitable correction methods for different surfaces.
Ultimately, the tiniest surface defects can have outsized impacts on your project’s success. By paying close attention to surface contamination and addressing any flaws early, you set yourself up for a flawless, durable finish. It’s these minute details that distinguish a professional-looking result from one that falls short. When you handle surface preparation with care, you’re not just improving aesthetics—you’re enhancing the overall quality and longevity of your work. Don’t overlook the small imperfections; instead, use them as clues to achieve a truly high-quality finish.
surface cleaner for painting prep
As an affiliate, we earn on qualifying purchases.
As an affiliate, we earn on qualifying purchases.
Frequently Asked Questions
Can Surface Defects Be Completely Eliminated During Finishing?
Surface defects can’t be completely eliminated during finishing, but you can minimize them through effective surface defect prevention and finishing process optimization. By carefully preparing the surface, controlling environmental conditions, and selecting suitable finishing techniques, you reduce the likelihood of tiny imperfections. Consistently monitoring and adjusting your process ensures a smoother, high-quality finish. While perfection is challenging, these steps markedly improve your results and help achieve a near-flawless surface.
What Tools Are Best for Detecting Tiny Surface Imperfections?
You should use magnification tools like jeweler’s loupes or microscopes to spot tiny surface imperfections accurately. Non-destructive testing methods, such as ultrasonic or eddy current testing, are also effective for detecting defects without damaging the material. These tools allow you to closely examine the surface and identify flaws early, ensuring a flawless finish. Incorporating them into your process helps maintain high quality and prevents minor defects from ruining your work.
Do Environmental Factors Influence Surface Defect Formation?
Environmental conditions directly influence surface defect formation. You should monitor factors like humidity, temperature, and airborne particles, as they can cause surface contamination or affect drying times. High humidity might lead to moisture spots, while dust or pollutants settle on surfaces, creating tiny imperfections. By controlling these environmental factors, you reduce the risk of surface contamination, ensuring a smoother, flawless finish. Proper ventilation and clean surroundings are key to preventing these defects.
How Long Does It Take to Correct Minor Surface Flaws?
Correcting minor surface flaws usually takes a few hours to a day, depending on the defect and finishing techniques used. To speed up surface defect prevention, you should identify issues early and address them with appropriate repairs. Using proper finishing techniques, like sanding and polishing, helps guarantee a smooth, flawless surface. Always inspect your work thoroughly and take your time, as rushing can cause more surface defects and extend the correction process.
Are Certain Materials More Prone to Surface Defects?
You might think all materials are equally prone to surface defects, but that’s not true. Material properties play a big role—metals, plastics, and wood each respond differently to surface treatment. Some materials, like soft woods or delicate plastics, are more susceptible to tiny flaws during finishing. To minimize defects, choose appropriate surface treatments tailored to the specific material’s properties, ensuring a smooth, flawless finish every time.
fine sanding sponge for surface smoothing
As an affiliate, we earn on qualifying purchases.
As an affiliate, we earn on qualifying purchases.
Conclusion
Those tiny surface defects might seem insignificant, but they can ruin a flawless finish. Did you know that over 60% of finish reapplications are caused by overlooked surface imperfections? Paying close attention during preparation guarantees your project turns out perfect the first time. Don’t underestimate the power of a thorough inspection—sometimes, the smallest flaw can make the biggest difference. So, take your time, fix those tiny defects, and enjoy a stunning, professional-looking finish every time.
As an affiliate, we earn on qualifying purchases.
As an affiliate, we earn on qualifying purchases.