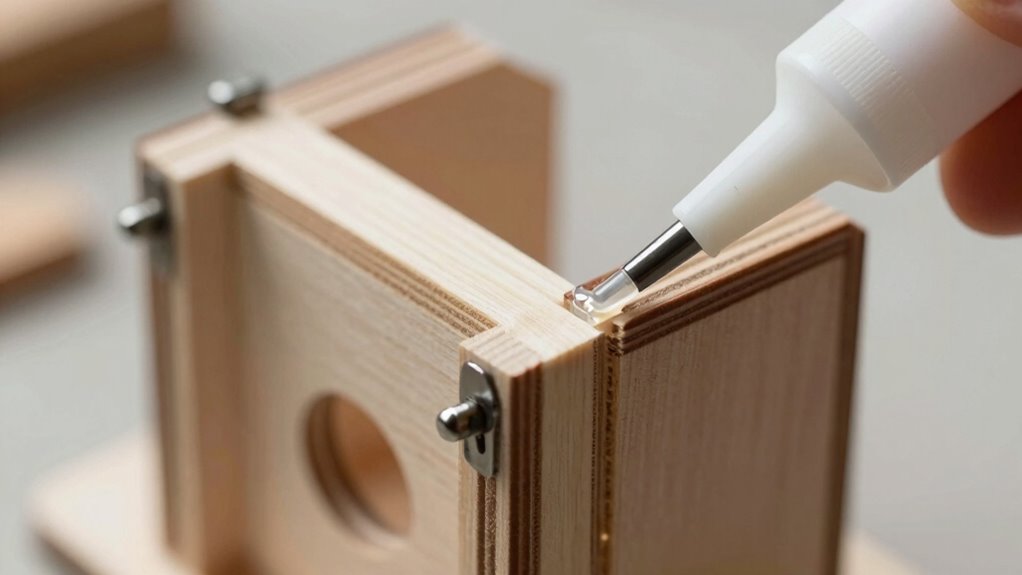

To achieve cleaner glue-ups on small projects, focus on aligning the wood grain for a seamless look and stronger joints. Use thin, even glue application with appropriate clamps to prevent squeeze-out and shifting. Be patient and allow proper drying time, considering environmental factors like humidity. Small adjustments in technique make a big difference, and paying attention to detail will give you professional results. Keep exploring these tips to master flawless glue-ups every time.
Open a free Amazon Business account
Business pricing, bulk buying and tax-exempt orders.
As an affiliate, we earn on qualifying purchases.
Key Takeaways
- Ensure wood grain is properly aligned to enhance joint strength and appearance.
- Apply an even, thin layer of glue using appropriate tools to prevent excess squeeze-out.
- Use consistent clamping pressure to keep pieces aligned without over-squeezing the glue.
- Follow recommended drying times and control environmental conditions for optimal adhesion.
- Plan your workflow to allow adequate drying time, ensuring cleaner, more durable joints.
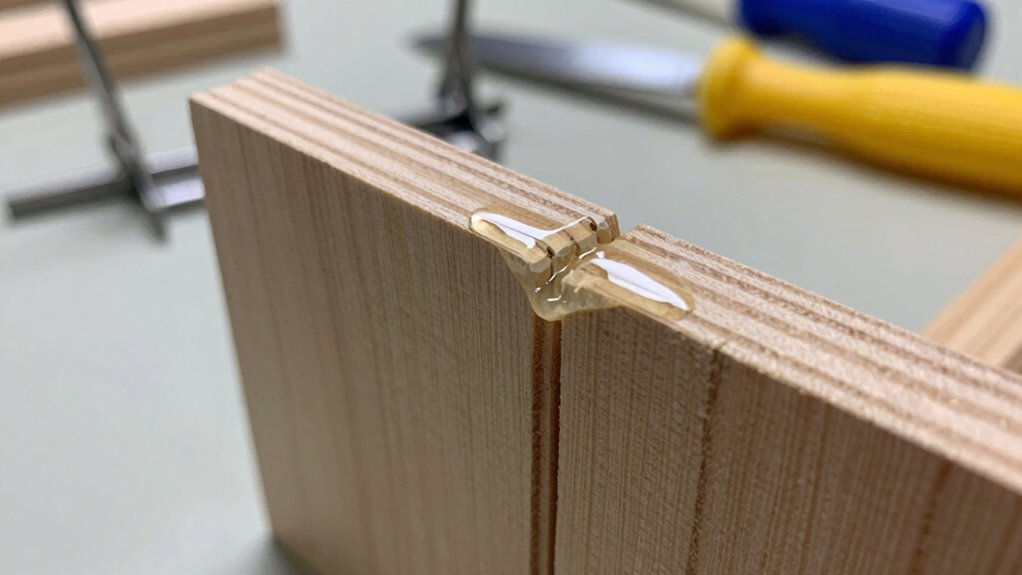
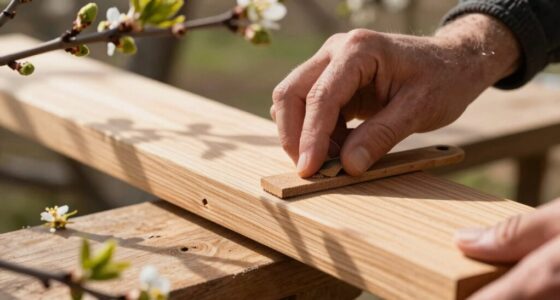
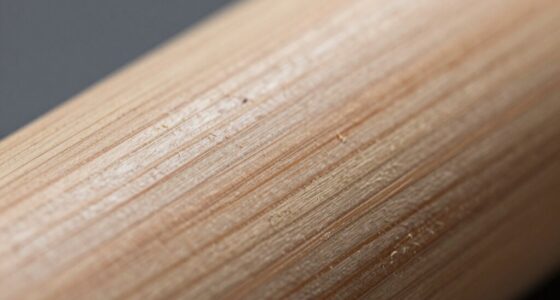
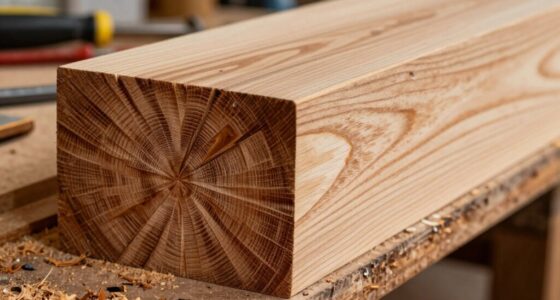
Ever wonder how to achieve neater, more precise glue-ups on your small woodworking projects? The key lies in attention to detail, especially when it comes to wood grain alignment and managing drying times. Properly aligning the wood grain ensures your project looks professional and prevents issues like warping or splitting once the glue dries. Before applying glue, take a moment to examine your pieces and position them so the grain runs in the same direction or complements each other. This not only enhances the strength of the joint but also makes the finished piece visually appealing.
Align wood grain carefully for stronger, more professional-looking glue joints in small projects.
When working with small projects, precision is vital, and that starts with how you handle the glue. Use a high-quality, thin applicator, like a small brush or a squeeze bottle, to spread glue evenly across the joint. Avoid over-gluing, as excess can be messy and lead to longer drying times, which increases the risk of your pieces shifting or slipping out of alignment. After applying the glue, press the pieces together firmly, ensuring good contact along the entire joint. Clamping is essential here—use just enough pressure to keep everything snug without squeezing out too much glue. Additionally, using a consistent application method helps maintain control over the amount of glue used, contributing to cleaner results.
Drying time tips are just as important as the actual glue application. Different glues have varying drying times, so always check the manufacturer’s instructions. For small projects, it’s best to give the glue enough time to cure fully before removing clamps or handling the piece. Rushing this step can weaken the joint or cause misalignment. If you’re pressed for time, consider using quick-setting glue, but don’t sacrifice quality for speed. Instead, plan your work so you can leave the glued parts undisturbed for at least as long as recommended, typically 30 minutes to an hour. If you’re working in a humid environment, expect longer drying times, so adjust your schedule accordingly. Paying attention to glue drying times and environmental conditions can significantly improve the overall quality of your work. Remember, environmental factors like humidity and temperature can impact the adhesion process, so working in a controlled environment is ideal. Being aware of wood grain flow can help you make better decisions during assembly and achieve a more seamless look.
Patience in this process pays off. Proper wood grain alignment combined with patience during drying will result in cleaner, more durable joints. Small adjustments, like ensuring the grain flows seamlessly from one piece to the next, can make a big difference in the final look. Remember, the goal isn’t just a tight joint but one that looks seamless and professional. By paying close attention to these details, you’ll find your small woodworking projects becoming more precise, cleaner, and much more satisfying to finish. Being mindful of drying times and environmental conditions can significantly improve the overall quality of your work.
As an affiliate, we earn on qualifying purchases.
Frequently Asked Questions
What Types of Glue Work Best for Small Projects?
For small projects, selecting adhesives like wood glue, super glue, or craft glue works best. You should consider safety considerations by working in a well-ventilated area and wearing gloves if needed. Super glue offers quick bonding for tiny parts, while wood or craft glue provides a strong, clean finish. Always read labels to verify compatibility with your materials and follow application instructions for maximum results.
How Long Should I Clamp Glued Pieces?
You should clamp glued pieces for about 15 to 30 minutes, which allows enough time for the adhesive to set properly. Keep in mind, the clamping duration depends on the glue type and project size. Even after unclamping, give the glue ample drying time—usually 24 hours—to guarantee a strong, clean bond. Rushing the process can lead to weak joints or messy results.
Can I Use Tape to Hold Pieces During Drying?
Using tape to hold pieces during drying is like trying to catch a falling leaf—it might work, but it’s not always reliable. Instead, consider tape alternatives like clamps or weight-based drying techniques to keep your project steady. These methods apply even pressure and prevent shifting, resulting in cleaner glue-ups. For small projects, gentle pressure and patience are your best friends, ensuring your glue bonds perfectly without mess.
How Do I Remove Excess Glue Neatly?
To remove excess glue neatly, start with proper surface preparation by applying glue carefully and using minimal amounts. Keep clean-up tools like a damp cloth, cotton swabs, or a scraper nearby. Gently wipe away excess glue immediately after applying, before it dries. For stubborn spots, use a damp cloth or a solvent suitable for your glue type. Act quickly and precisely to achieve a tidy, professional finish.
Is There a Quick-Drying Adhesive Suitable for Delicate Projects?
Like a magician pulling a quick escape, a fast-drying adhesive is perfect for delicate projects. Look for cyanoacrylate glues, which offer quick bonding without sacrificing decorative finishing or adhesive longevity. These glues set rapidly, ensuring clean, precise joints. They’re ideal when you need a swift, reliable bond without mess. Just remember to work carefully, as their quick-drying nature leaves little room for adjustments once applied.
As an affiliate, we earn on qualifying purchases.
Conclusion
Remember, even Hercules needed a bit of finesse, not just strength, to complete his labors. By taking your time, using the right clamps, and applying glue carefully, you’ll master your small projects with the precision of a seasoned craftsman. Think of each glue-up as a chapter in your own woodworking myth—crafted with patience and care. Soon, your projects will stand as sturdy legends, proof that the secret to cleaner glue-ups lies in the details.
As an affiliate, we earn on qualifying purchases.
As an affiliate, we earn on qualifying purchases.
Fall Picks
fall essentials
As an affiliate, we earn on qualifying purchases.