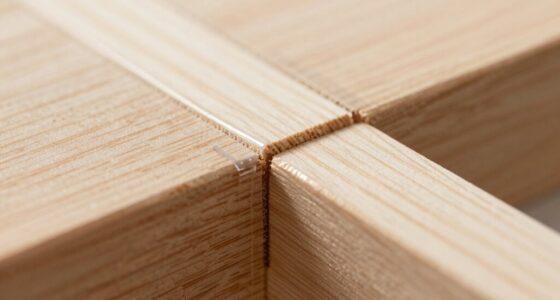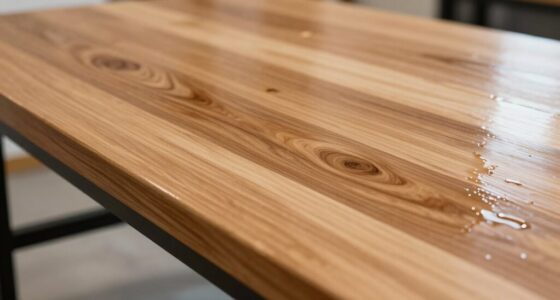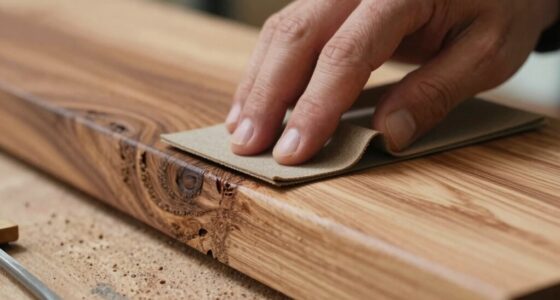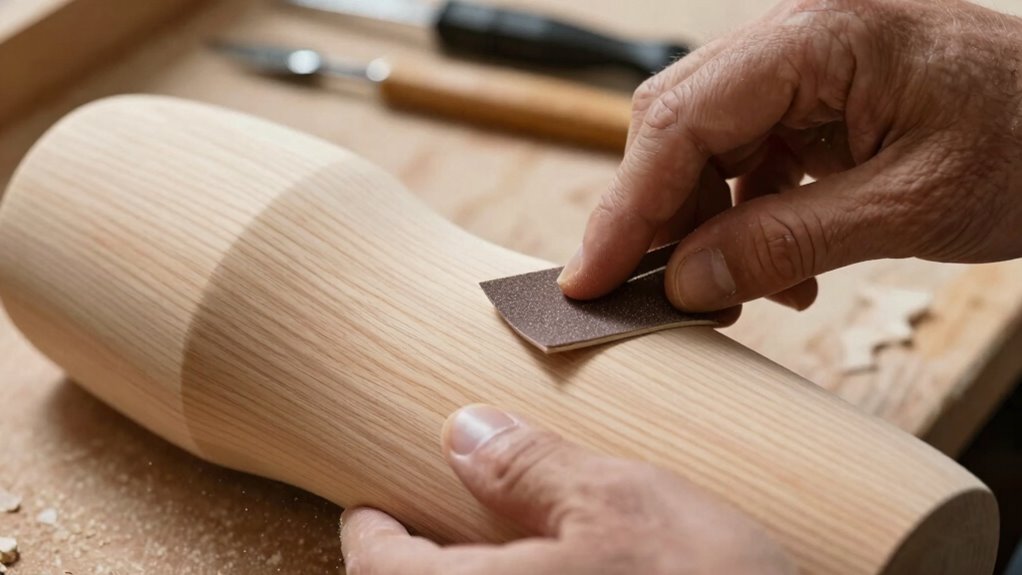

To build a better finishing sequence, start with proper preparation by sanding thoroughly and using conditioners to guarantee smooth stain absorption. Test your stain first, then apply it evenly, wiping off excess and letting it dry completely between coats. Inspect for uneven spots and lightly sand if necessary. Finish with high-quality sealers like polyurethane or lacquer, applying in thin, even coats and lightly sanding between layers. If you keep these steps in mind, you’ll craft a durable, beautiful finish every time.
Key Takeaways
- Prioritize thorough surface preparation, including multi-stage sanding, to ensure smoothness and open grain for better stain absorption.
- Test stain on scrap wood to determine color and reaction before applying to the final piece.
- Apply stain evenly with a brush or cloth, wiping off excess to prevent blotches and achieve uniform color.
- Use fine-grit sanding between coats of stain and topcoat to enhance adhesion and surface smoothness.
- Finish with high-quality sealants in thin, even layers, allowing proper drying and light sanding for durability and a professional look.
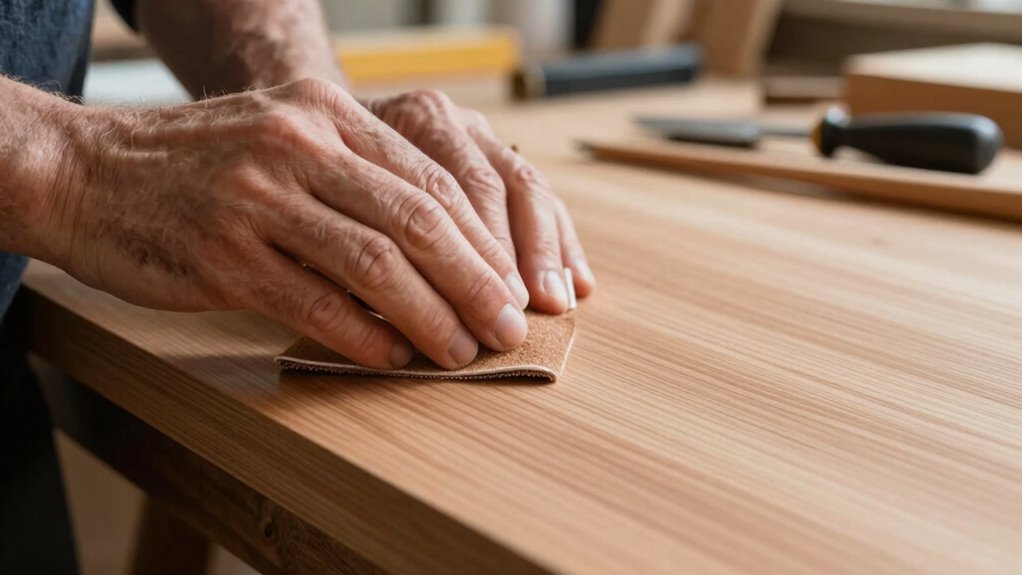
Have you ever wondered how to achieve a flawless finish on your wood crafts? The secret lies in building a well-thought-out finishing sequence that starts with proper preparation and ends with a smooth, durable surface. One of the first steps is focusing on grain enhancement, which involves preparing the wood so that the grain is receptive to stain and finish. Before applying any stain or finish, you need to sand your project thoroughly, starting with a medium grit and moving to a finer grit. This process opens up the grain and removes any rough spots, making certain an even surface. Grain enhancement isn’t just about smoothing; it’s about making the wood’s natural beauty pop after staining. You might consider using a pre-stain conditioner or wood conditioner to help the stain absorb more evenly, especially on softwoods like pine or cedar. This step minimizes blotchiness and makes consistent color, which is vital for achieving a professional-looking finish. Additionally, understanding the cultural significance behind certain wood finishes can enhance your appreciation of traditional craftsmanship techniques. Recognizing the types of wood and their unique properties can help you select the best finishing techniques for each project. Incorporating the latest finishing technology can also improve the efficiency and quality of your work. Proper wood preparation is essential for a high-quality finish, as it directly affects how well the stain and topcoat adhere and look. To further enhance your finishing process, consider exploring techniques for grain enhancement, which can significantly improve the overall appearance of your project.
Stain preparation comes next, and it’s essential to get it right. Before applying stain, test it on a scrap piece of the same wood to see how it reacts. Stir the stain thoroughly—never shake it, as this introduces bubbles—and apply it with a clean cloth or brush, following the grain. Wipe off excess stain evenly to prevent blotches, and let it dry completely according to the manufacturer’s instructions. Proper stain preparation makes all the difference because it influences how the final color appears and how well subsequent coats adhere. If you’re aiming for a specific shade, multiple coats may be necessary, but always allow adequate drying time between applications. After staining, inspect the surface for inconsistencies or uneven color, and lightly sand with a fine grit paper if needed to smooth out any rough patches.
Once your stain is perfect, you can proceed with sealing and finishing. Use a high-quality topcoat—be it polyurethane, lacquer, or oil—applied in thin, even layers. Sand lightly between coats with a fine grit to remove any imperfections and improve adhesion. This step creates a protective barrier that enhances durability and gives your project a polished look. Throughout the process, patience is key. Rushing through each stage can lead to flaws or uneven finishes. By focusing on grain enhancement and meticulous stain preparation, you’re setting a solid foundation for a professional-looking, long-lasting finish. The end result will showcase your craftsmanship and the natural beauty of the wood, making all your effort worthwhile.
As an affiliate, we earn on qualifying purchases.
Frequently Asked Questions
How Do I Fix Uneven Finish Spots on Wood?
To fix uneven finish spots on wood, start with surface sanding using fine-grit sandpaper to even out the areas. Make sure to sand lightly and follow the grain. Afterward, clean off dust and apply a fresh coat of finish. Finish polishing the surface with a soft cloth for a smooth, even appearance. This process helps blend the spots seamlessly, giving your wood craft a professional, polished look.
What Are the Best Environmental Conditions for Finishing?
Imagine you’re in a sci-fi movie—perfect conditions matter. For the best finish, keep your workspace temperature controlled between 65-75°F, avoiding rapid temperature shifts. Choose eco-friendly finishes, which thrive in stable, low-humidity environments. Guarantee good ventilation but avoid drafts, as they can cause uneven drying or bubbling. Maintaining ideal temperature and humidity levels helps your finish cure smoothly, giving you a professional-looking, durable result.
How Long Should I Wait Between Finishing Coats?
You should wait at least 2 to 4 hours between finishing coats, but drying times can vary based on brush techniques and environmental conditions. Use thin, even coats and avoid rushing the process. To guarantee proper adhesion and a smooth finish, check that each coat is fully dry before applying the next. Patience and proper drying times help prevent smudges, drips, and uneven surfaces in your wood craft.
Can I Use Water-Based Finishes Over Oil-Based Paints?
You can use water-based finishes over oil-based paints, but make certain water-based compatibility and proper preparation. First, let the oil-based paint fully cure, then lightly sand the surface to promote adhesion. Clean thoroughly to remove dust. Water-based finishes adhere well if the oil-based paint is dry and smooth, guaranteeing a good bond. Always test first, follow manufacturer instructions, and remember that proper surface prep guarantees a durable, beautiful finish.
How Do I Prevent Dust From Settling on Wet Finishes?
To prevent dust from settling on wet finishes, you should guarantee dust prevention is a top priority. Keep the workspace clean and free of airborne particles, and cover nearby surfaces. Use a dust-free environment or a controlled space if possible. After applying the finish, lightly cover the project with a clean, breathable cloth to protect it. For finish smoothing, wait for the coat to partially dry, then gently sand with fine grit before applying the next layer.
As an affiliate, we earn on qualifying purchases.
Conclusion
By refining your finishing sequence, you’ll achieve smoother, more professional-looking wood crafts that truly stand out. Don’t worry if it seems like a lot at first—you’ll get the hang of it with practice. Remember, a proper finish not only enhances your piece’s beauty but also extends its lifespan. So, take your time, follow these steps, and watch your woodworking skills and finished projects reach new heights. Your craft deserves the best finish possible!
high-quality polyurethane sealer
As an affiliate, we earn on qualifying purchases.
As an affiliate, we earn on qualifying purchases.
As an affiliate, we earn on qualifying purchases.