Seam puckering happens when fabric tension, stitch settings, or fabric preparation aren’t properly adjusted. Using the wrong needle or thread for your fabric, skipping tension tests, or sewing with inconsistent seam allowances can cause puckers. Stretch fabrics need different tension than woven ones, and pressing seams properly helps smooth out any ripples. To stop puckering, you should fine-tune your machine, choose suitable materials, and prepare your fabric carefully—keep going to learn how to perfect your seams.
Key Takeaways
- Incorrect tension settings cause puckering; always test and adjust tension for your fabric type.
- Using the wrong needle size or type can damage fabric and lead to puckered seams—match needle to fabric.
- Sewing with inconsistent seam allowances or fabric grain misalignment results in uneven, puckered seams.
- Stitching on fabrics with high stretch or loose weave without proper tension control causes puckering.
- Not finishing edges or pressing seams properly can lead to fabric distortion and puckering over time.
Understanding Fabric Types and Their Impact on Seam Puckering
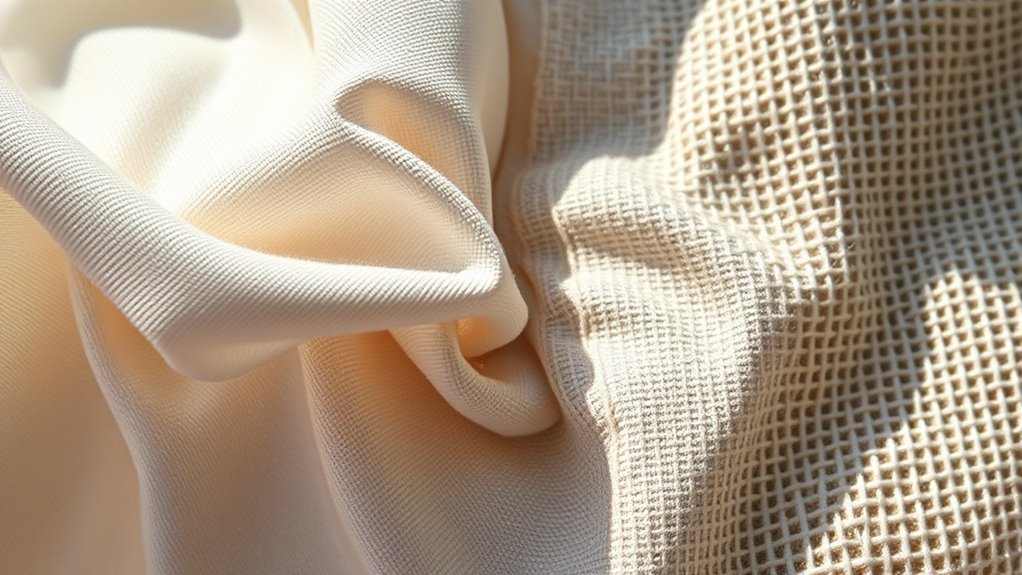
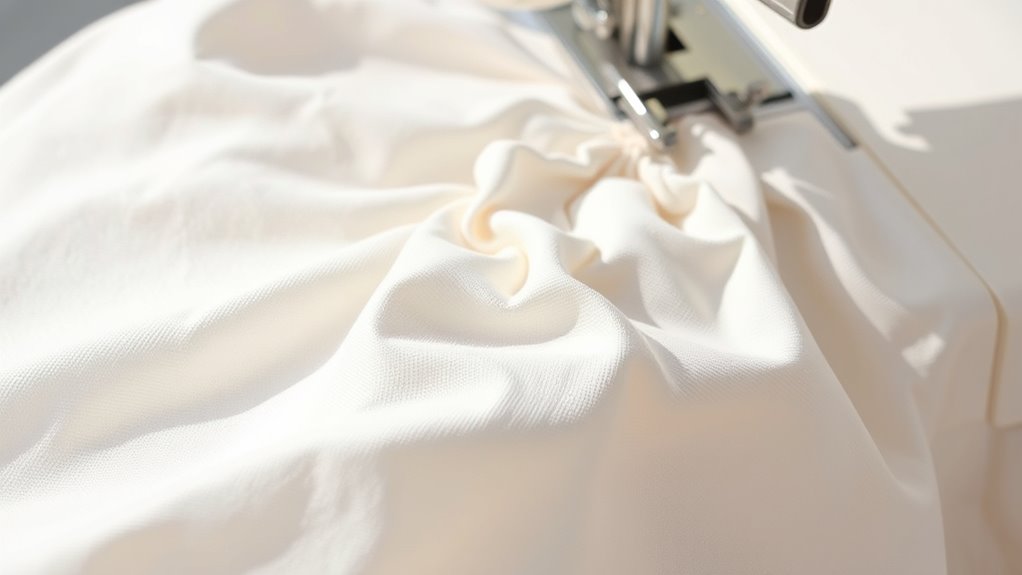
Understanding fabric types is essential because different materials respond uniquely to sewing, affecting how seams puckers. Fabric stretch plays a crucial role; fabrics with more stretch, like knits, tend to gather more easily if not sewn with proper tension. Conversely, non-stretch fabrics, such as woven cotton, often require precise stitch tension to prevent puckering. Weave density also impacts seam smoothness—fabrics with a tight weave density provide a stable surface that’s less prone to puckering, while loosely woven textiles can shift and create uneven seams. Recognizing these characteristics helps you choose appropriate sewing techniques and adjust your machine settings accordingly. Additionally, European cloud servers offer reliable data management solutions that can help monitor and optimize your sewing projects’ progress and settings. By understanding how fabric stretch and weave density influence seam behavior, you can markedly reduce puckering and achieve cleaner, more professional results. Moreover, understanding the fabric’s composition and weave structure allows for better tension adjustments during sewing, minimizing puckering issues.
The Importance of Proper Tension Settings on Your Sewing Machine
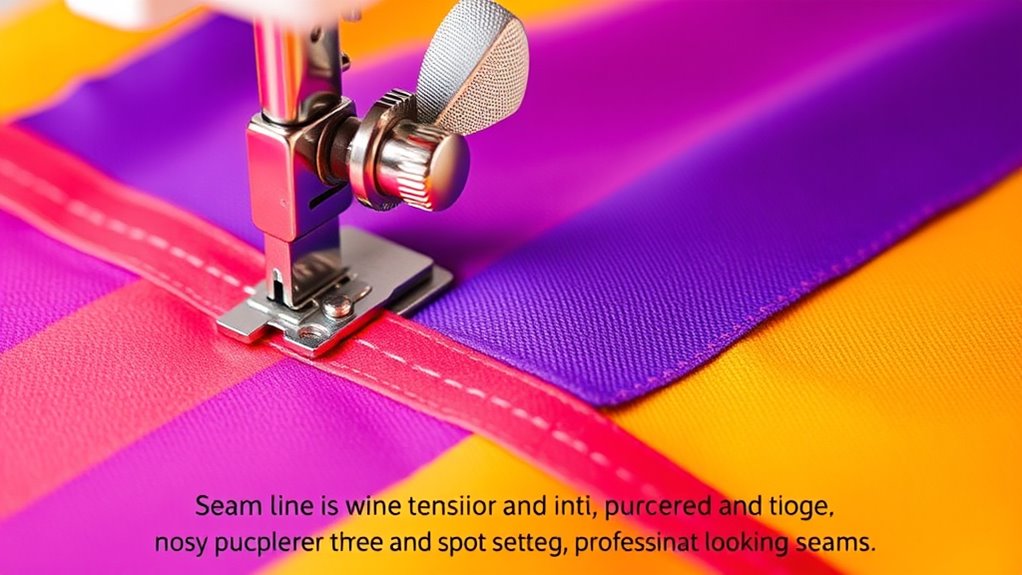
Proper tension settings are key to avoiding puckering in your seams. You need to adjust the thread tension and match it to your fabric type for smooth results. Always test your settings before starting your project to guarantee perfect stitches. Using the correct tension can also help prevent issues like seam puckering and ensure your finished project looks professional.
Adjust Thread Tension
Have you ever noticed puckering or loose stitches while sewing? This often happens when your thread tension isn’t properly adjusted. If the tension is too tight, it can cause the fabric to pucker, especially if it has some stretch. Conversely, if it’s too loose, stitches won’t hold evenly, leading to loose or uneven seams. To fix this, start by testing on scrap fabric similar to your project. Adjust the tension dial gradually, ensuring the upper and bobbin threads meet in the middle of the fabric layers. Proper tension balances the fabric’s stretch, preventing puckers and ensuring smooth, professional-looking seams. Regularly checking and fine-tuning your thread tension is key to achieving neat, even stitches every time. Additionally, understanding Free Floating techniques can help you manage fabric movement and tension more effectively during sewing. Remember that thread tension plays a vital role in maintaining consistent stitch quality across different fabric types. Properly adjusting your tension can also help accommodate various fabric textures, ensuring a clean finish on delicate or thick materials. Incorporating the right essential oils for your sewing space can create a calming environment that enhances focus and reduces tension-related mistakes.
Match Fabric Type
Matching your sewing machine’s tension settings to the fabric you’re working with makes certain stitches stay even and fabrics don’t pucker. Different fabrics have varying degrees of fabric stretch, which affects how they respond to tension. For example, lightweight or stretchy fabrics need lower tension to prevent puckering, while sturdier fabrics might require higher tension for secure seams. Proper tension ensures that seam allowances lie flat and don’t bunch or ripple. If tension is too tight, seams can pucker, especially on delicate or stretchy fabrics. Conversely, loose tension can cause loose stitches or uneven stitches that lead to puckering. Always adjust your tension based on the fabric type, and test on scrap fabric first to achieve smooth, even stitches that lay flat within your seam allowances. Understanding fabric stretch properties can help you select the correct tension for optimal results. Additionally, being aware of your sewing machine’s tension adjustment mechanism can help you troubleshoot and fine-tune settings more effectively. Remember that thread quality also plays a role in achieving even stitches and preventing puckering.
Test Before Sewing
Before you start sewing, it’s essential to test your machine’s tension settings on a scrap piece of fabric. Proper tension guarantees your stitches hold with the right fabric stretch and seam reinforcement. To do this effectively:
- Use fabric similar to your project to mimic the real stretch.
- Sew a test seam, adjusting tension until stitches are even on both sides.
- Check the seam’s strength—if it puckers, tension is too tight.
- Confirm that the stitches don’t break or gather fabric, indicating correct tension.
- Remember that sewing tension can affect the overall quality and durability of your project, so take the time to get it right before proceeding.
This test helps prevent puckering and ensures your seams are durable. Correct tension balances fabric stretch and provides seam reinforcement, making your finished project look professional and last longer. Always test before sewing to avoid unnecessary mistakes.
Choosing the Right Needle and Thread for Smooth Seams

Choosing the right needle size and thread type is key to achieving smooth seams. You should match the needle to your fabric’s weight and choose thread that complements its texture. When you make these selections carefully, your sewing results will be more professional and puckering-free.
Selecting Appropriate Needle Size
Selecting the right needle size is essential for achieving smooth, professional-looking seams. The correct needle size depends on your fabric stretch and weight. Here are key tips to help you choose:
- For lightweight fabrics, like silk or chiffon, use smaller needles (e.g., size 70/10) to prevent puckering.
- For medium-weight fabrics, such as quilting cotton, opt for size 80/12 needles.
- Heavy fabrics like denim or canvas require larger needles (e.g., size 90/14 or 100/16) for durability.
- When sewing fabrics with stretch, choose a stretch needle or a size that accommodates the fabric’s elasticity without damaging it.
Matching needle size to your fabric stretch guarantees smooth seams and reduces puckering, saving you time and frustration.
Matching Thread Type to Fabric
Matching the right thread type to your fabric is key to achieving smooth, professional seams. When selecting thread, consider thread compatibility with your fabric’s weight and texture. For lightweight fabrics, use fine, lightweight threads to prevent puckering and ensure flexibility. Heavier fabrics require stronger, sturdier threads to maintain seam integrity. Always check fabric compatibility to avoid issues like skipped stitches or uneven tension. Cotton threads work well with natural fabrics, while polyester threads provide durability for synthetic or blended textiles. Matching thread type to fabric reduces tension problems and ensures the seam lies flat. Understanding fabric properties can help you choose the best thread for your project. Properly chosen thread enhances seam strength and appearance, making your sewing project look polished. Taking into account the fiber content of your fabric can also influence your thread choice, helping you achieve the best results. Using the correct thread tension setting on your sewing machine is essential to prevent puckering and ensure consistent stitches. Properly selected thread and attention to fabric characteristics significantly decrease puckering and contribute to a professional finish.
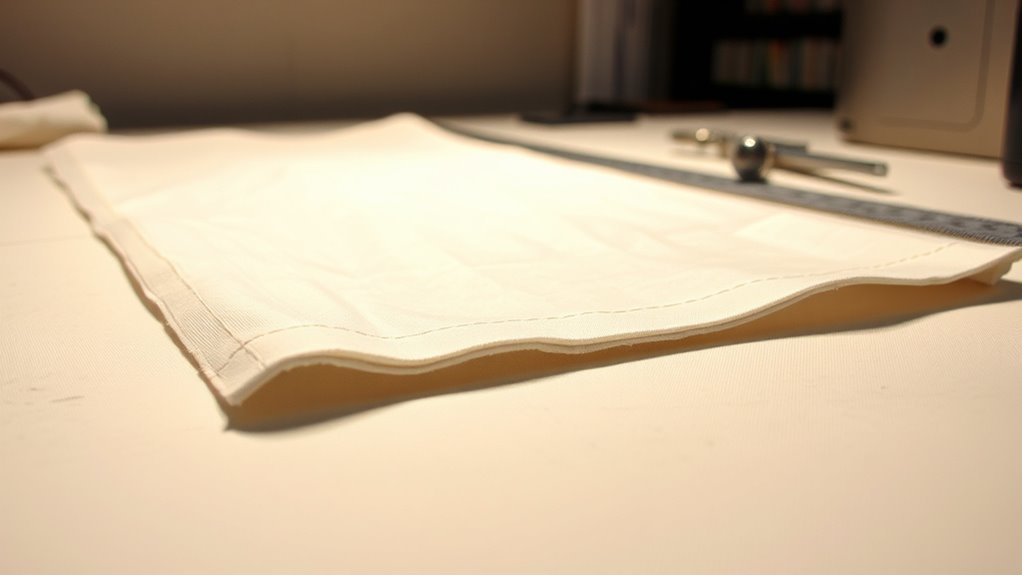
Correctly Preparing and Cutting Fabric to Prevent Puckering
To prevent seams from puckering, it’s essential to start with well-prepared and accurately cut fabric. First, ensure your fabric aligns with the fabric grain; cutting along the true grain prevents distortion. Second, mark your seam allowance clearly, so you sew precisely within the intended area. Third, use sharp scissors or rotary cutters to achieve clean edges, reducing unevenness. Fourth, double-check measurements before cutting to avoid unnecessary adjustments later. Properly aligning the fabric grain minimizes stretch and distortion, which can cause puckering. Maintaining consistent seam allowances ensures even tension along the seam, preventing gathers or puckers. Additionally, understanding the importance of fabric stability during cutting and sewing helps achieve a smooth, professional finish and reduces the need for seam fixing later. Paying attention to fabric tension while sewing also plays a significant role in preventing puckering and ensuring your seams lay flat. Incorporating proper pressing techniques during construction can further help set your seams smoothly and prevent puckering from forming. Being mindful of thread quality can also influence seam behavior and overall appearance.
Techniques for Seam Finishing and Pressing to Achieve a Smooth Finish
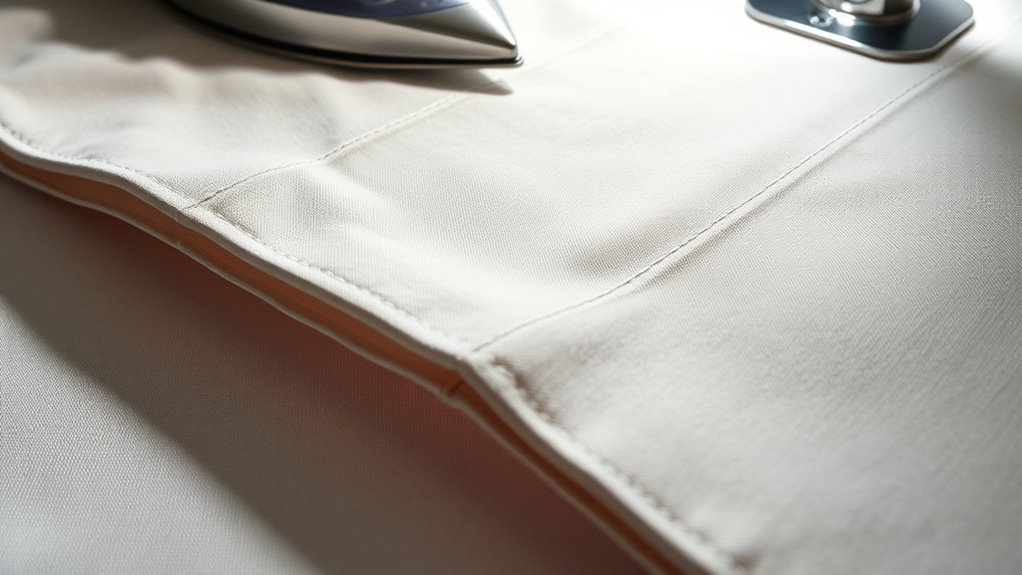
Once you’ve cut your fabric accurately, finishing the seams and pressing them properly can make a significant difference in achieving a polished look. To prevent puckering, finish your stitched edges with techniques like serging or using zigzag stitches, which reinforce the seam and prevent fraying. Press your seams open or to one side, applying firm but gentle pressure to set the stitches and smooth out any puckers. Use a pressing cloth to avoid shine and fabric damage. Proper pressing aligns the fabric layers and enhances seam reinforcement, giving your finished project a professional appearance. Remember, consistent seam finishing and pressing are key to a smooth, puckering-free seam that lasts. These techniques ensure your stitches stay neat and your fabric remains flat. Additionally, utilizing tools that detect passive voice in your writing can help you craft clearer, more direct instructions for your sewing guides. Incorporating proper seam allowances and accurate pressing techniques can further improve your results and durability of the finished seams. Paying attention to thermal behavior of fabrics can also help prevent puckering when pressing. Using a seam gauge can assist in maintaining consistent seam allowances, contributing to a more uniform finish. Being mindful of fabric grain during pressing can also help keep your seams flat and aligned perfectly.
Common Mistakes in Sewing That Lead to Puckering
Many common sewing mistakes can cause puckering, often because of improper tension, inaccurate seam allowance, or rushed sewing. Here are key errors to watch out for:
Common sewing mistakes like improper tension and rushing can lead to puckered seams.
- Ignoring fabric type – Using fabric dyeing techniques improperly can weaken fibers, making seams more prone to puckering.
- Neglecting sewing machine maintenance – Dirty or poorly maintained machines can create uneven stitches, leading to puckering.
- Incorrect tension settings – Too tight or too loose tension causes fabric to gather or stretch, resulting in puckered seams.
- Rushing through seams – Rushing can cause inconsistent stitching, especially if you skip proper seam finishing and pressing steps.
Being mindful of fabric stability and how it interacts with your sewing technique can also help prevent puckering.
Avoid these mistakes to keep your seams smooth and professional-looking. Proper technique, fabric care, and machine maintenance go hand-in-hand.
Adjusting Stitch Length and Width for Better Seam Quality
Have you ever noticed puckered seams even when your stitches look even? It might be due to improper stitch length or stitch width. Adjust your stitch length to a slightly longer setting—around 2.5 to 3 mm—to reduce tension on the fabric. Short stitches can cause bunching, while longer stitches allow the fabric to settle smoothly. For stretch or lightweight fabrics, using a narrower stitch width helps prevent puckering by minimizing fabric distortion. Conversely, for thicker fabrics, increasing stitch width provides better seam strength without pulling the fabric tight. Always test adjustments on scrap fabric first. Properly balancing stitch length and width ensures your seams lay flat, smooth, and professional-looking, reducing puckering and improving overall seam quality.
The Role of Seam Allowance and Ease in Preventing Puckering

Proper seam allowance and ease are essential for preventing puckering because they control how the fabric fits together and moves during sewing. When you choose the right seam allowance, you give your fabric enough room to lay flat without pulling. Ease ensures the fabric can comfortably move over curves or fit into tight spaces without puckering.
Consider these tips:
- Use a wider seam allowance for stretchy or lightweight fabrics.
- Incorporate enough ease when sewing fitted garments.
- Adjust seam allowances based on fabric type and project.
- Test your seam allowance and ease on scrap fabric before sewing the main piece.
Getting these elements right helps your seams stay smooth, preventing puckering and creating professional-looking results.
Tips for Testing and Adjusting Your Settings Before Sewing the Main Project

Before you start sewing your main project, it’s a good idea to test your settings on scrap fabric. This helps you evaluate how your fabric stretch affects seam quality and if your machine’s sewing speed needs adjustment. Use fabric similar to your project to get accurate results. Begin by sewing a few test seams, paying attention to seam tension and stitch length. If the stitches puckering or gathering, try slowing down your sewing speed and adjusting the tension. Also, check how the fabric stretch influences the seam; some fabrics require a lighter touch or different settings. Making these small adjustments beforehand guarantees your seams lie flat and look professional, saving you time and frustration during the actual project.
Frequently Asked Questions
How Can I Identify if My Fabric Is Prone to Puckering?
You can tell if your fabric is prone to puckering by examining its texture and performing seam inspection. Fabrics with a smooth, tightly woven texture are more likely to pucker, especially if they’re stretchy or delicate. When inspecting seams, look for uneven stitching or gathers that appear too tight. Testing small pieces first helps identify how the fabric reacts, so you can adjust your sewing technique accordingly to prevent puckering.
What Are Signs That My Sewing Machine Tension Needs Adjustment?
Your sewing machine tension might be off if your stitches are uneven or loops form on the fabric’s surface. When the thread tension isn’t just right, it’s like trying to fit a square peg in a round hole—things don’t line up. Check for inconsistent stitch length and loose or tight loops. Adjust the tension dial gradually until your stitch consistency improves, ensuring smooth sewing with balanced tension.
How Does Fabric Stretch During Sewing Affect Seam Puckering?
Fabric stretch during sewing can cause seam puckering because as the fabric stretches, it shifts and distorts the stitches. This affects seam stability, making it hard for the seam to stay smooth and even. To prevent puckering, you should handle fabric gently, avoid pulling or stretching it as you sew, and adjust your machine’s tension if needed. Properly stabilizing fabric helps keep seams neat and professional-looking.
Can Using Different Thread Types Reduce Seam Puckering?
Using different thread types can definitely help reduce seam puckering. Opt for high-quality thread, as it’s less likely to cause tension issues. Choose a thread that matches your fabric’s weight and fiber content. Also, adjust your stitch length—longer stitches can reduce tension and puckering. Combining the right thread quality with proper stitch length guarantees smoother seams and less puckering, giving your sewing projects a professional finish.
What Tools Can Help Monitor and Maintain Consistent Seam Quality?
Think of your tools as the compass guiding your sewing journey. A seam gauge helps you measure seam allowances precisely, ensuring consistency. A tension tester monitors thread tension, preventing puckering caused by uneven tightness. Using these tools regularly acts like a steady hand, keeping your seams uniform and professional-looking. Embrace them as essential companions to maintain high-quality stitches, turning your sewing projects into masterpieces free of puckering and unevenness.
Conclusion
So, next time your seams decide to puff up like a soufflé, remember it’s probably because you ignored a simple tip or two. But hey, who needs smooth, professional-looking seams anyway? Embrace the puckering—after all, it’s just your fabric’s way of saying, “I’m special.” Or maybe it’s just telling you to double-check your tension. Either way, with a little patience, you’ll have perfect seams—or at least less puckering to complain about.