
Polishing compounds are simple tools that help you achieve a smooth, glossy finish on various surfaces without needing to comprehend complex chemistry. They come in different types, from coarse to fine, depending on how much you want to remove or enhance. Using the right compound and technique ensures a professional look. If you keep exploring, you’ll discover how to choose and apply the perfect products for your project with ease.
Key Takeaways
- Polishing compounds are substances used to smooth surfaces and achieve a shiny, reflective finish.
- They come in different types for coarse, medium, and fine polishing, matching surface needs.
- Coarse compounds remove deep scratches, while fine compounds create a mirror-like shine.
- Proper surface preparation and choosing the right compound ensure effective polishing results.
- Using gentle, circular motions and studying application techniques help beginners achieve professional finishes.

If you’re new to polishing, choosing the right compound might seem overwhelming at first. With so many options available, it’s easy to get lost in the jargon and technical details. But don’t worry—understanding the basics can make the process much simpler. The key is to recognize that different polishing compounds are designed for specific purposes, and knowing about abrasive types and application techniques can help you pick the right one for your project.
Abrasive types are fundamental to understanding polishing compounds. They vary in grit size, which directly affects how aggressive or fine the polishing will be. Coarse abrasives, like those with low grit numbers (around 120 to 320), are great for removing deep scratches, oxidation, or heavy imperfections. Medium abrasives (around 400 to 800 grit) serve as a bridge, smoothing out the surface before finer polishing. Fine abrasives, such as those with grit sizes above 1000, are used for finishing touches, bringing out a high-gloss shine and a smooth, reflective surface. Recognizing these abrasive types allows you to match the compound to your specific needs, whether you’re working on metal, plastic, or automotive surfaces.
Abrasive grit sizes range from coarse to fine, guiding your polishing process for different surfaces.
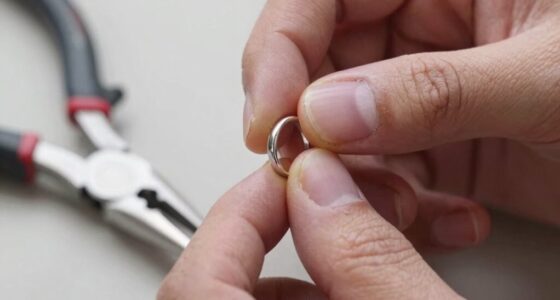
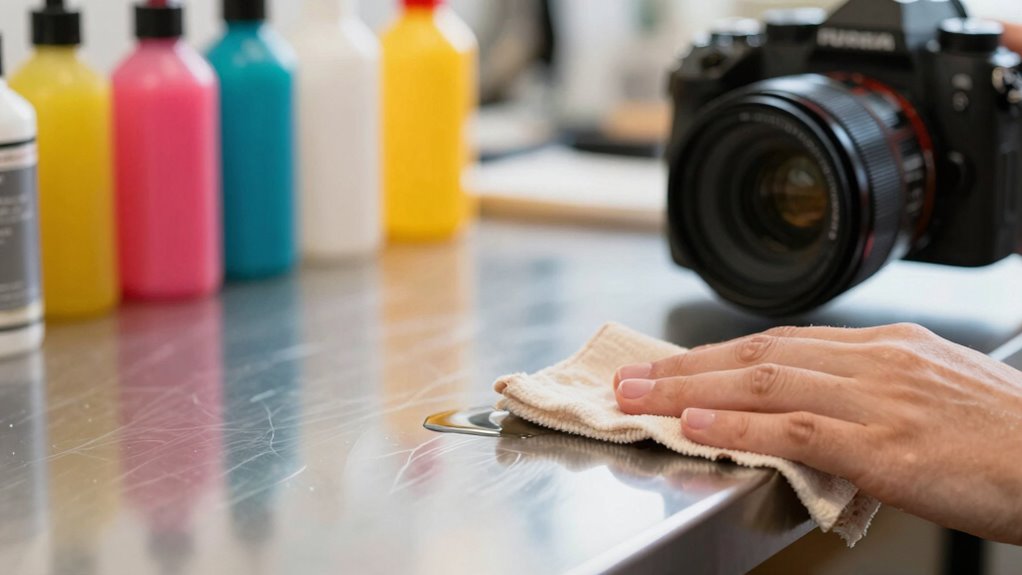
Understanding the importance of surface preparation is also essential, as it ensures the polishing process yields the best possible results. Application techniques are equally important. The way you apply polishing compounds can profoundly influence your results. Start by cleaning the surface thoroughly to remove dirt, grease, or debris that could scratch the material when polishing. Use a soft cloth, foam pad, or polishing wheel, depending on the task, and apply a small amount of compound—less is often more. Work the compound into the surface with steady, circular motions, maintaining consistent pressure. If you’re using a machine, keep it at a moderate speed to prevent heat buildup, which can damage the surface or cause the compound to burnish instead of polish. Remember to frequently check your progress, reapply the compound if needed, and switch to finer abrasive compounds as you near the desired finish. Patience and a gentle touch are your best tools here.
Practicing proper application techniques guarantees a better finish and minimizes the risk of mistakes. As you gain experience, you’ll develop a feel for which abrasive types work best for your project and how to apply them effectively. Ultimately, choosing the right polishing compound isn’t about complex chemistry but understanding the basics of abrasive types and applying them correctly. With a little practice, you’ll be able to achieve professional-looking results, whether you’re restoring a car, polishing jewelry, or maintaining household items. Keep experimenting with different compounds and techniques, and soon, polishing will become a simple, rewarding part of your DIY routine.
Frequently Asked Questions
Can Polishing Compounds Damage Sensitive Surfaces?
Yes, polishing compounds can damage sensitive surfaces if they’re not compatible. You need to take into account abrasive compatibility; using a compound that’s too abrasive for the surface sensitivity can cause scratches or dullness. Always test on a small, hidden area first and choose a gentle, suitable compound. Proper application and understanding surface sensitivity ensure you avoid damage and achieve a smooth, polished finish without harming the material.
How Long Does a Typical Polishing Process Take?
A typical polishing process takes around 30 minutes to an hour, depending on the surface and product used. You’ll want to follow proper application techniques and a careful polishing sequence to guarantee the best results. Rushing through can cause damage or uneven results. Take your time, apply consistent pressure, and work in small sections for a smooth, professional finish in less time.
Are Polishing Compounds Safe for Indoor Use?
Yes, polishing compounds are generally safe for indoor use if you follow safety precautions and ventilation requirements. Always work in a well-ventilated area to avoid inhaling fumes or dust. Wear protective gear like masks and gloves, and keep the workspace clean. Proper ventilation helps disperse any airborne particles, ensuring your safety. By taking these steps, you can use polishing compounds indoors without health risks.
Do Different Colors Indicate Different Grit Levels?
It’s no coincidence that different colors on polishing compounds often indicate grit levels, helping you choose the right one. Typically, color codes correspond to varying grit levels, with lighter colors usually being finer and darker ones more abrasive. By matching the color with the grit level, you can effectively control your polishing process, ensuring you get the desired smoothness without damaging the surface. Always check the manufacturer’s guide for accurate color-to-grit mappings.
Can Polishing Compounds Be Reused or Recycled?
Polishing compounds generally can’t be reused or recycled once used because they lose their effectiveness and become contaminated. However, some recycling methods, like filtering or reconditioning, might extend their reuse potential in industrial settings. You should follow manufacturer guidelines, as reusing compounds improperly can cause poor results or damage. Overall, it’s best to use fresh polishing compounds for ideal polishing quality and safety.
Conclusion
Now that you’ve got the lowdown on polishing compounds, you’ll feel more confident tackling your projects without feeling like you’ve stepped into a science lab. Remember, using the right compound and technique makes all the difference—no need to be a wizard or wield a magic wand. Think of it as your own Excalibur, transforming dull surfaces into gleaming masterpieces. So go ahead, grab your gear, and bring out that shining knight within!