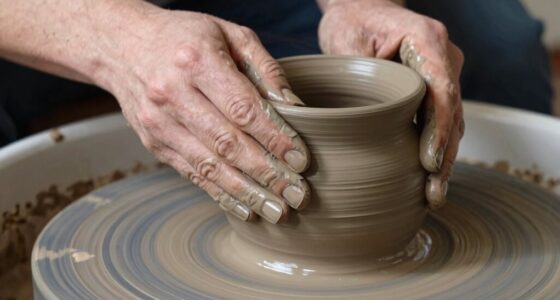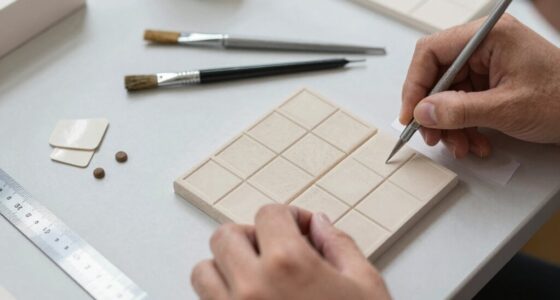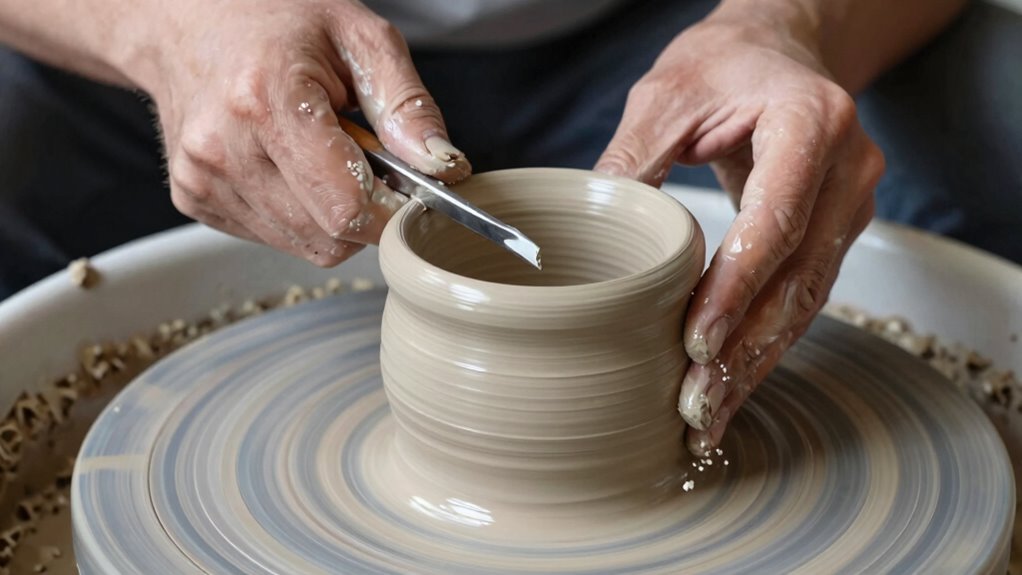

To improve your pottery form through trimming, wait until your piece is leather-hard for stability and detail work. Use sharp tools to remove excess clay carefully, especially around the base and neck, shaping with purposeful intention. Focus on refining proportions and smoothing surfaces to enhance aesthetics and stability. Proper trimming helps create a balanced form, supports even glaze application, and prevents deformation during firing. Keep practicing, and you’ll discover how skilled trimming elevates your overall craftsmanship.

Get tools and workshop supplies delivered free — and shop member deals
- Fast, free delivery on millions of items
- Access to Prime Big Deal Days deals on October 6–7
- Prime Video, Amazon Music and more included
Key Takeaways
- Ensure the clay is leather-hard for stability and detailed shaping during trimming.
- Secure the piece firmly on the wheel or work surface to maintain control.
- Use precise, sharp tools to refine proportions, define shoulders, and create a clean foot.
- Focus on removing excess clay to achieve a balanced, harmonious form.
- Regularly assess the shape and symmetry, adjusting as needed for aesthetic and functional improvements.
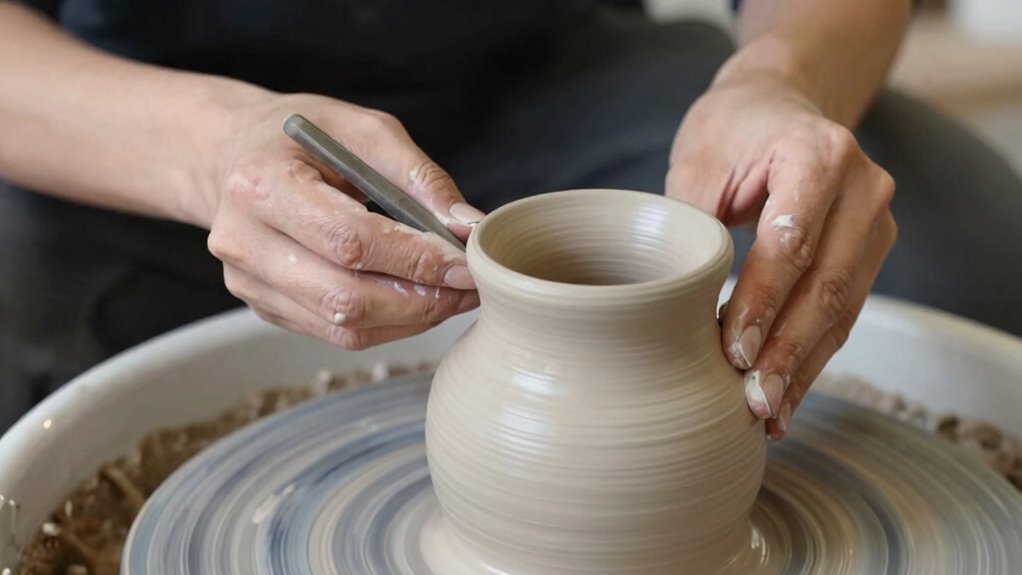
Have you ever wondered how skilled potters achieve perfectly refined and balanced pottery forms? The secret often lies in the art of trimming—an essential step that transforms a basic shape into a polished masterpiece. When you trim a pot, you refine its surface, enhance its proportions, and add delicate details that elevate its overall appearance. To do this successfully, you need to understand the importance of timing and technique, especially in relation to your glazing techniques and kiln firing processes. Trimming is best done when your clay body is leather-hard, giving you enough firmness to carve and shape without risking deformation.
Mastering trimming enhances your pottery’s form, surface, and details, ensuring a polished, balanced final piece.
As you approach trimming, keep your tools sharp and your workspace organized. Begin by centering your pot on the wheel or securing it on your work surface if you’re hand-building. When the clay reaches that perfect leather-hard stage, use a trimming tool to carefully remove excess clay from the base, creating a clean foot or smooth bottom. This not only improves the aesthetic of your piece but also helps with stability during firing. Pay attention to the proportions of your form—narrowing the waist or defining the shoulders can add grace and elegance. As you shape, consider how your glazing techniques will interact with the form. A well-trimmed surface allows glazes to apply evenly, preventing drips or pooling that can obscure details or create unwanted effects. Proper trimming also requires understanding how the clay’s moisture content affects your work, especially during the drying process.
The kiln firing process plays a vital role in how your trimmed piece turns out. Once trimmed, your pottery should be thoroughly dried before firing to prevent cracks. During the firing, the clay’s moisture content decreases, and the piece matures, locking in your carefully crafted shape. Trimming also influences how your glaze reacts in the kiln; a smooth, even surface promotes consistent glaze coverage and reduces defects. If you’re firing in a kiln that reaches high temperatures, remember that the weight and shape of your piece can change slightly, so trimming with this in mind helps maintain your intended form after firing. Additionally, understanding the effects of different firing atmospheres can help you predict how your surface will respond firing effects].
In the end, trimming isn’t just about removing excess clay—it’s about precision and intention. When you master this process, your pottery will have a refined look, balanced proportions, and an improved surface that responds beautifully to your glazing techniques. The combination of skillful trimming and understanding your kiln firing processes ensures that your finished piece combines form and function, showcasing your craftsmanship at its best. Developing a trimming technique that aligns with your specific clay body and firing schedule can significantly elevate your pottery outcomes.
As an affiliate, we earn on qualifying purchases.
Frequently Asked Questions
What Tools Are Best for Trimming Pottery?
You’ll want sharp trimming tools like loop and ribbon tools for precise shaping. These tools help refine your pottery’s surface and create clean lines. When trimming, focus on smooth, even pressure to avoid uneven walls. After trimming, you can explore glazing techniques to enhance your piece’s appearance before kiln firing. Proper trimming guarantees your form is balanced, making the glazing and firing process smoother and resulting in a polished final piece.
How Do I Prevent Cracking During Trimming?
Oh, cracking during trimming? Just ignore the surface texture and decorative techniques that could weaken your piece! To prevent cracks, make sure your clay is perfectly leather-hard—no under- or over-drying. Smooth your surface, keep tools steady, and avoid rushing. Moisture imbalances lead to stress, so take your time. Properly prepared clay and patience are your best allies in avoiding cracks and achieving a flawless, professional finish.
When Is the Ideal Drying Stage for Trimming?
You should trim your pottery when it’s leather-hard, which is the ideal drying stage. To determine this, use moisture measurement tools or check if the piece feels firm yet still slightly pliable. Trimming at this stage allows you to refine the form and smooth surfaces without cracking. Timing is essential; too wet and it’ll deform, too dry and it’ll be brittle. Aim for that perfect leather-hard consistency for the best results.
Can Trimming Be Done on All Types of Clay?
You can trim most types of clay, but keep in mind that some, like paper clay or porcelain, may require specific techniques. Always check glaze compatibility before trimming, as certain glazes can react differently during kiln firing. Trimming on unfired or bisque-fired clay helps refine your piece’s shape and surface, but avoid trimming if the clay’s moisture content isn’t ideal, since this can cause cracks or deformation during kiln firing.
How Do I Fix Uneven Surfaces After Trimming?
To fix uneven surfaces after trimming, gently use a damp sponge or a soft rib tool to smooth out the area, working in small, circular motions. Surface smoothing helps blend any imperfections. Make certain your tools are well-maintained, sharp, and clean to achieve the best results. If needed, re-trim lightly to refine the shape, then smooth again for a polished finish. Proper tool maintenance ensures consistent, professional-looking pottery.
leather-hard clay trimming knife
As an affiliate, we earn on qualifying purchases.
As an affiliate, we earn on qualifying purchases.
Conclusion
Now that you’ve learned how to trim your pottery, think of it as sculpting a gemstone—you’re revealing the true beauty hidden beneath the surface. With patience and a steady hand, trimming transforms a basic shape into a refined masterpiece. Keep practicing, and you’ll start to see your pottery take on a life of its own, just like a well-tuned instrument. Remember, each cut brings you closer to perfection, so don’t be afraid to refine your craft.
As an affiliate, we earn on qualifying purchases.
ceramic carving and trimming tools
As an affiliate, we earn on qualifying purchases.
As an affiliate, we earn on qualifying purchases.
Fall yard work Picks
leaf blowers
As an affiliate, we earn on qualifying purchases.