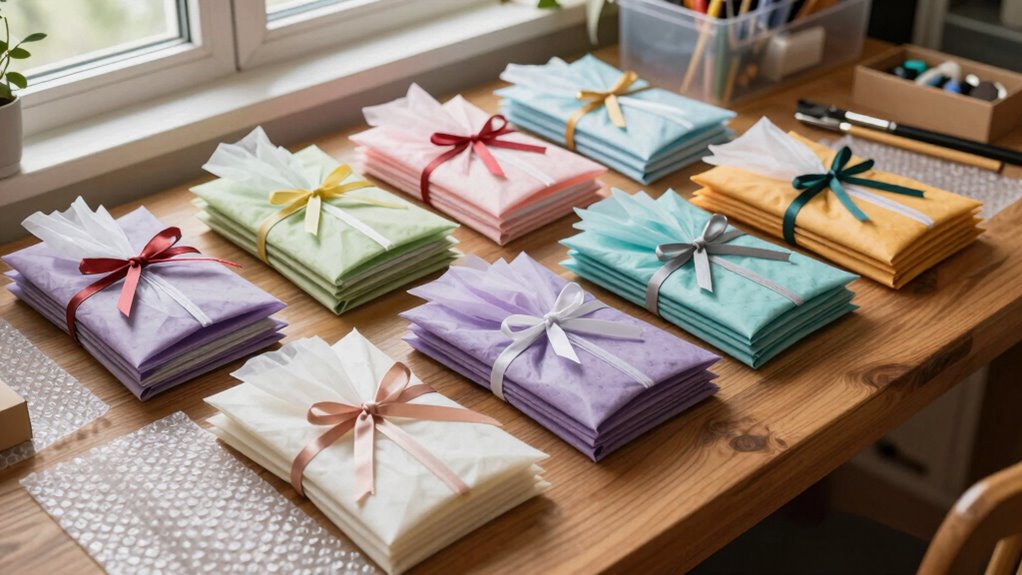
To protect your finished craft pieces, start by wrapping each item individually with acid-free tissue paper or bubble wrap, especially delicate or painted surfaces. Store heavier items at the bottom and lighter ones on top, with protective layers in between to prevent scratches. Keep everything in a cool, dry place away from sunlight, and avoid overcrowding. Proper wrapping, stacking, and environmental control are key to preservation—continue exploring for more helpful tips.

Get business pricing on tools and workshop supplies
- Business-only prices and quantity discounts
- Tax-exempt purchasing
- Multiple users, one account, clear invoices
Key Takeaways
- Wrap each craft individually with acid-free tissue or bubble wrap for protection against scratches and damage.
- Organize crafts by color and type, stacking lighter items on top of heavier ones to prevent deformation.
- Use protective layers between stacked items and store vertically to minimize pressure and maintain shape.
- Keep stored crafts in a cool, dry, and dark environment to prevent fading, warping, and deterioration.
- Regularly inspect and adjust storage conditions to ensure ongoing preservation and prevent damage.
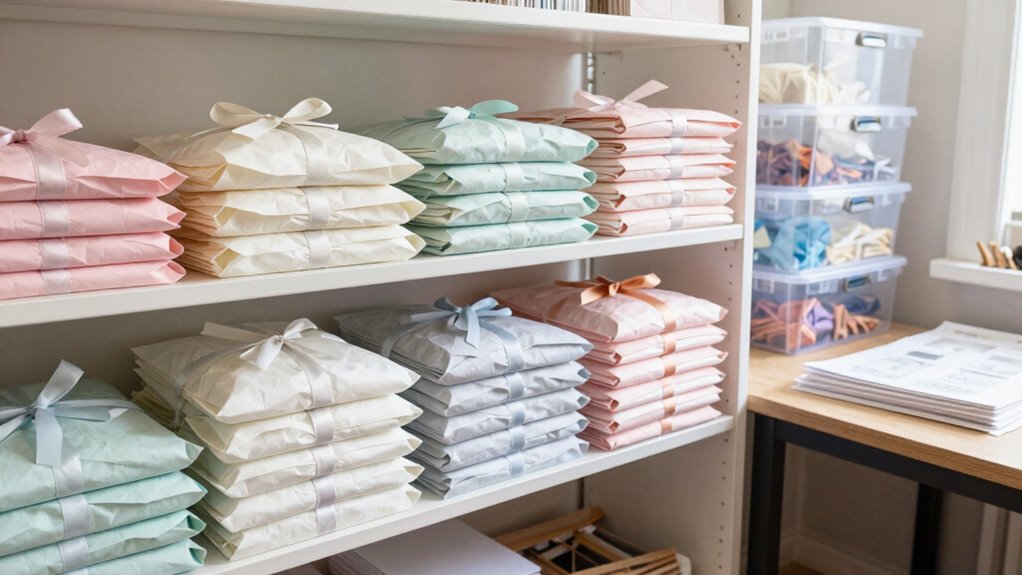
When it comes to preserving your finished craft pieces, proper wrapping, storing, and stacking are essential to keep them looking their best over time. The way you handle these steps can make a big difference in maintaining their quality and appearance. Start by thinking about color coordination. Group similar colors together or arrange your pieces in a way that prevents color bleeding or fading. For example, if you’ve used vibrant dyes or paints, keep those pieces separate from lighter or more delicate items to avoid any transfer or staining. This thoughtful organization not only protects your crafts but also makes it easier to find and showcase them later.
Group similar colors and separate delicate items to protect your crafts and make storage easier.
Next, focus on protective materials. Using the right materials is key to preventing damage. Acid-free tissue paper or bubble wrap works well to cushion fragile surfaces and edges. Wrap each craft individually to avoid scratches, dents, or smudges during handling or stacking. When selecting protective materials, ensure they’re clean and dry, and avoid anything that could stick to or damage your crafts over time. If your pieces are particularly delicate or have intricate details, consider adding a layer of foam or soft fabric for extra cushioning. This extra step guards against accidental bumps or pressure that could cause cracks or breakage. Additionally, choosing appropriate protective materials can further enhance the safety of your stored crafts.
Stack your craft pieces carefully, keeping weight distribution in mind. Place heavier items at the bottom and lighter or more delicate ones on top. This stacking method prevents unnecessary pressure on fragile parts and helps maintain their shape. When stacking, make sure each piece is separated by a layer of protective material, like tissue or foam, to prevent scratching or other damage. If space allows, store your crafts vertically in upright boxes or on shelves, which helps reduce pressure and makes retrieval easier. Avoid overcrowding, as this increases the risk of crushing or bending your pieces. Additionally, proper storage techniques can help prevent deformation and prolong the life of your crafts.
Proper storage also involves controlling environmental factors. Keep your craft pieces in a cool, dry place away from direct sunlight, which can cause fading or discoloration. Avoid areas prone to moisture, as humidity can warp or damage certain materials. Additionally, using climate-controlled storage can further prolong the lifespan of your crafts. Regularly inspect your stored crafts to catch any early signs of deterioration, and adjust your storage methods if needed. By paying attention to color coordination, using protective materials, and stacking with care, you ensure your finished craft pieces stay beautiful and intact for years to come. Proper preservation isn’t complicated—it’s about being thoughtful and deliberate with how you handle, protect, and organize your creations.
acid-free tissue paper for crafts
As an affiliate, we earn on qualifying purchases.
As an affiliate, we earn on qualifying purchases.
Frequently Asked Questions
How Do I Prevent My Craft Pieces From Getting Scratched During Storage?
To prevent your craft pieces from getting scratched during storage, you should use protective padding like foam or bubble wrap around each item. Store them in sturdy, labeled storage containers to keep everything organized and safe. Make certain to place padding between items if stacking, and avoid overpacking containers, which can cause damage. Regularly check on your stored crafts to ensure they remain protected and scratch-free.
What Materials Are Safest for Wrapping Delicate Craft Items?
Imagine you’ve just finished a delicate glass sculpture and want to make sure it stays pristine. You should use soft fabric protection like acid-free tissue paper or cotton cloth, combined with bubble wrapping for added cushioning. These materials prevent scratches and damage during handling and storage. Bubble wrapping absorbs shocks, while fabric protection keeps surfaces smooth and safe from abrasions, making them your safest options for wrapping delicate craft items.
How Should I Label My Stored Craft Projects for Easy Identification?
To easily identify your stored craft projects, use clear, descriptive labels with storage labeling tips in mind. Write the project name, date, and any special notes on each label. Use waterproof markers on durable, adhesive labels or masking tape. Attach labels securely on the outside of containers or wrapping. This way, you can quickly find what you need without opening every box, keeping your craft space organized and efficient.
What Is the Best Way to Organize Multiple Craft Pieces in a Limited Space?
To organize multiple craft pieces in limited space, focus on creative display and space optimization. Use stackable storage bins or clear containers so you can see your projects easily. Incorporate wall-mounted shelves or pegboards for vertical storage, freeing up surface area. Label everything clearly, and group similar items together. This approach keeps your craft space tidy, inspires creativity, and makes it simple to access different projects quickly.
How Can I Protect Painted or Decorated Crafts From Fading?
Think of your painted crafts like vibrant blooms in a garden—they need protection from harsh elements. To prevent fading, apply a protective coating or use UV resistant sprays, which act like a shield against sunlight. Regularly spray or coat your crafts, especially if they’re displayed near windows. This proactive step preserves your work’s colors and details, ensuring your masterpieces stay bright and beautiful for years to come.
As an affiliate, we earn on qualifying purchases.
Conclusion
Now that you know how to wrap, store, and stack your finished craft pieces, you’ll keep them looking pristine for years to come. Think of it as your own personal Tardis, preserving each piece’s charm and preventing damage. With a little effort and the right techniques, your craft collection will stay organized and beautiful—ready for display or gifting. After all, a well-maintained craft is like a well-tuned violin—timeless and treasured.
craft storage boxes with dividers
As an affiliate, we earn on qualifying purchases.
As an affiliate, we earn on qualifying purchases.
vertical storage boxes for crafts
As an affiliate, we earn on qualifying purchases.
As an affiliate, we earn on qualifying purchases.
Evergreen bestsellers Picks
bestsellers
As an affiliate, we earn on qualifying purchases.