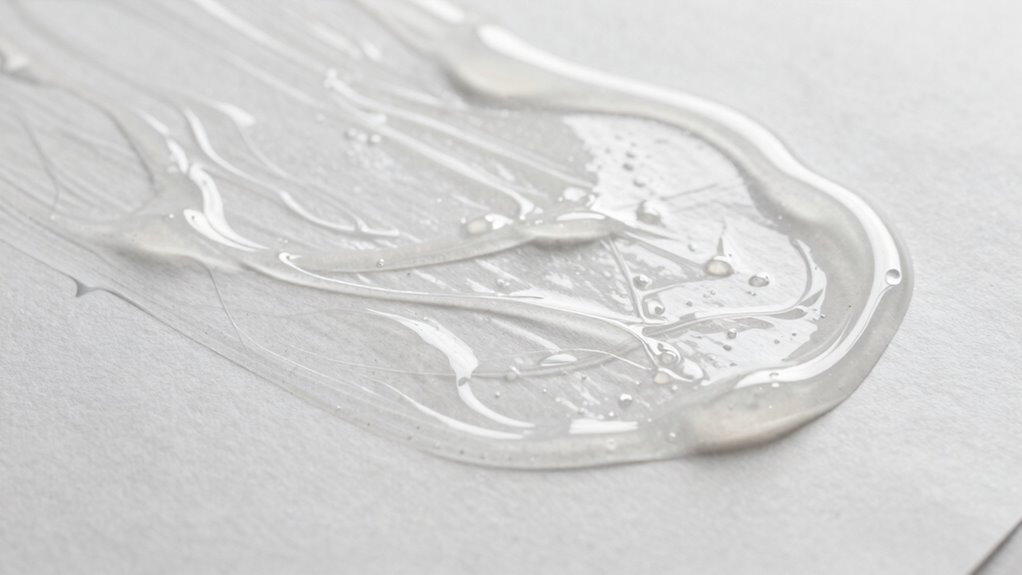

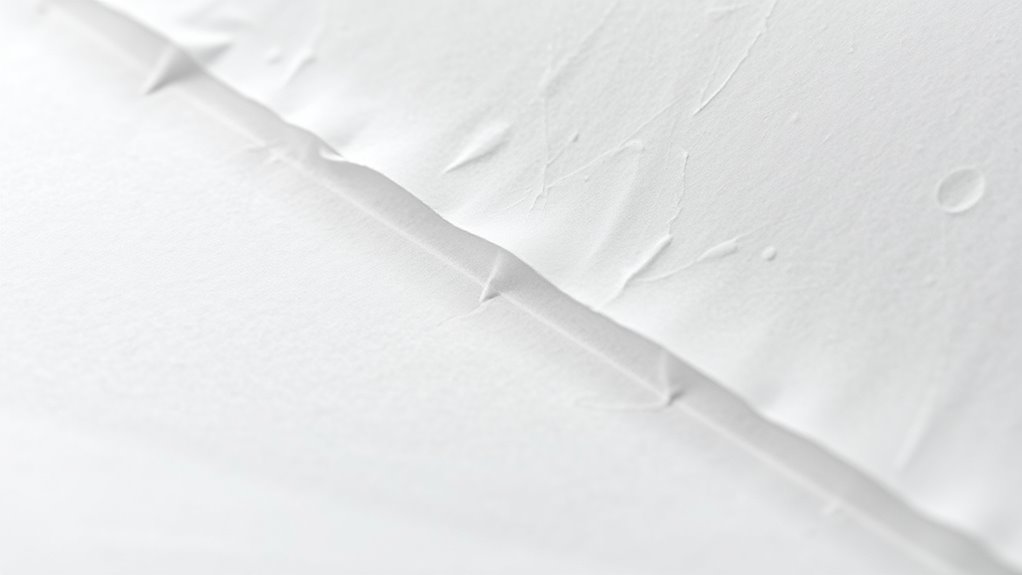
If your glue wrinkles paper, you’re likely applying too much or spreading it unevenly. Overloading causes excess moisture, which leads to bubbles and creases as it dries. To fix this, use thin, even layers with tools like brushes or rollers, starting from the center and working outward. Proper technique guarantees a smooth, flat finish, and managing your environment helps too. Keep experimenting, and you’ll discover the key to perfectly glued paper.
Key Takeaways
- Applying too much glue creates excess moisture, causing paper to warp and wrinkle as it dries.
- Uneven glue spreading leads to inconsistent adhesion, resulting in bubbles and surface creases.
- Using a thick or uneven layer of glue prevents proper bonding and can trap air, causing wrinkles.
- Not pressing or applying uniform pressure allows air pockets and uneven drying, leading to wrinkles.
- Working in a humid or dusty environment can interfere with glue adhesion and cause paper to wrinkle during drying.
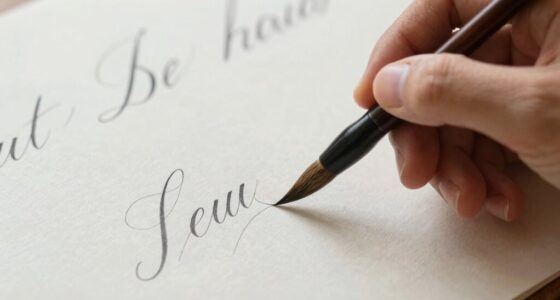
When working with glue on paper, applying it evenly is essential to avoid wrinkles that can ruin your project. To achieve a smooth, professional finish, you need to master proper adhesive techniques and guarantee your paper is well-prepared beforehand. The key is understanding how to spread glue correctly and how your approach impacts the final result.
Start with paper preparation. Before applying any adhesive, make sure your paper is clean, dry, and free of dust or oils. If the paper is warped or curled, gently flatten it by pressing it under a heavy book overnight. This step ensures the surface is as flat as possible, which helps the glue spread evenly. Using high-quality, acid-free paper can also improve adhesion and reduce warping over time.
Ensure your paper is clean, flat, and well-prepared for smooth, wrinkle-free adhesion.
Next, focus on your adhesive techniques. The goal is to apply just enough glue to hold the paper securely without excess that can seep out or cause wrinkles. Use a brush, roller, or spray to distribute the glue in thin, even layers. A foam brush or a small paint roller provides more control and helps you spread the adhesive smoothly. When working with liquid glue, start from the center and work outward, ensuring a consistent layer across the entire surface. Avoid over-applying, as too much glue can cause the paper to bubble or wrinkle when pressed down.
Pressure is equally important. After spreading the glue, carefully align your paper and press it down evenly using a roller, brayer, or even a clean cloth. Applying consistent pressure helps the glue bond uniformly and prevents air pockets or wrinkles from forming. If you notice air bubbles or wrinkles during pressing, gently lift the paper, reapply a small amount of adhesive, and press again.
Also, consider the environment: work in a clean, dust-free area with moderate humidity. Excess moisture or dust can interfere with adhesion and cause uneven drying, which leads to wrinkles. Allow the glued paper to dry flat, preferably under a weight or between two flat surfaces, to prevent warping as it dries. Additionally, understanding how sound vibrations can influence the drying process is a fascinating aspect that can help you optimize your workspace conditions.
Frequently Asked Questions
Can Different Types of Glue Help Prevent Wrinkling?
Yes, different types of glue can help prevent wrinkling. Thinner, smooth-gluing consistency reduces air bubbles, while longer drying times give you more control to spread evenly. For delicate papers, choose a glue with a balanced consistency and patience for drying. This way, you avoid uneven layers that cause wrinkles, ensuring a smooth finish. Adjusting the glue type based on your project makes a noticeable difference.
Does Paper Thickness Affect How Glue Should Be Applied?
Yes, paper thickness impacts how you should apply glue. Thicker paper usually has lower porosity, so you need less glue to avoid wrinkling, while thinner paper with higher porosity requires more adhesive for a strong bond. Adjust your application based on paper porosity and desired adhesive strength; for thicker paper, spread thin layers evenly, and for thinner paper, make certain there is enough glue without over-saturating.
Are There Alternative Methods to Avoid Glue Wrinkles?
Yes, there are alternative techniques to prevent glue wrinkles. You can try using different application tools like a sponge brush, roller, or a spreader for even coverage. Applying the glue in thin, uniform layers helps prevent wrinkles. Additionally, work slowly and press the paper gently as you go. These methods ensure smooth adhesion and minimize the risk of wrinkles, giving you a cleaner, more professional finish.
How Does Humidity Impact Glue Application and Paper Wrinkling?
Humidity effects can cause your paper to become less elastic, making it more prone to wrinkling when you apply glue. High humidity levels soften the paper and slow down glue drying, increasing the chances of wrinkles. To avoid this, work in a controlled environment with stable humidity, and use a thin, even layer of glue. Proper handling and timing help maintain paper elasticity and prevent wrinkles.
Is It Better to Use Less Glue or More for a Smooth Finish?
Think of glue as a delicate dance partner—you need just the right amount for a smooth performance. Using less glue with proper spreading techniques prevents wrinkles and creates a sleek finish. Thinner, even layers allow for better adhesion and less distortion. Avoid overloading; instead, focus on maintaining a consistent glue consistency and gentle spreading to keep your paper flat and flawless. Less truly is more when it comes to glue.
Conclusion
Did you know that using the right amount of glue reduces wrinkles by up to 50%? Now that you know how to spread glue properly, you can enjoy smooth, professional-looking projects every time. Remember to apply a thin, even layer and let it dry completely before handling. With these tips, you’ll avoid paper wrinkles and achieve flawless results. So go ahead—spread that glue with confidence and create beautiful, neat crafts that impress everyone!