
A rough spray finish often results from inconsistent technique, poor equipment upkeep, or surface prep issues. If you move too fast or too slow, or hold the spray gun at the wrong distance, you’ll get uneven textures. Dirty equipment or clogged nozzles can also cause rough surfaces. Properly sanding, cleaning your tools, applying thin coats, and controlling environmental conditions help achieve a smooth finish. Keep exploring to discover how to perfect your spray job.
Key Takeaways
- Inconsistent spray technique, such as uneven motion or incorrect distance, causes uneven application and rough finishes.
- Poorly maintained equipment, like clogged nozzles or dirty spray guns, leads to rough or bumpy surfaces.
- Insufficient surface preparation, including rough sanding or dust contamination, results in an uneven texture.
- Applying thick coats instead of multiple thin layers causes uneven drying and a rough feel.
- Uncontrolled environmental conditions, like dust or high humidity, settle into the finish and create a gritty surface.
Spray finish troubles can be frustrating, especially when your project doesn’t turn out as smooth and professional as you hoped. A rough or uneven surface can ruin an otherwise beautiful piece, but the good news is that many issues are fixable with some simple adjustments. One common cause of a rough spray finish is inconsistent spray technique. If you’re not using proper brush techniques, it can lead to uneven application, which in turn causes rough patches or texture. When you spray, you should aim for a steady, overlapping motion, keeping the spray gun at a consistent distance from the surface—usually about 6 to 12 inches. Moving too fast can cause splatters or thin spots, while moving too slow might result in drips. Practice maintaining a smooth, even motion, and keep your wrist relaxed to avoid jerking the spray gun.
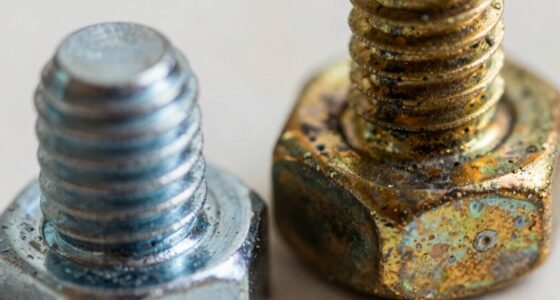
Another critical factor is spray equipment maintenance. Dirty or poorly maintained equipment can lead to uneven spray patterns, resulting in a rough finish. Make sure to thoroughly clean your spray gun, nozzles, and filters after each use to prevent clogging. A clogged nozzle can cause uneven spray or spurts, which create rough patches on your surface. Check your spray tip for wear and replace it if it’s damaged or worn out, as a worn tip can produce inconsistent spray patterns. Also, verify that your air pressure is set correctly according to the manufacturer’s recommendations—too high or too low pressure can cause the spray to atomize improperly, leaving a rough texture.
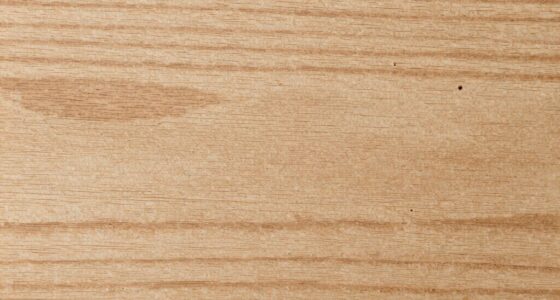
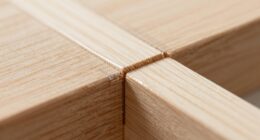
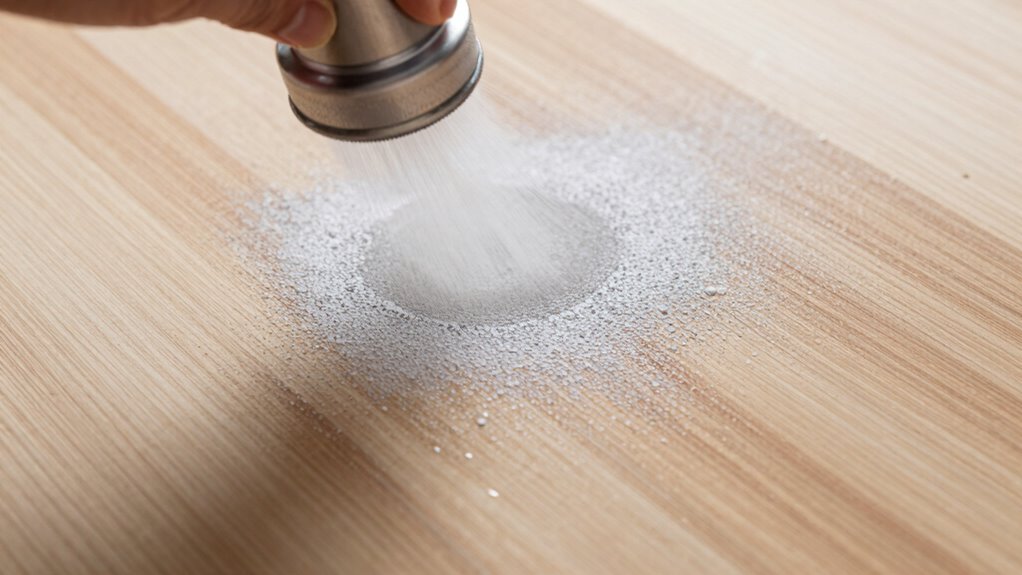
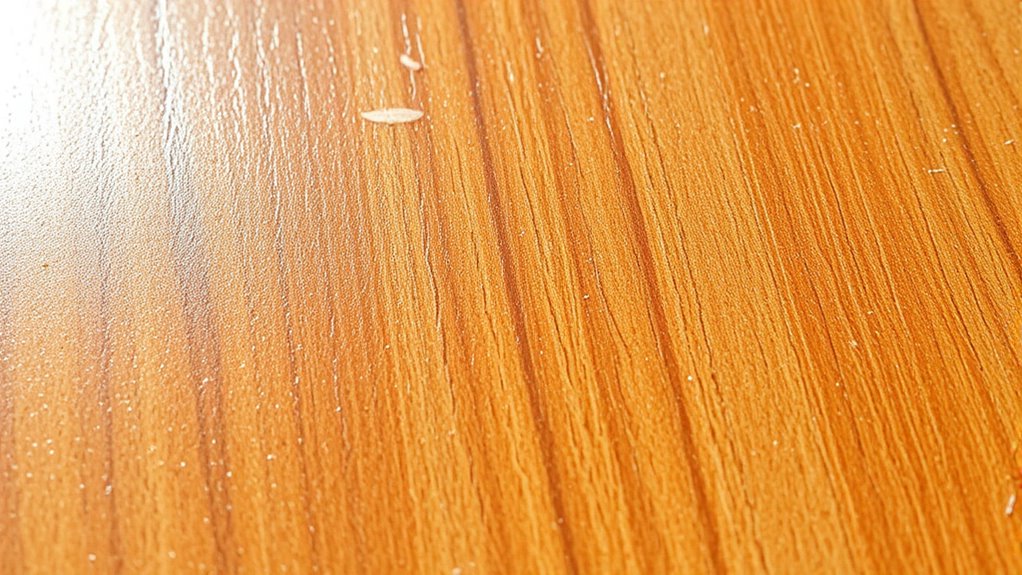
It’s also important to think about the condition of your surface. Sanding the surface properly before spraying ensures better adhesion and a smoother finish. Use fine-grit sandpaper to eliminate bumps or rough spots, and always wipe away dust before spraying. Applying multiple thin coats rather than one thick coat helps you achieve a smooth and even finish. Thick coats tend to dry unevenly and can cause roughness or bubbling. Additionally, understanding the thermal behavior of your coatings can help you avoid issues like blush or uneven drying, which contribute to a rough finish.
Lastly, be mindful of your environment. Spray in a controlled, dust-free area to prevent particles from settling into the wet finish, which can create a gritty texture. Proper spray techniques combined with diligent spray equipment maintenance and surface preparation will noticeably improve your results. With a little effort and attention to detail, you can turn a rough, uneven spray finish into a sleek, professional-looking surface that truly showcases your craftsmanship.

ENDOZER Professional HVLP Spray Gun Set Gravity Feed Air Spray Gun with 1.4, 1.7, 2.0mm Nozzles 20oz 600cc with Gauge for Auto Paint, Primer, Clear/Top Coat & Touch-Up (Not Suitable for Latex Paint)
This spray gun is supplied with a 20 oz. (600 ml) gravity feed cup, with 1.4 1.7 2.0mm…
As an affiliate, we earn on qualifying purchases.
As an affiliate, we earn on qualifying purchases.
Frequently Asked Questions
Can Humidity Affect My Spray Finish?
Yes, humidity can influence your spray finish. High humidity levels increase moisture in the air, which impacts how the paint or varnish dries. This moisture impact causes the finish to feel rough or uneven, as it prevents proper curing. To minimize humidity effects, spray in a controlled environment with low humidity or wait for drier days. Properly managing humidity ensures a smoother, professional-looking spray finish.
Is It Better to Sand Between Coats?
Yes, sanding between coats can considerably smooth your surface. Using proper sanding techniques with fine-grit sandpaper helps eliminate imperfections and creates a better bond for the next layer. Always use the right finishing tools, like sanding blocks or pads, to prevent uneven surfaces. By softly sanding between coats, you prepare a pristine, polished finish, ensuring your project looks professional and flawless.
What Type of Spray Gun Produces the Smoothest Finish?
You’ll get the smoothest finish with a high-quality HVLP spray gun, which features an optimized air cap design that provides a fine, even spray. Adjust the fluid pressure properly to guarantee a consistent flow without over-atomizing. These guns reduce overspray and produce a smoother surface, making your project look professional. Focus on maintaining the right air cap and fluid pressure settings, and you’ll achieve a flawless, silky finish every time.
How Long Should I Wait Before Recoating?
You should wait at least 2-4 hours for recoat timing, but it’s best to verify the drying time on your specific paint or finish. Touch it lightly—if it feels tacky, give it more time. Rushing the recoat can cause roughness or uneven texture. For the best results, guarantee each coat is fully dry before applying the next, usually after the recommended drying time on the product label.
Does Temperature Impact Finish Smoothness?
Yes, temperature effects can impact finish smoothness. When the temperature is too high or too low, it affects how the spray paint or finish adheres and dries, leading to uneven texture. Cooler temperatures may cause the finish to dry slowly, resulting in roughness, while hot conditions can cause it to dry too fast, creating a rough surface. Maintaining a consistent, moderate temperature helps achieve a smoother, more uniform finish.

MZB 2.4 Gallon Ultra Quiet Air Compressor 110V/60Hz 1.2HP 5.65CFM, MAX 115PSI Steel Tanks Oil-Free 70dB Noise Level Air Compressor with Wheels for Spray Painting, Auto Repair, Carpentry Decoration
Wide Applications: The air compressor is compact and lightweight, easy to carry around. It can be flexibly applied…
As an affiliate, we earn on qualifying purchases.
As an affiliate, we earn on qualifying purchases.
Conclusion
So, next time your spray finish feels rough, remember that patience and proper technique are your best tools. Think of your finish as a mirror—smooth and flawless, reflecting your craftsmanship. Instead of rushing, take the time to refine each layer, much like polishing a gemstone. With careful attention, you’ll transform that uneven coat into a sleek, glossy surface. In the end, it’s the gentle touch and persistence that turn rough into refined, leaving your project beautifully polished and ready to admire.

5Pcs Electric Paint Sprayer Nozzles Set – 1.0/1.5/1.8/2.0/2.5mm Metal Replacement Spray Tips for Airless HVLP Gun, Home DIY Wall Painting Accessories
Durable Metal Construction – Made with high-quality iron and brass components for strength and wear resistance. The sturdy…
As an affiliate, we earn on qualifying purchases.
As an affiliate, we earn on qualifying purchases.

Colad Improved Paint Booth Dust Control – 1 Gallon Solution for Automotive Paint Booths, Overspray & Contaminant Prevention in Body Shops
Specially designed to keep particles and dirt down on the floor to prevent particles from swirling during the…
As an affiliate, we earn on qualifying purchases.
As an affiliate, we earn on qualifying purchases.