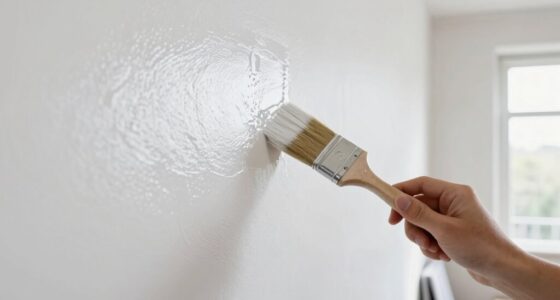

To get clean lines without bleed, focus on precise masking techniques. Use the right materials like painter’s tape or frisket, pressing firmly along all edges to create a tight seal. Carefully apply and remove masking before the paint dries to prevent tearing or smudging. Proper surface prep and attention to detail guarantee sharp, professional results. Keep practicing these steps, and you’ll discover even more tips for flawless, crisp edges in any medium.
Key Takeaways
- Use high-quality masking materials like painter’s tape or frisket for precise application.
- Press down firmly along all edges to ensure a tight seal and prevent paint bleed underneath.
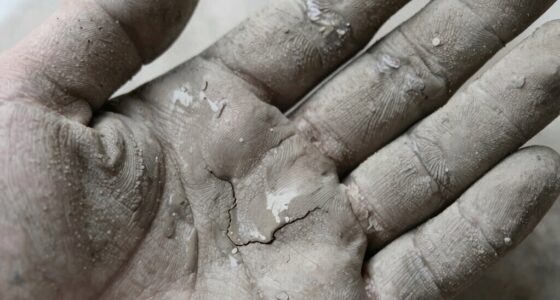
- Prepare surfaces properly to enhance adhesion and reduce the risk of seepage during masking.
- Remove masking promptly before paint dries to preserve sharp, clean edges.
- Apply masking with careful attention to detail, avoiding overlaps and gaps for crisp, professional results.
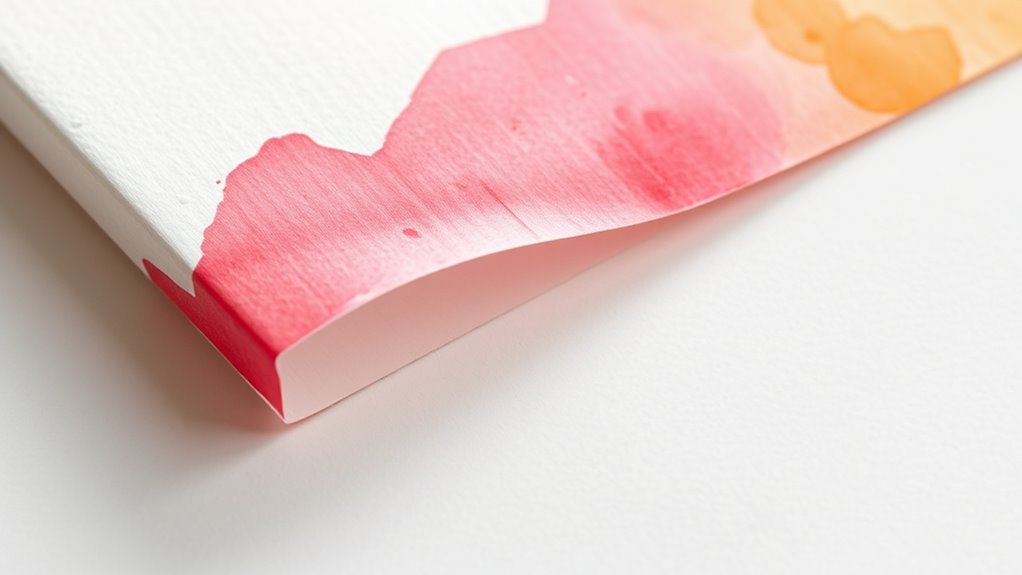
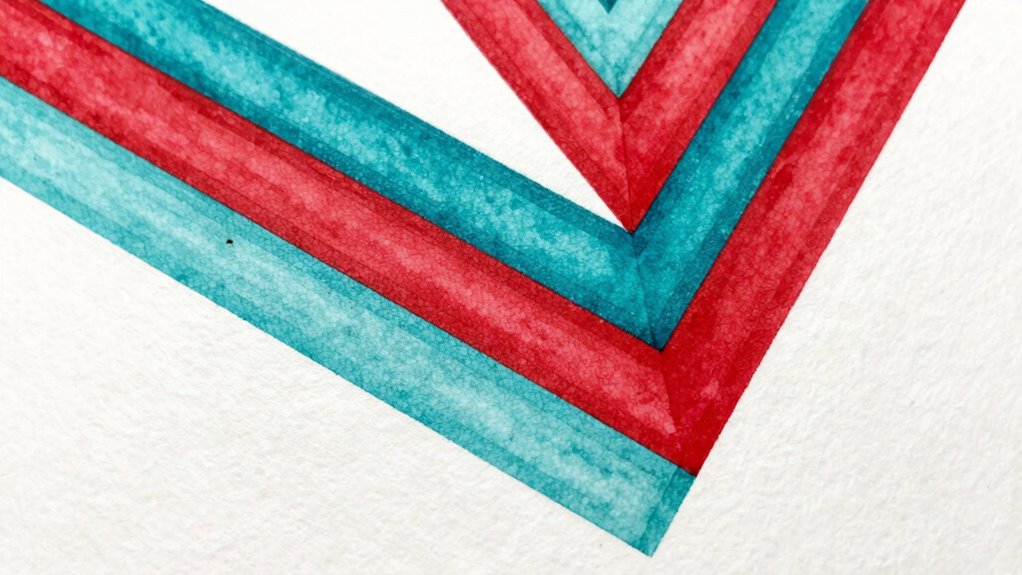
Masking without bleed is a practical technique that allows you to create clean, sharp edges in your designs without the need for extra margin space. This method relies on precise masking methods that protect specific areas of your work, making sure that your edges remain crisp and well-defined. When you focus on edge preservation, you prevent unwanted paint or ink from bleeding into adjacent sections, which is essential for achieving professional-looking results. By maintaining clean boundaries, you also improve color separation, making each hue stand out clearly against neighboring shades. This is especially important when working with multiple colors or intricate designs, where even slight bleeding can muddy the final appearance.
Masking without bleed ensures crisp edges and sharp color separation for professional-looking designs.
To start, you want to choose the right masking materials suited for your medium—whether it’s painter’s tape, frisket, or vinyl stencils. The key is to apply these materials carefully to avoid gaps or overlaps that could lead to bleeding. When applying tape or stencils, press down firmly along all edges to ensure a tight seal. This step is critical in edge preservation because any gaps can let paint seep underneath, ruining the sharpness of your lines. Once your mask is set, proceed with your coloring or painting process, confident that your edges will stay clean.
One advantage of masking without bleed is the level of control it gives you over color separation. Since the edges are protected, you can layer colors or create gradients without worrying about colors blending unintentionally. This technique allows for precise masking adjustments, so you can add or remove areas of coverage without disturbing the surrounding parts of your design. It’s especially useful in detailed work, like miniature painting or detailed illustrations, where clarity and precision are paramount.
Additionally, understanding your surface preparation and proper application techniques can significantly reduce the risk of bleed and improve your overall results. When you’re finished, carefully remove your masking material to reveal the clean, sharp edges underneath. Removing the mask at the right time—before the paint fully dries—can prevent tearing or smudging. If done correctly, you’ll notice how the edge preservation enhances the overall look, giving your work a professional and polished appearance. The clear separation of colors will also be evident, making your design stand out with vivid, crisp lines.
masking tape for painting
As an affiliate, we earn on qualifying purchases.
As an affiliate, we earn on qualifying purchases.
Frequently Asked Questions
Can Masking Techniques Be Used for Digital Art?
Yes, you can use masking techniques in digital art. You’ll want to leverage digital layering, which allows you to isolate specific areas for clean, precise details. Adjust mask opacity to control how much of the underlying layer shows through, giving you flexibility. This way, you can create sharp, clean lines without bleed, just like traditional masking, but with the convenience and control of digital tools.
What Tools Are Best for Precise Masking?
Did you know that 78% of artists find precise masking vital for professional results? To achieve this, use high-quality masking tape and tools like craft knives for edge trimming. Apply tape carefully along your outlines, pressing firmly to prevent bleed. For digital art, use selection tools with feathering options. Mastering these tools ensures clean, crisp lines every time, transforming your work into polished masterpieces.
How Do I Prevent Masking Tape From Damaging Surfaces?
To prevent masking tape from damaging surfaces, start with proper surface preparation by cleaning and drying the area thoroughly. Choose the right tape for your surface—low-tack painter’s tape works best on delicate finishes. Test a small area first, and avoid leaving the tape on too long. When removing, do it slowly at a 45-degree angle to minimize damage, ensuring clean lines without surface harm.
Is Masking Suitable for All Types of Paint?
Masking is suitable for most types of paint, but you should consider edge preservation and tape adhesion. For water-based paints, use painter’s tape designed for delicate surfaces to prevent peeling or damage. For oil-based paints, opt for a tape with stronger adhesion to ensure clean lines without bleed. Always test a small area first to check how the tape interacts with your paint type and surface, guaranteeing a smooth finish.
How Do I Remove Masking Tape Without Lifting Paint?
Removing masking tape is like peeling away a delicate layer to reveal crisp edges underneath. To prevent lifting paint, gently bend the tape back on itself at a 45-degree angle and slowly peel it away during or after the paint dries. This method preserves edge sharpness and prevents paint from tearing. Patience is key—slow, consistent tape removal ensures your clean lines stay intact and look professional.
frisket film for artists
As an affiliate, we earn on qualifying purchases.
As an affiliate, we earn on qualifying purchases.
Conclusion
By mastering masking without bleed, you’ll find that clean lines become almost effortless—almost as if the process was waiting for you all along. Sometimes, the simplest techniques reveal the most surprising results, making your artwork feel like a fortunate coincidence rather than a challenge. With patience and practice, you’ll discover that these methods not only elevate your skills but also turn every project into a happy accident, where precision and creativity seamlessly align.
professional masking materials for art
As an affiliate, we earn on qualifying purchases.
As an affiliate, we earn on qualifying purchases.
vinyl stencils for detailed artwork
As an affiliate, we earn on qualifying purchases.
As an affiliate, we earn on qualifying purchases.