
When working with wood glue, dry time is when the glue feels dry to the touch, but it doesn’t mean the bond is strong yet. Cure time is the period needed for the glue to chemically set and reach its maximum strength, often taking 24 hours or more. Rushing this process can weaken your joint. Understanding the difference helps you guarantee a strong, durable bond. Keep going to learn how to optimize both times for perfect results.
Key Takeaways
- Dry time is when glue appears dry; cure time is when it reaches maximum strength chemically.
- Drying does not guarantee the joint’s full strength; curing ensures long-term durability.
- Clamping duration and environmental conditions influence both dry and cure times.
- Do not stress or handle the joint before the full cure time, typically 24 hours or more.
- Following manufacturer instructions and allowing proper curing prevents weak joints and failure.

When working with wood glue, understanding the difference between dry time and cure time is essential for achieving strong, durable joints. Dry time refers to how long it takes for the glue to become visibly dry or set to the touch, but that doesn’t mean the bond is fully strong yet. Cure time, on the other hand, is the period needed for the adhesive to reach its maximum strength through chemical processes. Knowing this distinction helps ensure your project holds up over time.
Dry time is when glue appears dry; cure time is when it reaches maximum strength through chemical bonds.
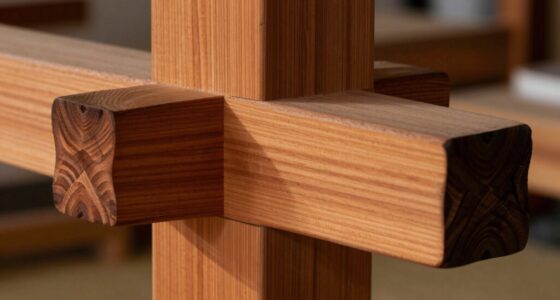
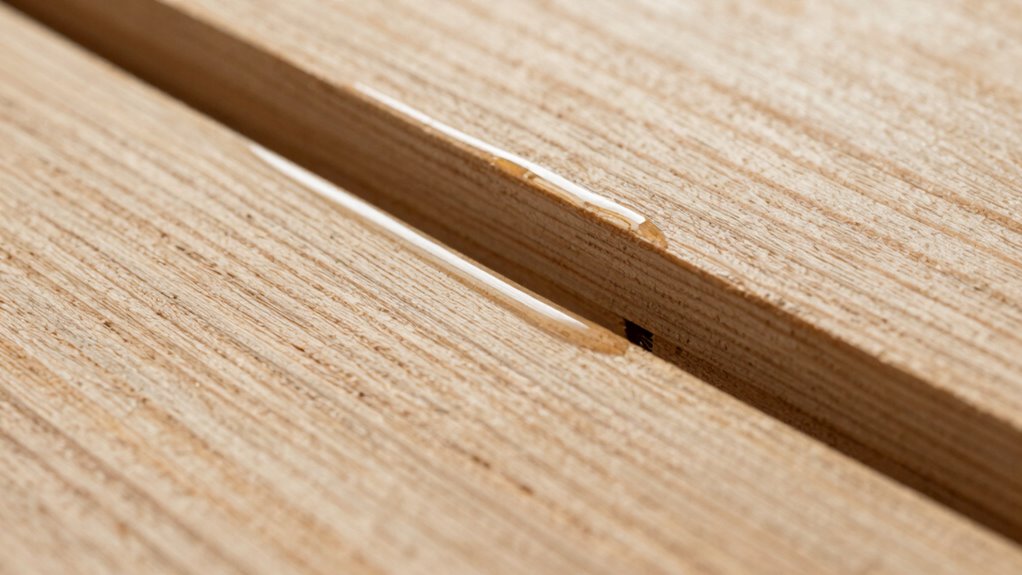
One of the most critical factors influencing dry time is clamping duration. When you apply wood glue, you typically clamp the pieces to hold them tightly together. The amount of pressure and how long you keep the clamps on directly impact how well the glue bonds during the initial drying phase. Usually, manufacturers recommend clamping for a specific period—often 30 minutes to a few hours—depending on the type of glue. But don’t rely solely on the dry time indicated on the package; it’s more about the time needed for the glue to set enough to handle light movement without breaking the joint.
Environmental effects also play a significant role in dry and cure times. Temperature and humidity can speed up or slow down the process. For example, in warm, dry conditions, glue might dry faster, while high humidity can extend drying time because moisture interferes with the chemical bonding. Conversely, in cold or damp environments, your glue may take longer to reach a dry or cured state. It’s always smart to work in a controlled environment or adjust your expectations based on the conditions, especially if you’re working outdoors or in a less predictable setting.
Even after the glue feels dry, the joint isn’t necessarily at full strength. Most wood glues require a curing period—sometimes 24 hours or more—to develop their maximum holding power. During this time, the chemical bonds inside the glue fully form, making your joint as strong as it can be. Rushing to handle or stress the joint before cure time can compromise the bond, leading to weaker connections or eventual failure.
Amazon Product B094HWZ3NN
As an affiliate, we earn on qualifying purchases.
Frequently Asked Questions
Can I Speed up the Drying Process Without Compromising Strength?
Yes, you can speed up the drying process with accelerated drying techniques, but be cautious. Increasing temperature speeds up the drying, yet too much heat can weaken the glue’s strength. Use gentle, consistent warmth and make certain of good ventilation. Avoid direct heat sources like a heater or hairdryer, which can cause uneven drying and compromise the bond. Controlled, moderate heat is your best bet for quicker drying without sacrificing strength.
Does Humidity Affect Wood Glue Dry and Cure Times?
Humidity critically impacts wood glue’s dry and cure times. Higher humidity levels slow down the evaporation of moisture, extending drying and curing periods, while low humidity speeds them up. Environmental factors like temperature and airflow also play roles. To guarantee ideal bond strength, control humidity levels in your workspace, especially in damp conditions, and allow extra time for curing when humidity is high.
How Do Different Wood Types Influence Drying and Curing?
Different wood types influence drying and curing because of their porosity and how well they allow adhesive penetration. You’ll find that porous woods like oak or pine absorb glue faster, leading to quicker initial drying, but may require longer curing. Less porous woods, such as maple or cherry, slow down adhesive penetration, which can prolong both drying and curing times. Adjust your technique based on the wood’s porosity for the best results.
Is It Necessary to Clamp During the Entire Curing Period?
You don’t need to clamp the entire curing process; typically, clamping during the recommended clamping duration is enough. For example, if your wood glue suggests a 30-minute clamp time, keep it clamped during that period, then remove to allow curing. Clamping duration directly impacts bond strength, but once the initial cure phase is complete, unnecessary clamping can hinder the curing process and won’t improve the joint.
Can I Sand or Finish the Wood During Curing?
You shouldn’t sand or finish your wood during the curing process, as it can weaken the bond created by the glue. Wait until the curing is complete before applying finishing techniques or sanding considerations. Doing so guarantees your joint stays strong and secure. Rushing this step may cause damage or reduce the effectiveness of the glue, so patience is key for a professional, durable finish.
Amazon Product B07X1PKV6Y
As an affiliate, we earn on qualifying purchases.
Conclusion
Understanding the difference between wood glue’s dry time and cure time helps you create stronger, more durable joints. While it might seem tempting to move on quickly after the glue feels dry, true strength takes time to develop. Think of dry time as the surface’s readiness, but cure time as the foundation’s final strength. Patience now guarantees your project holds firm long after the glue’s surface appears ready—trust the process for the best results.
Amazon Product B077X73CMC
As an affiliate, we earn on qualifying purchases.
Amazon Product B0DQTFJYTY
As an affiliate, we earn on qualifying purchases.