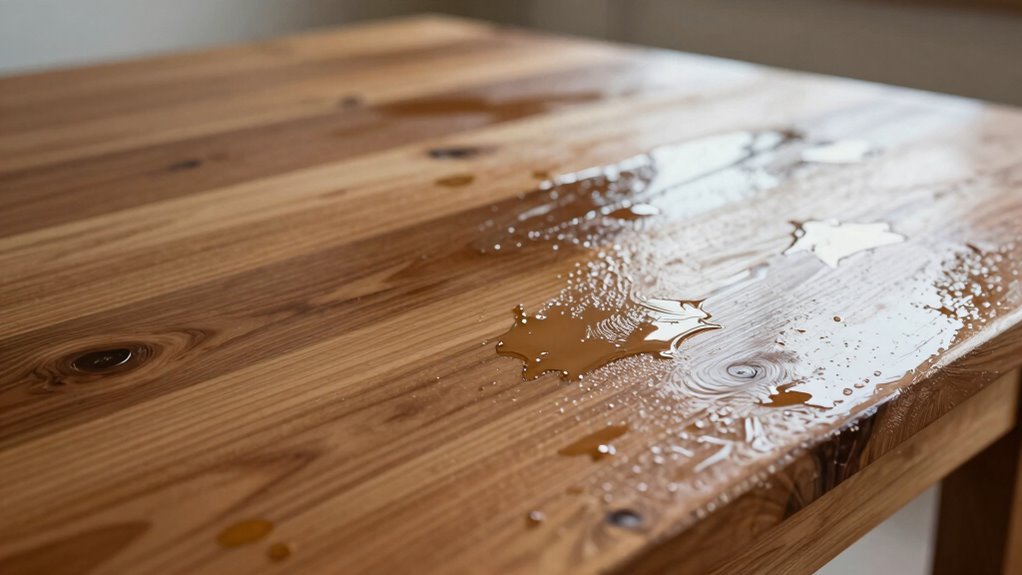

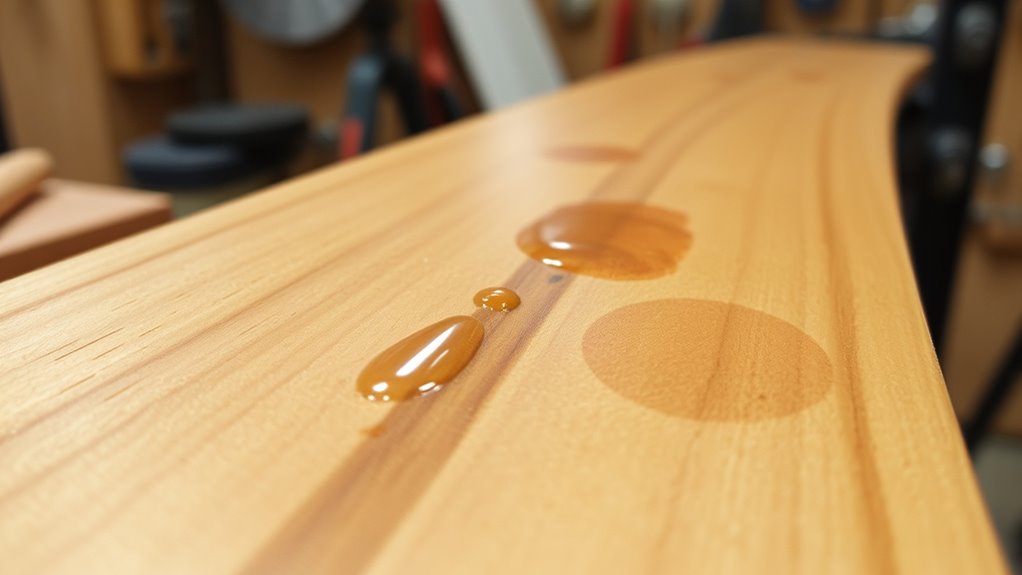
If your finish feels sticky days later, it’s likely due to issues like surface contamination, applying thick coats, or unfavorable environmental conditions such as high humidity or low temperatures. Rushing the process or not preparing the surface properly can also cause tackiness. To fix this, carefully sand the area, clean off residue, and reapply a thin, even coat under ideal conditions. To learn more, discover proven tips to prevent and correct sticky finishes.
Key Takeaways
- Contamination or improper application can prevent finish from curing fully, causing lingering stickiness.
- High humidity and temperature fluctuations slow evaporation and curing, leading to a tacky surface.
- Insufficient surface preparation or applying coats too thick can trap solvents, resulting in a sticky finish.
- Using incompatible products or rushing the drying process hampers proper curing.
- Proper sanding, cleaning, and allowing adequate curing time help fix and prevent sticky finishes.
Understanding the Causes of Sticky Finishes

Sticky finishes often result from improper curing or application techniques. One common cause is surface contamination, such as dust, oils, or moisture, which can interfere with the finish’s proper setting. When contaminants are present, they create a barrier that prevents the finish from bonding correctly to the surface. Additionally, chemical reactions can occur if incompatible products are used together or if the finish isn’t applied under suitable conditions. These reactions may cause the finish to remain tacky long after drying, as the chemicals haven’t fully cured or have reacted undesirably. Improper application techniques can also lead to uneven drying and stickiness. Recognizing surface contamination and understanding how it affects curing helps you identify if contamination or incompatible products are causing the stickiness, so you can take proper steps to correct the issue and achieve a smooth, durable finish. Being aware of proper curing times can also help prevent premature handling that might contribute to a sticky surface. Furthermore, ensuring adequate ventilation during drying can facilitate proper curing and reduce the likelihood of stickiness. Additionally, choosing the right finishing products suited for your specific surface can help ensure a proper cure and finish.
The Impact of Humidity and Temperature During Application

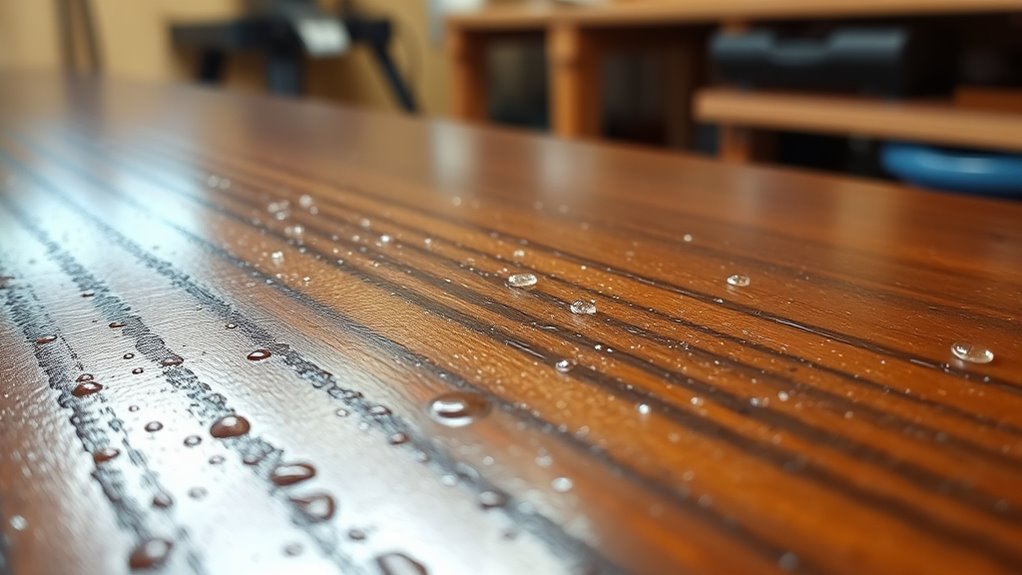
Humidity and temperature play an essential role in how finishes cure and set, directly affecting their final texture. High humidity effects can slow evaporation, leading to a sticky finish, while low humidity speeds up drying, risking cracks. Temperature control is equally critical: too hot, and the finish may dry too quickly, trapping solvents; too cold, and it may not cure properly. To manage these factors, consider these tips:
- Monitor humidity levels with a hygrometer to stay within ideal ranges.
- Use a dehumidifier or heater to adjust environmental conditions during application.
- Avoid applying finishes during extreme weather, like high heat or humidity.
- Work in well-ventilated spaces to promote proper evaporation and curing.
- Incorporate climate control measures when working in variable conditions to ensure optimal curing.
- Being aware of environmental factors can help in predicting and preventing finish issues.
- Proper application techniques can further reduce the risk of a sticky finish, especially in fluctuating weather conditions. Additionally, understanding airflow management can improve drying times and finish quality.
- Recognizing the importance of precise environmental monitoring can help maintain ideal conditions and prevent finish problems.
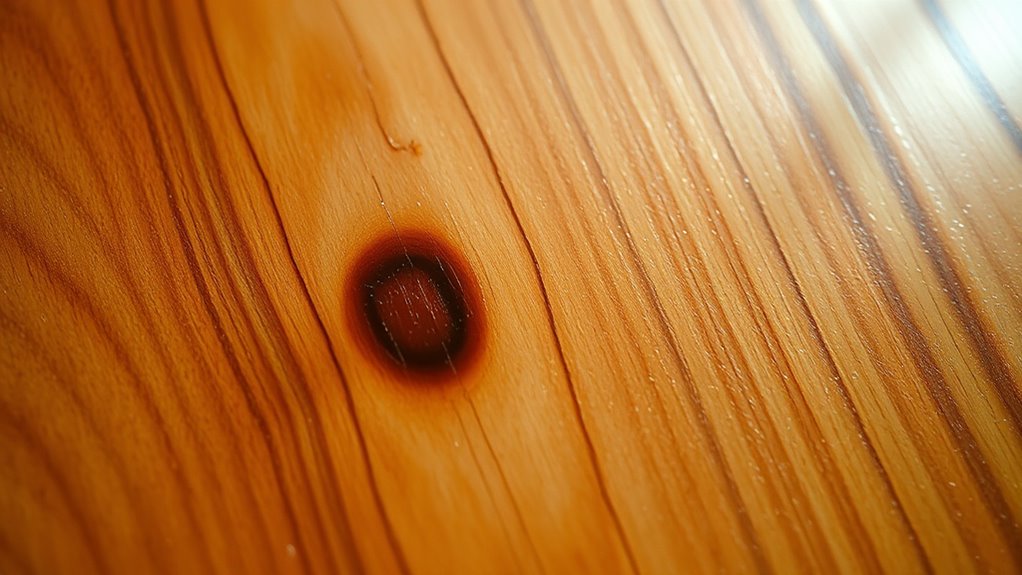
Choosing the Right Type of Finish for Your Project

Choosing the right finish for your project depends on both the desired appearance and how you’ll use the item. If durability is a priority, polyurethane offers excellent protection and is compatible with many surfaces, but make sure to check its compatibility with your material. For a natural look, oil-based finishes might be ideal, while water-based options dry faster and emit fewer fumes. When selecting a stain, consider the type of wood and the desired color. Some stains work better with specific finishes, so choosing a compatible stain ensures even color and proper adhesion. Proper stain selection and finishing choices help prevent issues like stickiness and ensure your project looks great and lasts longer. Additionally, understanding the benefits of compatibility can encourage you to explore different finishes and techniques, leading to more satisfying results. Being aware of drying times can also help you plan your project more effectively, reducing the risk of a sticky surface days later. Knowing about proper application techniques can further improve your results and avoid common finishing pitfalls. Moreover, considering environmental factors such as humidity and temperature can influence drying and curing times, helping you achieve a flawless finish.
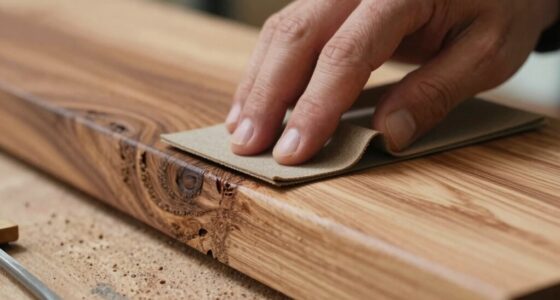
Proper Surface Preparation Before Applying Finish

Before applying any finish, it’s vital to thoroughly prepare the surface to guarantee a smooth, even, and long-lasting result. Proper surface preparation minimizes stickiness and ensures your finish adheres correctly. Start with surface cleaning: remove dust, grease, and debris using a tack cloth or mild cleaner. Next, sand the surface lightly to create a smooth base. After sanding, wipe down the surface again to eliminate dust. Finally, consider primer application if the material is porous or uneven, as it helps seal the surface and promotes better finish adhesion. Proper surface preparation reduces the risk of uneven drying and sticky patches, resulting in a professional-looking finish that lasts. Incorporating Proper surface preparation techniques, including understanding material compatibility, ensures you maximize your truck bed’s potential for every adventure. Additionally, understanding surface porosity can help determine the best primer or sealing method for your project, and performing repeatable tests on a small area can confirm the effectiveness of your chosen preparation method before full application. Taking the time for thorough surface assessment can prevent common finish issues and lead to a more durable and attractive result.
Techniques for Applying Finishes Correctly
Applying the finish correctly is key to achieving a smooth, durable surface. Start with proper brush techniques—use long, even strokes to prevent streaks and over-application. Keep a wet edge to avoid lap marks and ensure a seamless look. Make sure your finish is compatible with the previous layer or surface; incompatible finishes can cause adhesion issues, leading to tackiness. Test small areas first to confirm compatibility. Thin coats are better than thick ones, allowing each layer to dry thoroughly before applying the next. Avoid excessive brushing or rolling, which can trap air or cause streaks. By mastering these techniques, you’ll achieve a professional, smooth finish that resists stickiness and lasts longer.
Common Mistakes That Lead to Sticky Surfaces
One common mistake that leads to sticky surfaces is applying finishes in thick coats. Over application prevents proper evaporation and curing, leaving a tacky residue. Additionally, incomplete curing occurs when finishes aren’t given enough time or conditions aren’t ideal, causing stickiness to persist. To avoid these issues, watch out for:
- Applying too much finish at once
- Skipping proper drying times between coats
- Using finishes in high humidity or low temperatures
- Rushing the process without allowing complete curing
These mistakes often result in a finish that remains sticky days later. Being mindful of coat thickness and curing conditions helps you achieve a smooth, durable surface.
How to Properly Cure and Dry Your Finish
To make certain your finish dries properly, you need to control the environment and application process. Keep humidity levels steady, apply thin coats, and give each layer enough time to cure fully. Doing so helps prevent sticky spots and guarantees a smooth, durable finish. Additionally, maintaining a consistent temperature during drying can significantly improve the curing process environmental control. Properly choosing and preparing your finish products, such as clear coats or varnishes, also plays a crucial role in achieving a professional result product selection.
Maintain Proper Humidity
Maintaining proper humidity levels is essential for a smooth and successful finish drying process. If the ambient humidity is too low, your finish can dry too quickly, trapping moisture and causing stickiness. Conversely, high humidity can slow evaporation, leading to a tacky surface. To guarantee ideal drying, follow these tips:
- Use a hygrometer to monitor ambient humidity regularly.
- Keep the workspace between 40-60% humidity for ideal conditions.
- Avoid exposing your project to direct sunlight or drafts that can alter wood moisture levels.
- Use a dehumidifier or humidifier as needed to stabilize humidity and prevent wood moisture fluctuations. Proper humidity control can significantly improve the drying outcome.
- Proper airflow around the project can enhance the drying process and prevent uneven finishes air purifier maintenance.
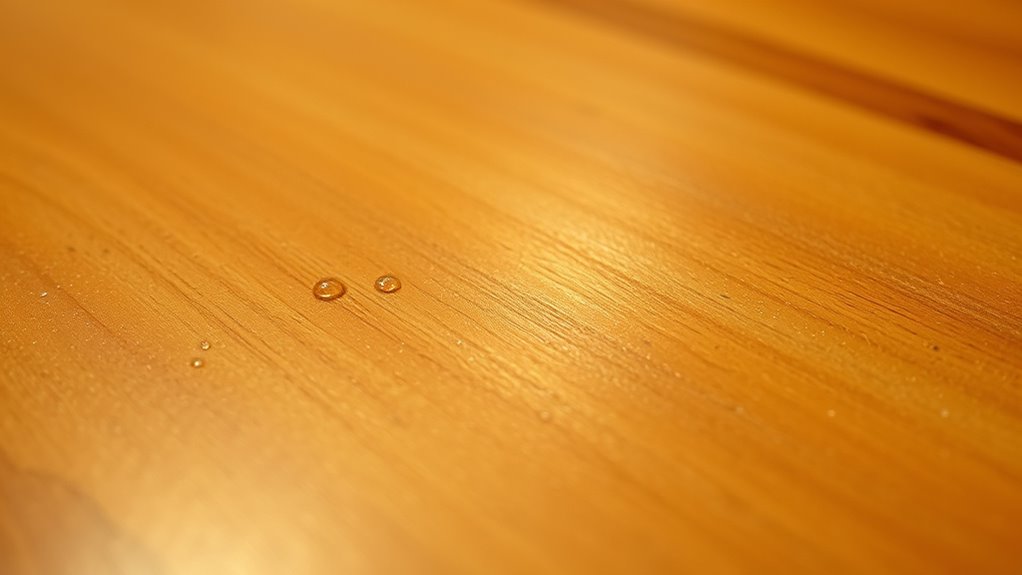
Use Thin Coats
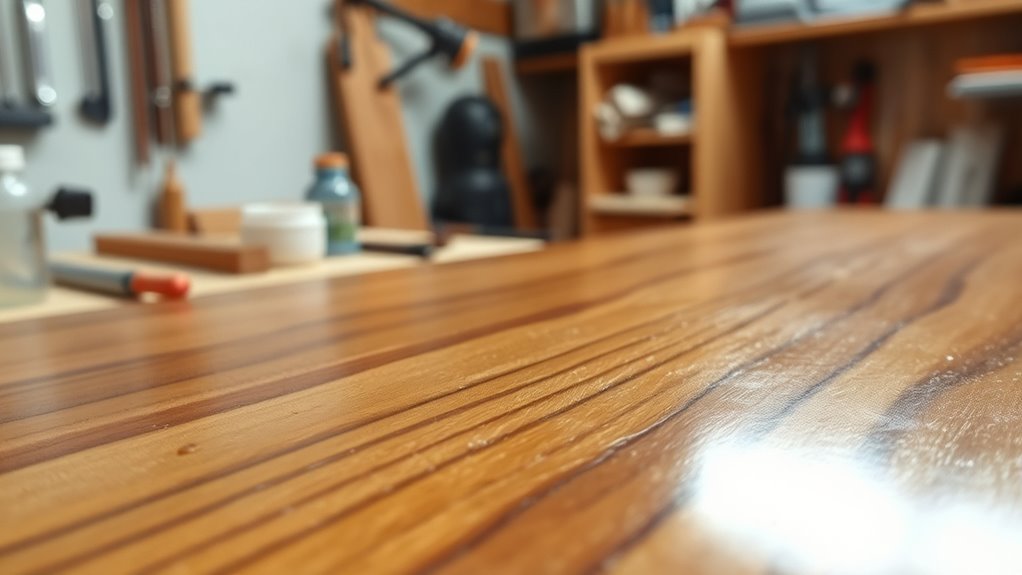
Applying thin coats of finish is essential to guarantee proper curing and drying. Thick coats trap solvents, increasing the risk of a sticky surface days later. To achieve ideal results, focus on applying even coats, avoiding drips or pooling. Use a high-quality brush or applicator to spread the finish smoothly, ensuring each layer is uniform. Allow each coat to dry completely before adding the next, which helps prevent buildup and uneven curing. Thin coats also reduce the likelihood of bubbles and imperfections that can cause stickiness. Keep your workspace dust-free and work in a well-ventilated area to promote even drying. By applying thin, even coats, you give your finish the best chance to cure properly and avoid that undesirable sticky feeling later on.
Allow Adequate Caming
Ensuring your finish cures properly requires giving it enough time to dry completely before handling or exposing it to stress. Proper finish curing is essential to prevent stickiness and achieve a durable, smooth surface. During the caming process, patience is key. Here are steps to guarantee proper finish curing:
- Avoid rushing the drying time; follow manufacturer recommendations.
- Maintain proper ventilation to aid evaporation and curing.
- Keep humidity low, as high moisture can delay the process.
- Do not touch or apply pressure until the finish feels solid and dry.
Step-by-Step Solutions to Fix a Sticky Finish
If your finish feels sticky days after application, don’t panic—there are straightforward steps to fix it. First, evaluate your brush techniques; using a brush with too much paint or applying heavy strokes can cause a sticky residue. Lightly sanding the surface with fine-grit sandpaper can help remove excess gloss or uneven layers. Verify finish compatibility before fixing—using the right type of finish for your project prevents future stickiness. If necessary, wipe the surface with a tack cloth to remove dust and residue. Reapply a thin, even coat of the appropriate finish, following manufacturer instructions. This careful approach, combined with proper brush techniques, helps you achieve a smooth, non-sticky surface that lasts.
Preventative Tips for Future Finishes
To prevent sticky finishes from occurring again, taking proactive steps during your application process makes a big difference. Start by selecting high-quality finishing products suited for your project. Guarantee your workspace is clean and dust-free to avoid debris that can cause tackiness. Store finishing products in a cool, dry environment to maintain their consistency and effectiveness. Additionally, always follow manufacturer instructions carefully regarding drying times and application techniques. Here are some tips to keep in mind:
- Use the right finishing products for your specific project.
- Maintain proper storage conditions to prevent product deterioration.
- Apply thin, even coats to avoid excess buildup.
- Allow adequate drying time before handling or applying additional coats.
Implementing these tips helps you achieve a smooth, non-sticky finish every time.
Frequently Asked Questions
Can Using Different Brands of Finish Cause Stickiness?
Yes, using different brands of finish can cause stickiness because of finish compatibility issues. When you mix brands, you risk chemical incompatibility, which may prevent proper curing and leave a tacky surface. To avoid this, stick to a single brand for your project, ensuring consistent formulation and better results. Brand inconsistency often leads to uneven drying and sticky finishes, so always verify compatibility before applying multiple coats of different finishes.
Does Sanding Affect the Stickiness of a Dried Finish?
Yes, sanding can impact the stickiness of a dried finish. Proper surface preparation through sanding removes imperfections and creates a smooth surface, which helps the finish cure evenly. However, over-sanding or using the wrong grit can expose raw wood or leave dust particles, causing adhesion issues and stickiness. Always sand gently with the appropriate grit and make certain the surface is clean before applying your finish to prevent stickiness.
How Long Should I Wait Before Applying a Second Coat?
You should wait at least the recommended drying time before applying a second coat, usually 24 hours, to guarantee proper coat application. Rushing this step can cause a sticky finish or poor adhesion. Check the product’s label for specific drying times, as factors like temperature and humidity can affect it. When the finish feels dry to the touch and no longer tacky, it’s safe to proceed with the next coat.
Are There Specific Finishes More Prone to Becoming Sticky?
Yes, some finishes are more prone to becoming sticky due to their chemical composition and shelf stability. Oil-based polyurethanes and certain epoxy resins tend to remain tacky longer if their chemical makeup is high in solvents or if they haven’t been stored properly. These finishes may also be more sensitive to temperature and humidity, increasing the risk of a sticky surface days later. Proper storage and choosing the right finish can help prevent this issue.
Can Environmental Pollutants Cause My Finish to Remain Tacky?
Yes, environmental pollutants can cause your finish to stay tacky. Poor air quality introduces airborne chemicals that can react with your finish, creating chemical reactions that delay curing. These pollutants may interfere with the drying process, leaving a sticky residue long after application. To prevent this, guarantee proper ventilation and avoid applying finishes during periods of high pollution or poor air quality, helping your finish dry smoothly and properly.
Conclusion
By mastering mindful methods and maintaining the right conditions, you’ll prevent pesky, persistent stickiness. Pay attention to proper prep, precise application, and patient curing. With a little diligence and diligence, you’ll deliver flawless finishes free from fuss. Follow these simple steps to stay savvy, safeguard surfaces, and smoothly shine. Say goodbye to sticky struggles and hello to polished perfection—your projects will thank you for your careful care!