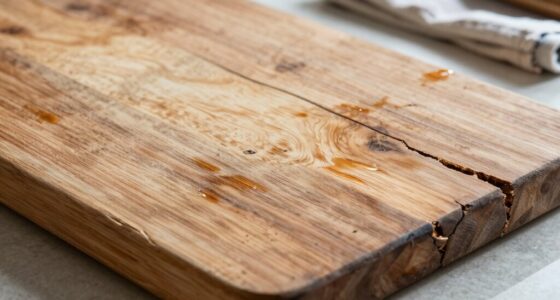

Chatter in your carving tool happens when vibrations occur from improper cutting angles, dull blades, or unstable setups. If your angles are too steep or shallow, it causes excessive force or poor chip removal, increasing vibrations. Dull tools or loose mounting also worsen this issue. Adjusting your cutting angles, ensuring sharp tools, and tightening setups can help reduce chatter. Want to master smoother carvings? Keep going to discover more effective strategies.
Key Takeaways
- Excessive vibrations from improper tool setup or dull blades cause chatter during carving.
- Incorrect cutting angles increase forces and instability, leading to tool vibration.
- High feed rates or cutting speeds amplify vibrations, triggering chatter.
- Loose fixtures or unstable supports fail to dampen vibrations, worsening chatter.
- Maintaining sharp tools and optimizing cutting angles reduces vibrations and smooths carving.
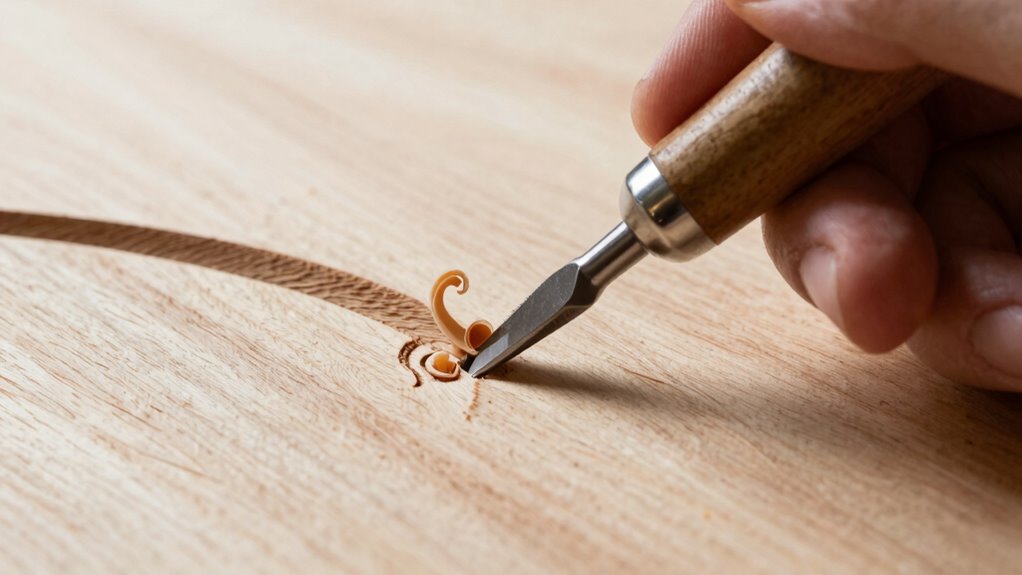
Carving tool chatter is a common challenge that can disrupt the precision and quality of your work. When you notice irregular vibrations or noise during carving, it often points to issues with how the tool interacts with the material. One key factor influencing chatter is the cutting angles you choose. If your angles aren’t optimized for the specific material or carving depth, it can lead to unstable cutting conditions. For example, a too-steep cutting angle might increase the force exerted on the tool, causing it to vibrate more and produce uneven cuts. Conversely, a shallow angle can reduce cutting efficiency and contribute to vibrations due to less effective chip removal. You should experiment with different angles to find the sweet spot that minimizes tool vibration and provides cleaner, smoother cuts. Adjusting your cutting angles isn’t just about improving cut quality; it’s about reducing the forces that cause chatter in the first place. Properly managing cutting forces is essential for a smoother carving experience.
Tool vibration is another primary contributor to chatter. When the tool vibrates excessively, it creates a feedback loop where vibrations amplify, leading to rough surfaces and potential tool damage. Vibration can be caused by several factors, including incorrect tool setup, dull blades, or excessive feed rates. To combat this, ensure your tool is properly mounted and securely tightened in your carving machine or hand-held device. A loose or unstable setup can magnify vibrations, making chatter more pronounced. Additionally, using sharper tools reduces the amount of force needed to cut, which in turn minimizes vibrations. If you’re pushing the tool too fast or with too much pressure, you’ll likely introduce more vibration, so adjusting your feed rate and cutting speed can help stabilize the process.
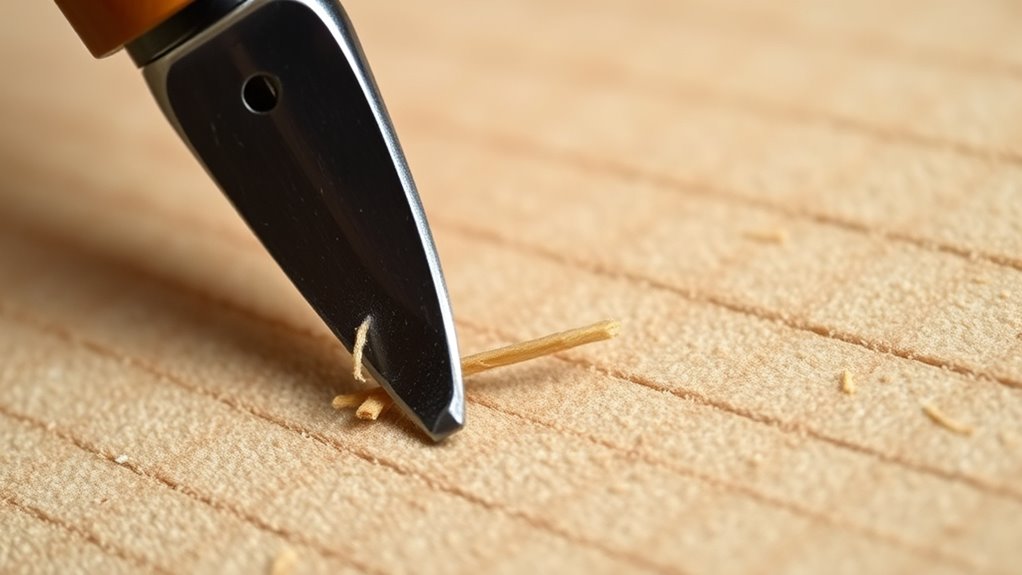
Another way to reduce chatter involves considering the material you’re working with and the tool’s condition. Softer materials may require different cutting angles or speeds compared to harder ones. Regularly inspecting your tools for wear and tear ensures you aren’t using dull blades that cause more vibration. Also, employing proper support or fixtures can dampen vibrations transmitted from the workpiece to the tool, smoothing out the carving process. Remember, the key lies in balancing your cutting angles, maintaining your tools, and controlling your feed rate. When these elements are optimized, you’ll notice a significant reduction in tool vibration and chatter, resulting in cleaner, more precise carvings. With patience and experimentation, you can find the perfect setup that keeps vibrations low and your work flawless.
Amazon Product B0BSRLC8SN
As an affiliate, we earn on qualifying purchases.
Frequently Asked Questions
Can Carving Tool Chatter Damage My Project Permanently?
Yes, carving tool chatter can damage your project permanently. When chatter occurs, it creates uneven cuts and stress on the material, especially if the tool material isn’t suited for your work. High carving speeds can also exacerbate the problem, increasing the risk of gouges or cracks. To prevent this, use appropriate tool materials and adjust your carving speed, ensuring smoother cuts and avoiding permanent damage to your project.
Does the Type of Wood Affect Tool Chatter Frequency?
Yes, the type of wood affects tool chatter frequency. Denser woods with high density often cause more chatter because they resist cutting smoothly, while softer woods reduce vibrations. Grain orientation also plays a role; cutting against the grain can increase chatter, making your work rougher. To minimize issues, choose wood with consistent grain and appropriate density for your project, adjusting your technique accordingly.
Are There Specific Tools Best Suited to Prevent Chatter?
You should choose carving tools with ideal tool design, such as sharp blades and balanced handles, to prevent chatter. Selecting tools specifically designed for your project, like V-tools or gouges, can make a difference. Proper carving tool selection ensures stability and reduces vibrations. When you pick tools that fit well in your hand and have the right edge geometry, you’ll experience smoother cuts and fewer chatter issues, making your carving easier and more precise.
How Does Tool Sharpness Influence Chatter?
You’ll notice that sharp tools considerably reduce chatter because a well-maintained cutting edge guarantees cleaner cuts and less vibration. When you keep your carving tools sharp through regular tool maintenance, you minimize resistance and prevent the tool from bouncing or vibrating during use. A dull or damaged cutting edge causes the tool to catch or chatter, resulting in rough finishes. Always prioritize sharpness to achieve smoother, more controlled carving.
Can Environmental Factors Like Humidity Impact Chatter Occurrence?
Ever wonder if humidity levels affect chatter? Yes, they do. Higher humidity increases moisture content in your workpiece and environment, which can cause your tools to vibrate or chatter more. When moisture is present, it can change how the material responds to carving, making it harder to achieve smooth cuts. To minimize this, work in a controlled environment with stable humidity, ensuring consistent results and reducing chatter.
Amazon Product B003HIWR08
As an affiliate, we earn on qualifying purchases.
Conclusion
So, next time your carving tool starts chattering like a wild maraca, remember—it’s just your tool’s way of dancing to its own tune. Ironically, all that noise is a sign you’re pushing it just a bit too hard, trying to tame a stubborn piece of wood. Instead of fighting the chatter, embrace the rhythm, smooth out your strokes, and let the tool sing a gentle lullaby. Sometimes, quieting the noise is the sweetest melody of craftsmanship.
Amazon Product B07HY9LKKQ
As an affiliate, we earn on qualifying purchases.
Amazon Product B07HYB3R92
As an affiliate, we earn on qualifying purchases.