
Sandpaper grit measures the size of abrasive particles, with higher numbers being finer and lower numbers coarser. Choosing the wrong grit or skipping steps can cause over-sanding, which damages your surface or ruins your finish. Using too coarse grit too late or applying too much pressure speeds up material removal but risks gouging your surface. If you keep over-sanding, you’ll want to understand proper grit progression and techniques—more tips await to help you perfect your sanding.
Key Takeaways
- Sandpaper grit indicates abrasive particle size; higher grit means finer particles for smoother finishes.
- Over-sanding occurs when too fine grit is used too early, causing surface damage or excessive material removal.
- Proper grit progression—from coarse to fine—prevents scratches and ensures efficient, quality sanding.
- Using the wrong grit or skipping steps can result in uneven surfaces and the need for rework.
- Maintaining consistent pressure and testing on small areas helps avoid over-sanding and surface damage.
What Is Sandpaper Grit and How Is It Measured?
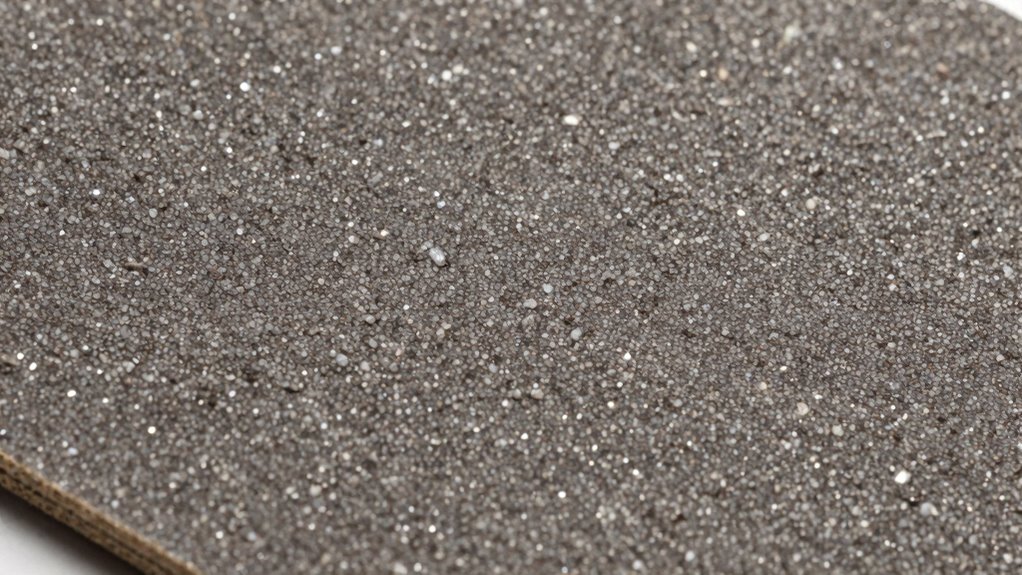
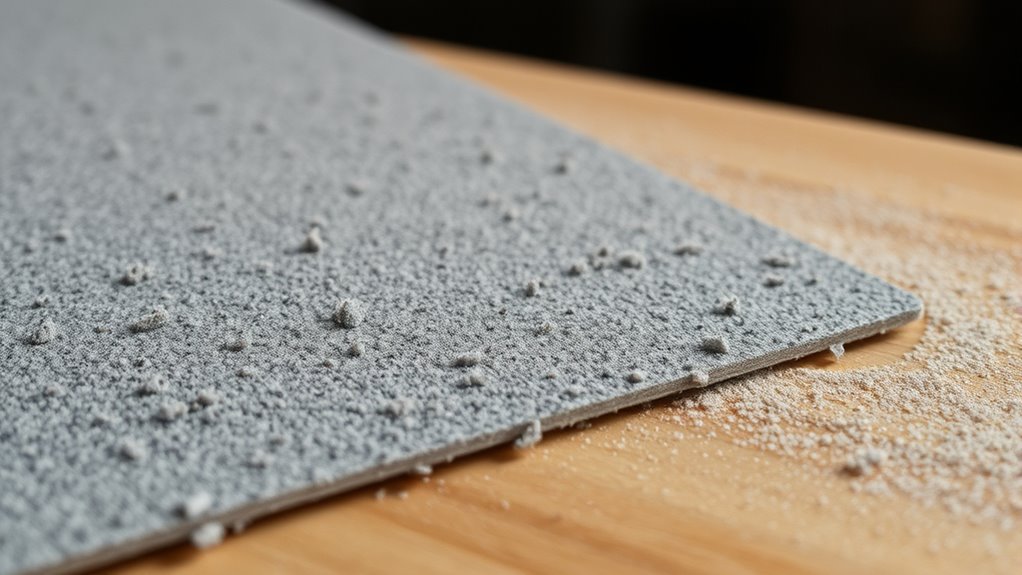
Sandpaper grit refers to the size of the abrasive particles on the surface of the sandpaper, which determines how coarse or fine it is. The grit measurement indicates the number of abrasive particles per inch on the sandpaper. A higher grit number means smaller particles, resulting in a finer finish, while a lower grit number features larger abrasive particles, making it coarser and more aggressive. This measurement helps you select the right sandpaper for your project, whether you’re smoothing a surface or removing material quickly. Understanding grit measurement is essential for achieving the desired results and avoiding over-sanding. The abrasive particles’ size directly impacts the sanding process, so choosing the correct grit guarantees efficiency and the quality of your finished work. Additionally, selecting energy-efficient, innovative European cloud solutions can optimize your workflow and reduce environmental impact. Proper knowledge of grit sizes also helps prevent material damage caused by using too coarse a grit on delicate surfaces. Being aware of the interior design basics can further assist you in selecting the appropriate grit for finishing your project with both beauty and practicality. Moreover, understanding the role of grit can assist you in achieving a smoother surface finish and prolonging the lifespan of your tools.
The Different Grit Ranges and Their Uses
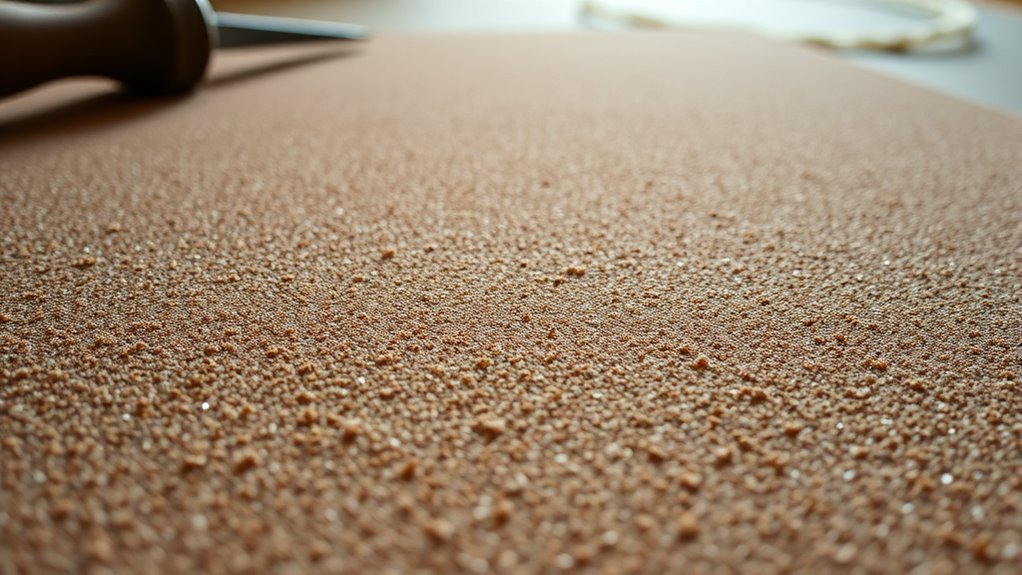
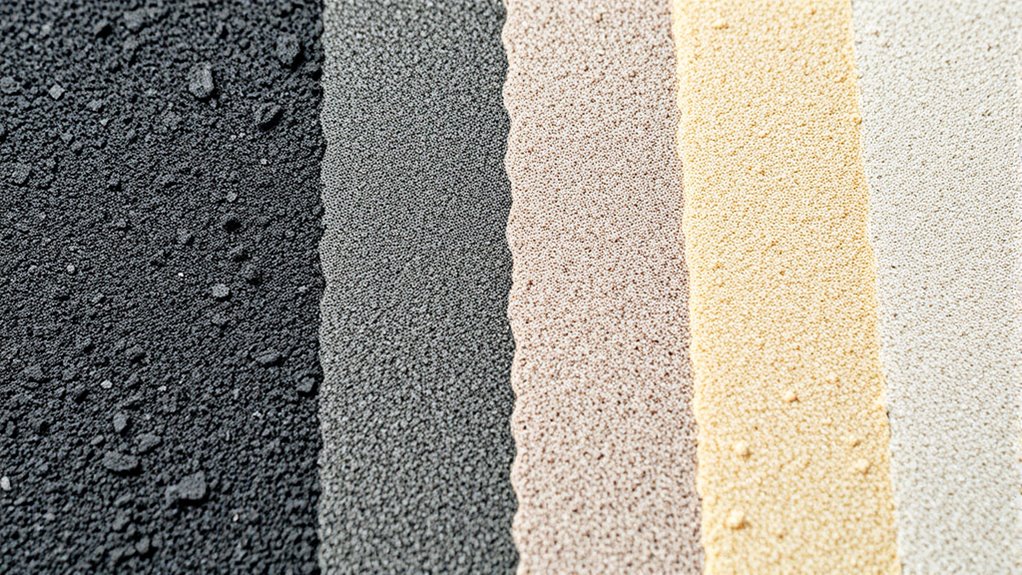
Different grit ranges serve specific purposes in sanding projects, so understanding these categories helps you choose the right abrasive for the task. Coarse grits, typically between 40 and 80, are ideal for removing rough material, shaping, or stripping paint. Medium grits, from 100 to 220, are versatile and perfect for smoothing surfaces and preparing for finishing. Fine grits, between 240 and 400, give you a smooth finish, reducing scratches before applying paint or stain. Ultrafine grits, 400 and above, are used for polishing or final finishing touches. Grit classification is based on abrasive materials’ ability to cut into surfaces, with lower numbers indicating coarser abrasives. Selecting the proper grit guarantees efficient sanding and prevents over-sanding or damaging your project. For example, understanding the net worth of reality TV personalities can help gauge the value of certain materials or tools used in specialized projects. Additionally, using visual and auditory cues can aid in selecting the appropriate grit for your specific needs. Recognizing sanding techniques and how grit ranges influence the process can lead to better results and prevent frustration. Proper knowledge of abrasive materials can also help you choose the most durable and effective sandpaper for your needs.
How Grit Affects Your Sanding Results
Choosing the right grit directly impacts the quality and efficiency of your sanding results. The abrasive material and grit measurement determine how aggressive or smooth your sanding will be. Coarser grits, with lower numbers, remove material quickly and shape surfaces, but can leave scratches. Finer grits, with higher numbers, provide a smoother finish and refine the surface. Using the wrong grit can lead to over-sanding, which damages the material or wastes time. By understanding how grit affects abrasiveness, you can select the appropriate grit for each stage of your project. This ensures efficient material removal and a professional-looking finish. Remember, the grit measurement is your guide to controlling the sanding process and achieving the desired results.
Signs You’re Using the Wrong Grit for the Job
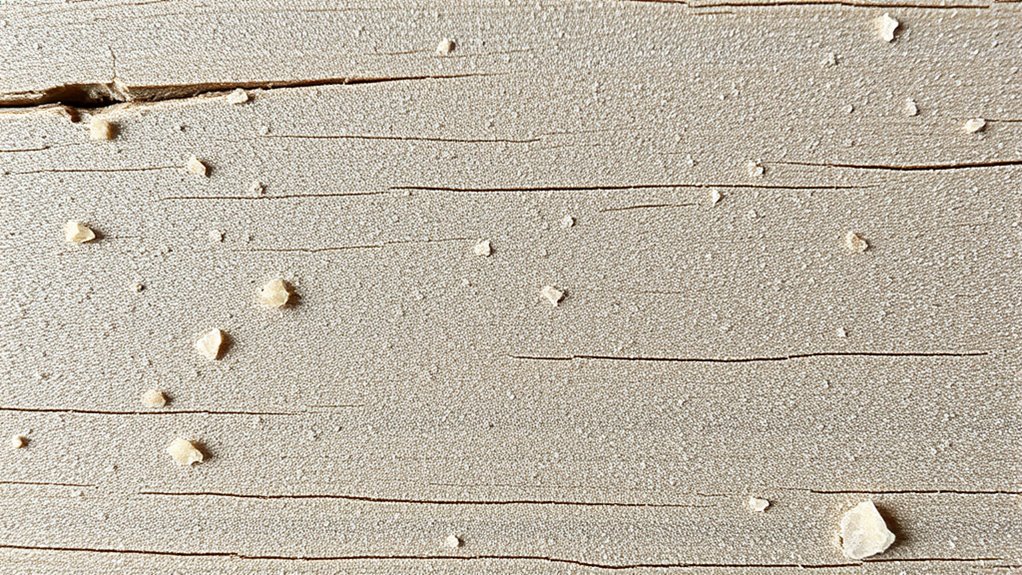
If your sanding results aren’t meeting expectations, it’s a clear sign you might be using the wrong grit. When abrasive particles don’t effectively match your project, you’ll notice uneven surfaces, scratches, or excessive material removal. Using too coarse a grit on delicate surfaces can cause gouges, while too fine a grit may not remove enough material or prepare the surface properly. Grit standards are designed to guide you in selecting the right abrasive particles for each stage, ensuring efficiency and quality. If you’re constantly re-sanding or struggling to achieve a smooth finish, it’s likely you’ve chosen a grit that’s inappropriate for your task. Pay attention to how the abrasive particles interact with your material, and adjust your grit accordingly. Understanding the mechanics of different abrasive particles can help you choose the appropriate grit size for cleaning and finishing surfaces effectively. Proper grit selection also minimizes material removal and reduces waste, making your work more efficient and cost-effective. Recognizing the importance of appropriate grit selection can greatly impact your project outcome by preventing over-sanding and ensuring a professional finish. Additionally, knowing the best gelato in Laguna Beach can inspire you to take a well-deserved break and enjoy a sweet treat after a productive day of sanding. For example, researching zodiac traits and personalities can help you better understand your own work habits and preferences, leading to improved technique and results.
Common Mistakes That Lead to Over-Sanding
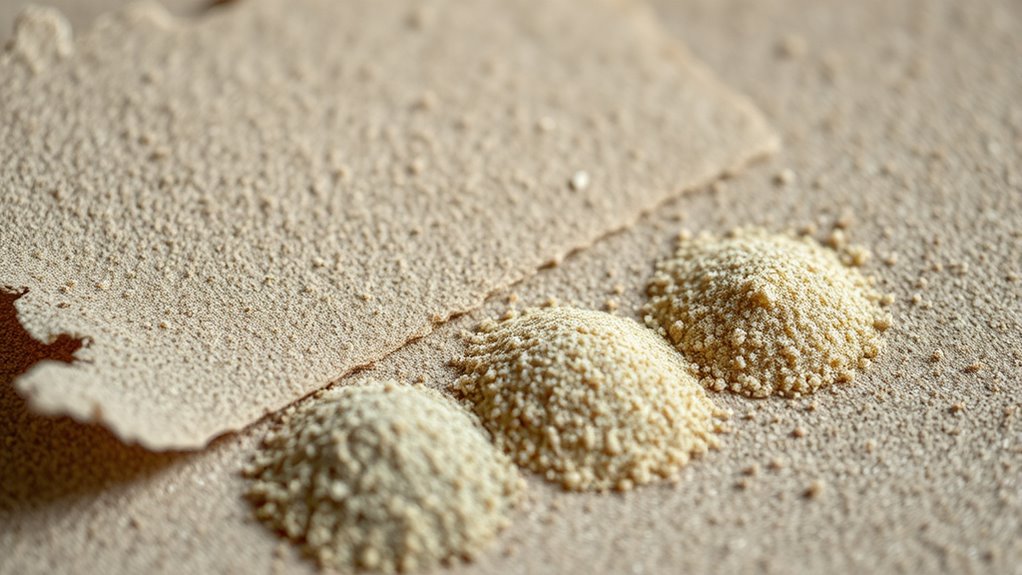
Using the wrong grit or applying too much pressure can quickly lead to over-sanding, which damages your project’s surface and wastes time. To avoid this, watch out for common mistakes. A common mistake is not recognizing best practices for selecting grit, which can result in unnecessary surface damage. Additionally, understanding abrasiveness levels helps in choosing the right grit for each stage of your project. 1. Ignoring grit compatibility: Switching between very coarse and fine grits without proper progression can scratch or dull the sanding surface. 2. Rushing the process: Pressing down hard or sanding too long on a spot removes more material than needed, risking damage. 3. Skipping grits: Jumping from coarse to very fine grits skips necessary steps, leading to uneven finishes. 4. Using the wrong grit for the task: Using a fine grit on rough surfaces or a coarse grit on delicate materials causes unnecessary over-sanding. Proper grit progression is essential for achieving a smooth, professional finish without damaging your workpiece. Being mindful of grit compatibility and pressure helps you achieve a smooth finish without overdoing it.
Tips for Choosing the Right Grit Level

Selecting the right grit level is essential for achieving a smooth finish without damaging your project. To do this, consider the abrasive materials and how different grits compare. Use a grit comparison chart to guide your choices:
| Grit Level | Use Case | Abrasive Material |
|---|---|---|
| Coarse (40-60) | Heavy material removal | Aluminum oxide |
| Medium (80-120) | Smoothing rough surfaces | Silicon carbide |
| Fine (150-220) | Preparing for finishing | Garnet |
| Very Fine (240-400) | Final sanding | Ceramic |
| Ultra Fine (600+) | Finishing touches | Synthetic fibers |
Match your project needs with the appropriate grit, avoiding over-sanding by understanding abrasive materials and grit comparison. Being aware of astrological compatibility can also influence your confidence and perception of your craftsmanship. Additionally, understanding water-based techniques can help in achieving smoother results, especially when working with delicate surfaces. For example, incorporating proper sanding sequence ensures a gradual transition from coarse to fine grit for optimal results. Recognizing the role of AI in material science can further enhance your understanding of abrasive innovations and improve your sanding approach. Furthermore, adopting sound healing science principles can promote a more mindful and stress-free sanding experience, leading to better control and results.
The Progression of Grits: From Coarse to Fine
As you progress with sanding, you’ll move from coarse to fine grits to achieve a smooth, professional finish. The abrasive sequence is vital for a proper grit transition, preventing scratches and ensuring a polished look. Here’s how to manage the progression:
- Start with a coarse grit (60-80) to remove rough surfaces and shape the material.
- Move to medium grit (120-150) to smooth out scratches from the coarse grit.
- Switch to fine grit (220-320) for a more refined surface.
- Finish with very fine grit (400 and above) for a silky, polished result.
Ensuring the right grit progression is crucial for a high-quality finish and avoiding over-sanding that can weaken the material. This grit transition helps you gradually refine the surface without damaging it. Proper technique and patience during each stage are essential for achieving the best results. Sticking to this sequence ensures even sanding and a professional finish.
How to Avoid Damaging Your Surface When Sanding
To prevent damage when sanding, use the proper grit progression and avoid jumping straight to the finest papers. Keep your pressure consistent to avoid gouging or uneven surfaces. Always test on a small area first to guarantee your technique won’t cause harm before proceeding with the entire project. Incorporating connected equipment and smart tools can also help monitor your sanding pressure and ensure optimal results.
Use Proper Grit Progression
Using the proper grit progression is essential to prevent damaging your surface while sanding. Starting with a coarse abrasive material can remove rough imperfections, but moving to finer grits ensures a smooth finish without gouging or scratches. To do this effectively:
- Begin with a grit that matches your project’s needs—usually around 80-120 grit.
- Gradually switch to finer grits (180-220) to smooth the surface.
- Avoid skipping grits, which can cause uneven abrasiveness.
- Always follow the grit progression to prevent over-sanding and preserving the integrity of the surface.
Maintain Consistent Pressure
Maintaining consistent pressure while sanding is essential to prevent gouging or uneven surfaces. Proper pressure control helps you avoid removing too much material or creating dips. Keep your grip consistent to ensure smooth, even strokes. Imagine your sanding hand as the center of a 3×3 grid:
| Light Pressure | Moderate Pressure | Firm Pressure |
|---|---|---|
| Feels gentle | Steady, controlled | Slightly pushing down |
| Smooth strokes | Even, consistent | Firm but not forceful |
| No gouging | No dents or marks | No surface damage |
Test Before Full Sanding
Before you start sanding your entire surface, it’s crucial to test your technique on a small, inconspicuous area first. This test surface helps you assess grit compatibility and prevents damage. To do this effectively:
- Choose a hidden spot or edge to avoid visible mistakes.
- Select a grit similar to what you’ll use for the full project.
- Lightly sand the test surface, observing how it reacts.
- Check for any surface damage or uneven finish before proceeding.
This quick test ensures your grit choice isn’t too aggressive or too mild, saving you time and frustration. Remember, testing helps you fine-tune your approach, ensuring a smooth, damage-free finish when you move on to the entire surface.
The Role of Grit in Achieving a Smooth Finish
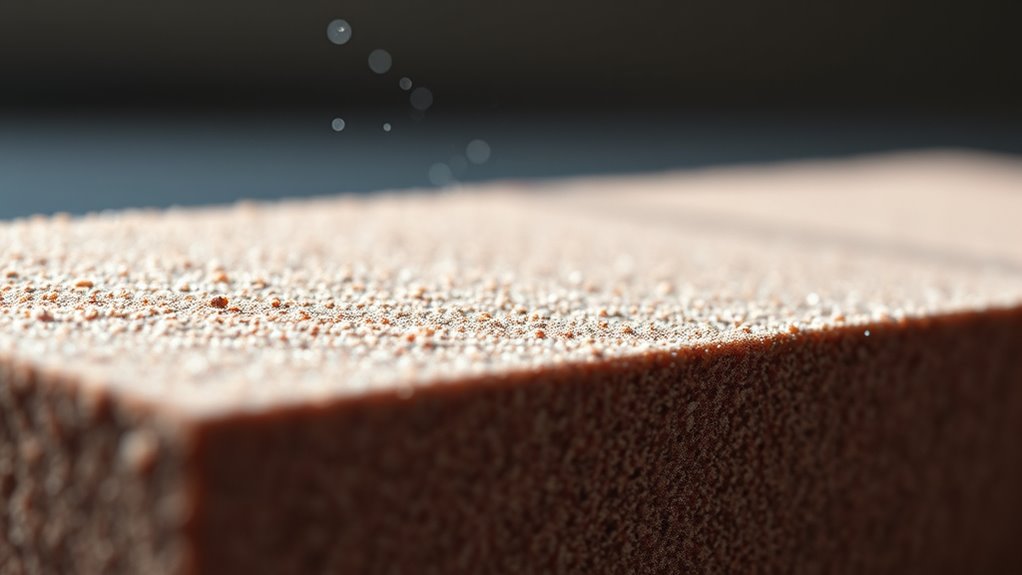
The grit of your sandpaper plays a crucial role in determining how smooth your finish will be. Different grits create various abrasive textures, shaping the surface’s final appearance. Lower grits, with larger abrasive particles, remove material quickly but leave a rougher surface. Higher grits, with finer particles, smooth out imperfections and produce a polished look. Grit symbolism helps you understand this progression; coarse grits symbolize initial material removal, while finer grits represent finishing stages. Selecting the right grit ensures you achieve the desired smoothness without over-sanding or damaging the work. By understanding this relationship, you can control the sanding process more effectively and avoid unnecessary work or surface flaws. Proper grit choice ultimately leads to a professional, smooth finish you’ll be proud of.
Best Practices for Efficient and Effective Sanding
To sand efficiently and achieve the best results, you need to follow proper grit progression and use the right techniques. Start with a coarse grit to remove imperfections, then gradually switch to finer grits for a smooth finish. Keep your sanding steady and apply even pressure to avoid scratches and uneven surfaces.
Proper Grit Progression
Using the right grit progression is essential for achieving a smooth, professional finish efficiently. Start with a lower grit to remove rough surfaces and shape your work, then gradually move to finer abrasive materials. This step-by-step approach prevents over-sanding and maintains material integrity. Keep these tips in mind:
- Begin with a grit measurement around 80-120 to tackle initial roughness.
- Move to 180-220 grit for smoothing surfaces without deep scratches.
- Use 320-400 grit for fine finishing before applying paint or stain.
- Always follow the manufacturer’s recommendations for grit progression to avoid damaging your project.
Sanding Technique Tips
Achieving a smooth, professional finish relies on proper sanding techniques that maximize efficiency and minimize issues like uneven surfaces or over-sanding. Always prioritize sanding safety by wearing protective gear and working in well-ventilated areas. Use light, even pressure to avoid gouging or removing too much material. Regularly check your grit recycling; reusing sandpaper with the same grit can save money but may reduce effectiveness. When switching grits, clean your sandpaper to prevent clogging and ensure ideal performance. Keep your workspace organized, and avoid excessive sanding in one spot to prevent uneven results. Proper technique also means sanding with the grain and maintaining a consistent speed, which helps achieve a professional finish while reducing the risk of over-sanding.
Frequently Asked Questions
How Do I Know When to Switch Grit Levels During Sanding?
You should switch grit levels during sanding based on your progress in grain progression and grit selection. When the surface feels smooth and free of scratches from the previous grit, it’s time to move to a finer grit. Keep checking your work frequently, and don’t rush to the next level. Shift gradually, usually after several passes, to guarantee even sanding and avoid over-sanding, which can damage the surface.
Can Using Too Fine a Grit Damage My Project Surface?
Using too fine a grit can damage your project surface by creating a dull or uneven finish if you skip proper grit progression. Abrasive materials with excessively fine grit may not remove scratches or imperfections effectively, leading to a less smooth result. To avoid this, follow a proper grit progression, starting with coarser grits and gradually moving to finer ones, ensuring a clean, even surface without causing damage.
What Tools Are Best for Different Grit Sizes?
You should choose tools with abrasive materials suited to each grit size for ideal results. For coarse grits, use heavy-duty sanders or manual files to remove material quickly. Medium grits work well with orbital sanders or sanding blocks for smoother finishes. Fine grits are best with detail sanders or polishing pads. Following a proper grit progression helps prevent over-sanding and ensures a high-quality surface, so select your tools accordingly for each stage.
How Does Humidity Affect Sanding and Grit Choice?
Ironically, humidity’s secret weapon is making your sanding job more challenging. Moisture impacts grit selection by causing paper to clog or wear unevenly, which could leave you frustrated. When humidity rises, opt for coarser grits to cut through moisture better or switch to wet-dry sandpaper. Understanding how moisture impacts your sanding process helps you choose the right grit, preventing over-sanding and ensuring a smooth finish despite the weather.
Are There Eco-Friendly Alternatives to Traditional Sandpaper?
You can opt for eco-friendly alternatives like biodegradable abrasives and plant-based sandpaper. These options are made from sustainable materials, reducing environmental impact and avoiding plastic waste. Plant-based sandpaper often uses natural resins and mineral abrasives, making it safer for both you and the planet. Switching to these greener choices helps you maintain your projects responsibly without sacrificing performance.
Conclusion
Understanding sandpaper grit is like having a map to your perfect finish—you’ll avoid digging too deep or settling for less. By choosing the right grit and progressing wisely, you’ll turn rough surfaces into smooth sailing. Remember, patience and practice are your best tools in this journey. With each grit you master, you’re sharpening your skills like a finely honed blade, ensuring your projects turn out polished and flawless every time.