
In quilting, “piecing” means sewing fabric pieces together to create the quilt top, while “basting” involves temporarily attaching all layers—quilt top, batting, and backing—to keep them aligned during quilting. “Binding” is the finishing step where you sew a fabric strip around the edges for a clean, polished look. Understanding these terms helps you follow the process smoothly; keep going to discover more tips and techniques to enhance your quilting projects.
Key Takeaways
- Piecing involves sewing fabric pieces together to form the quilt top, ensuring precise cuts and flat seams for a smooth finish.
- Basting temporarily attaches quilt layers using pins, spray, or stitches to prevent shifting during quilting.
- Binding is sewing a fabric strip around the quilt edges for a neat, finished look and durability.
- These steps are fundamental in quilt assembly, contributing to the quilt’s overall structure and professional appearance.
- Understanding these terms helps in following quilting projects with confidence and achieving quality results.
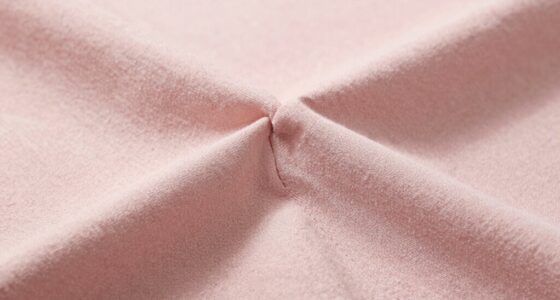
Have you ever wondered what all the quilting terms mean? If you’re just starting out, it’s normal to feel overwhelmed by the jargon. One of the first things you’ll encounter is understanding the different fabric types used in quilting. You might see cotton, flannel, or even silk fabrics mentioned in patterns or tutorials. Cotton is the most popular because it’s easy to work with, affordable, and comes in a wide variety of colors and prints. Flannel offers a softer, warmer option, great for cozy quilts, while silk provides a luxurious finish but can be more challenging to sew. Knowing the fabric types helps you choose the right materials for your project and guarantees the quilt holds together well over time.
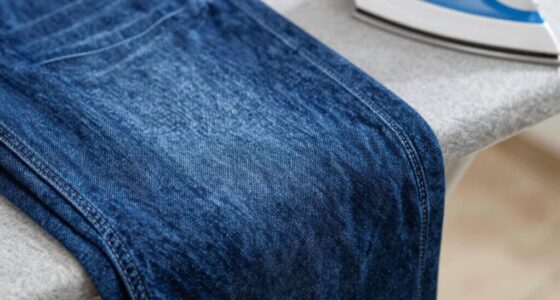
Alongside fabric types, mastering quilting tools is essential for a smooth quilting process. Basic tools include rotary cutters, cutting mats, and quilting rulers, which make cutting fabric precise and efficient. A rotary cutter slices through layers of fabric cleanly, especially when paired with a self-healing cutting mat that protects your work surface. Quilting rulers aid in measuring and marking your fabric accurately, preventing mistakes that can compromise your quilt’s appearance. Pins and clips hold layers of fabric in place during sewing, while a sewing machine with a walking foot can help feed multiple layers evenly. Familiarizing yourself with these quilting tools improves your accuracy and saves you time, making the process more enjoyable.
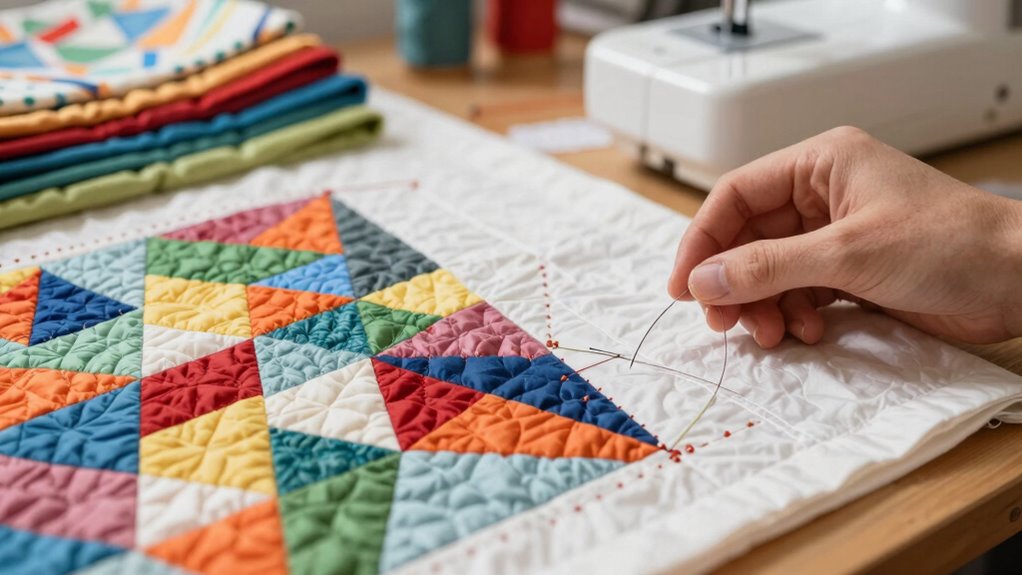
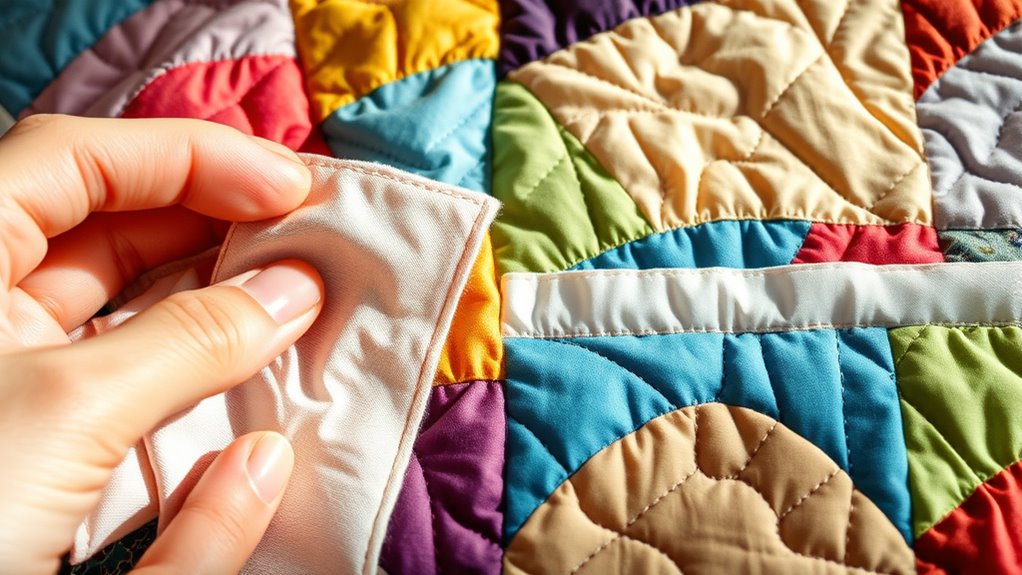
Once you’ve got your fabric types sorted and your tools ready, you’ll be ready to learn about the core quilting steps. Piecing, for example, involves sewing fabric pieces together to form the quilt top. You’ll use your rotary cutter and ruler to cut perfect shapes, then sew them with your machine, pressing seams flat as you go. Basting is the next step—temporarily attaching the quilt layers together so they don’t shift during quilting. You can do this with safety pins, spray adhesive, or basting stitches, depending on your preference. Finally, binding finishes the edges, giving your quilt a professional look. Binding involves sewing a strip of fabric around the edge, often folded over the raw edges for a clean finish.
Top picks for "quilt term decod"
Open Amazon search results for this keyword.
As an affiliate, we earn on qualifying purchases.
Frequently Asked Questions
What Tools Are Essential for Quilting Projects?
You need essential quilting tools like sharp scissors, rotary cutters, and cutting mats to handle various fabric types effectively. A good sewing machine helps sew seams neatly, while pins and clips keep layers in place. Measuring tools like rulers and quilting rulers ensure precision. Don’t forget marking tools for fabric details. These quilting tools make working with different fabric types easier, helping you create beautiful, professional-looking quilts.
How Do I Choose the Right Fabric for Quilting?
You should focus on fabric selection that suits your project and personal style. Look for fabrics with compatible color coordination, ensuring they complement each other well. Choose high-quality cotton for durability and easy handling. Consider the pattern and texture to add visual interest. Always test your fabric choices by laying them together, and trust your instincts to create a harmonious and beautiful quilt.
What Are Common Mistakes Beginners Make in Quilting?
Ever wonder what trips up beginners in quilting? One common mistake is rushing fabric selection or choosing mismatched quilting patterns, which can make your project look uneven. You might also skip pre-washing fabrics, causing future shrinkage. Remember, taking time to pick the right fabric and planning your quilting patterns carefully helps avoid these pitfalls. Stay patient, and your quilt will turn out beautifully, reflecting your effort and creativity.
How Long Does It Typically Take to Complete a Quilt?
It typically takes anywhere from a few days to several weeks to complete a quilt, depending on your quilt size options and quilting project timelines. If you’re working on a small wall hanging, you might finish in a weekend. Larger quilts, like king-size ones, can take months with detailed quilting. Your pace depends on your skill level, the complexity of the design, and how much time you dedicate each day.
Can Quilting Be Done by Hand or Only With a Machine?
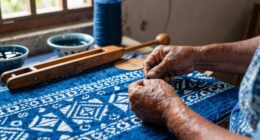
You can definitely do quilting by hand or with a machine. Hand quilting lets you enjoy a traditional, relaxed process, perfect for detailed stitches and personalized touches. Machine quilting is faster and more efficient, ideal for larger projects or when you’re short on time. Both methods produce beautiful results, so choose the one that suits your style, patience, and the look you want to achieve.
Conclusion
Now that you’ve decoded quilting terms like piecing, basting, and binding, you’re ready to start your own project with confidence. Remember, quilting is both an art and a craft, and your skills will grow with practice. Did you know that the quilting industry has seen a 25% increase in popularity over the past five years? So, keep sewing, exploring, and enjoying every stitch—your creative journey is just beginning!