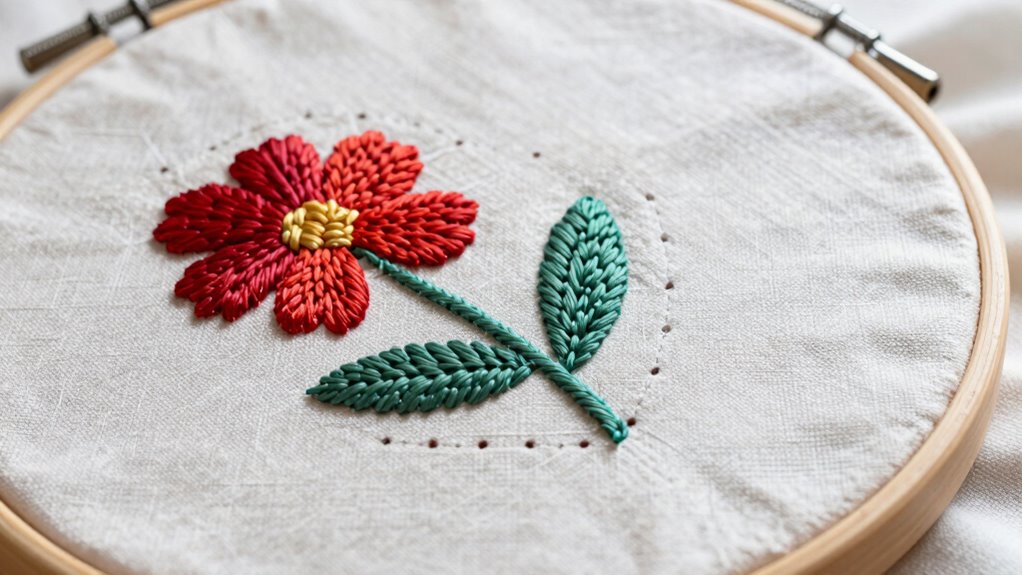

To keep embroidery neat on the back, choose the right stabilizer to support your fabric and prevent puckering. Use consistent tension and trim loose threads and excess stabilizer carefully after finishing. Keep stitches even and secure thread ends with discreet knots or weaving techniques. Regularly inspect the back for loose threads or puckers and correct as needed. Attention to detail and patience guarantee a professional look; discover more tips to perfect your embroidery finish.

Get business pricing on tools and workshop supplies
- Business-only prices and quantity discounts
- Tax-exempt purchasing
- Multiple users, one account, clear invoices
Key Takeaways
- Use appropriate stabilizer to support fabric and prevent puckering on the back.
- Trim excess stabilizer and loose threads carefully after embroidery is complete.
- Keep stitches even and secure thread ends with knots or weaving to prevent tangling.
- Regularly inspect and remove loose threads or excess stabilizer for a tidy back.
- Practice hand stitching techniques to ensure consistent tension and neat finishing.
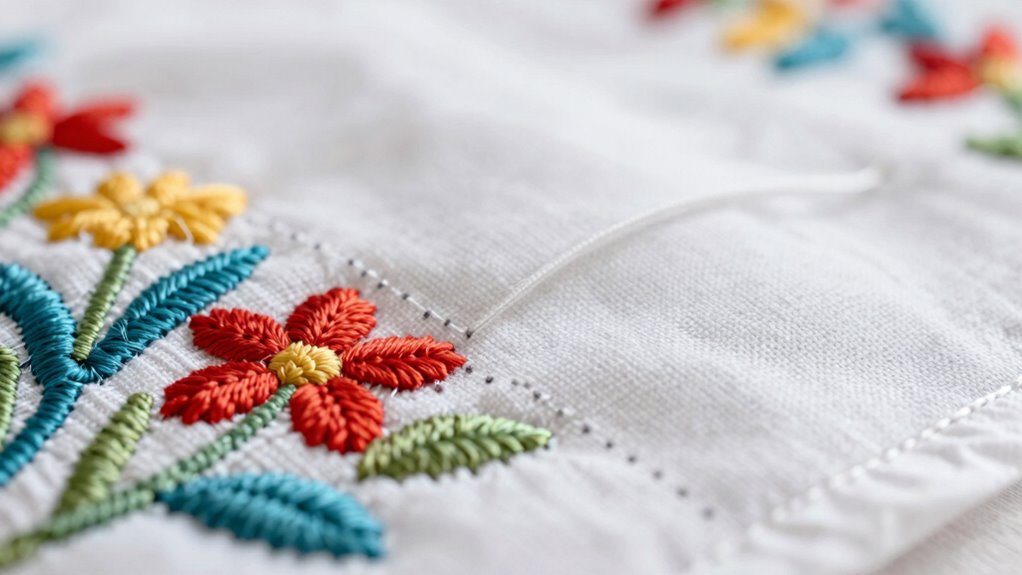
Ever wondered how to guarantee your embroidery stays tidy and professional-looking? It all starts with paying attention to the back of your work, which often gets overlooked but is just as important as the front. Whether you’re doing machine embroidery or hand stitching, keeping the backside neat ensures your finished piece looks polished and lasts longer. When you neglect the back, loose threads, uneven stitches, and tangled fibers can create a messy appearance, diminish durability, and make future repairs more difficult. Using automated grammar tools can help identify passive voice and other issues that might undermine the clarity of your instructions or tips.
A tidy back keeps your embroidery durable, professional, and easy to repair. Pay attention to the details behind the stitches.
For machine embroidery, the key is to choose the right stabilizer and thread tension. Proper stabilizer supports the fabric from beneath, preventing puckering and uneven stitches that can lead to a chaotic back. Always test your machine’s tension settings before starting a project; too tight, and the stitches can bunch up or cause fabric distortion, too loose, and the embroidery can look sloppy. When you finish, trim away excess stabilizer and loose threads carefully, making sure not to leave any fibers that could unravel over time. Use a small pair of scissors or a thread cutter to tidy up the back, and avoid pulling or tugging on the stitches, which can distort your design. Paying attention to fabric stability during the process can significantly improve the neatness of the back. Additionally, understanding how different stabilizers interact with various fabrics can help maintain a consistent quality throughout your project.
With hand stitching, neatness on the back depends more on your technique. Keep your stitches even and consistent—practice makes perfect here. When you finish a section, secure your thread ends with small, discreet knots or weaving techniques that won’t bulk up the back. As you work, pull your stitches tight enough to lie flat but not so tight that they cause puckering or distort the fabric. Once you complete your embroidery, trim the excess thread close to the fabric surface. If your project involves multiple color changes, secure each thread end properly, either by weaving the ends into existing stitches or tying small knots that can be hidden within the fabric. Consistent tension and careful thread management contribute to a cleaner back and a more professional appearance.
Regardless of whether you’re doing machine embroidery or hand stitching, always inspect your work’s back side before finalizing. Remove any loose threads, trim excess stabilizer or thread, and make sure there aren’t any puckers or bunching. A neat back isn’t just about aesthetics; it prevents unraveling and ensures your embroidery remains durable over time. In the end, maintaining a tidy backside requires patience and attention to detail, but the results are well worth the effort. Your finished piece will look more professional, last longer, and be easier to care for.
embroidery stabilizer for machine embroidery
As an affiliate, we earn on qualifying purchases.
As an affiliate, we earn on qualifying purchases.
Frequently Asked Questions
How Can I Prevent Back Stitches From Showing Through the Fabric?
To prevent back stitches from showing through the fabric, you should adjust your thread tension to be slightly tighter, ensuring stitches stay snug against the fabric. Keep stitch density moderate—too dense can cause stitches to push through. Also, use high-quality, compatible thread that matches your fabric’s weight. This combination helps secure stitches neatly, reducing the chance of back stitches peeking through while maintaining a clean, professional look.
What Types of Thread Are Best for Neat Embroidery on the Back?
Ever wonder what makes your embroidery look tidy from the back? Use high-quality polyester or rayon thread for smoothness and durability. Keep your thread tension even, and match your stitch length to prevent puckering. Are you adjusting your tension and stitch length properly? These factors *guarantee* your stitches stay neat and consistent, reducing show-through and creating a clean, professional finish on the back of your embroidery work.
How Do I Hide Knots or Loose Ends on the Back of Embroidery?
To hide knots or loose ends, use proper finishing techniques and good thread management. When you finish a thread, secure it with a small knot, then trim close to the fabric. To hide the knot, tuck it under nearby stitches or inside a seam if possible. Consistently managing your thread and finishing carefully guarantees a neat back, preventing loose ends from showing and keeping your embroidery tidy and professional-looking.
Can Different Fabric Types Affect Back Side Neatness?
Yes, different fabric types can affect your embroidery’s back side neatness. Smooth fabrics like silk or cotton make it easier to keep stitches tidy, while textured or stretchy fabrics can cause uneven stitches and bulkiness. Higher embroidery density on delicate fabrics may lead to puckering, making the back look messier. Choose fabric textures that support even stitching, and adjust your stitch length and tension to maintain a neat back regardless of fabric type.
Are There Specific Tools to Help Tidy the Back of Embroidered Work?
Think of your embroidery tools as your secret weapons, just like a Swiss Army knife. You can use a tapestry needle or embroidery hoop to tidy the back, keeping stitches even and secure. When considering embroidery storage, choose containers that prevent tangles. Also, select thread color choices that blend well, reducing the need for extra trimming. These tools help you maintain a neat back, making your finished piece look professional from every angle.
As an affiliate, we earn on qualifying purchases.
Conclusion
Maintaining neat embroidery on the back is just as crucial as perfecting the front, yet it’s often overlooked. While the front showcases your craftsmanship, the back reflects your attention to detail and dedication. By securing threads and managing loose ends, you create a seamless finish that elevates your entire project. Ultimately, a tidy back mirrors your skill and patience, proving that true artistry isn’t just about what’s visible but also about the care taken behind the scenes.
As an affiliate, we earn on qualifying purchases.
embroidery hoop with adjustable tension
As an affiliate, we earn on qualifying purchases.
As an affiliate, we earn on qualifying purchases.
Columbus Day / Indigenous Peoples' Day Picks
long weekend sales
As an affiliate, we earn on qualifying purchases.