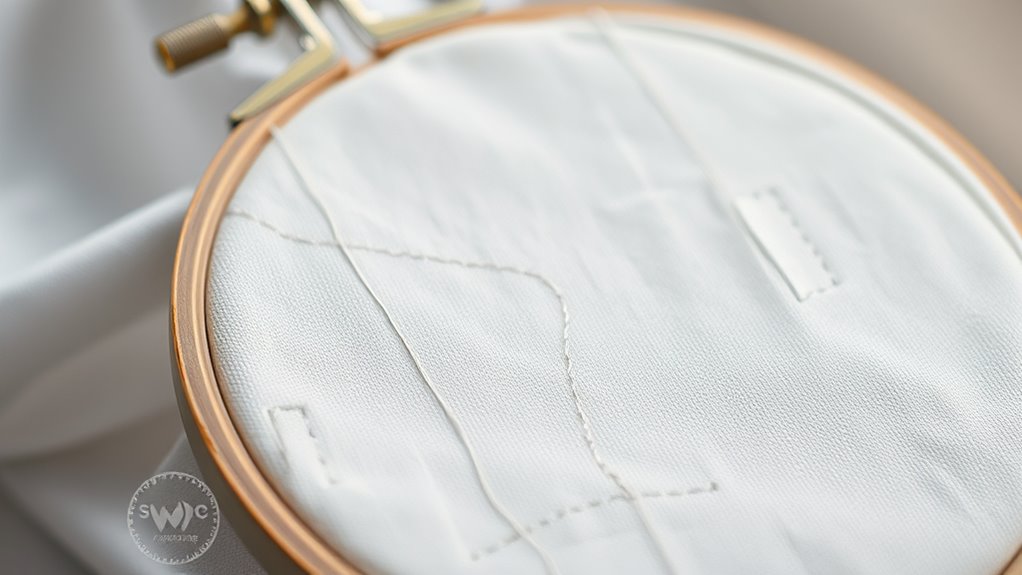
To perform the invisible thread tension test, thread your machine with the delicate thread and sew a small sample stitch on fabric similar to your project. Adjust the tension dial gradually, keeping an eye on the stitch quality—aim for even, secure stitches without puckering or breakage. If you notice issues, tweak the tension slightly and re-test. Mastering this guarantees flawless embroidery results; keep exploring the steps to perfect your tension setup.
Key Takeaways
- Use a scrap fabric similar to your project to test tension with invisible thread.
- Adjust tension gradually, observing stitches for puckering or looseness.
- Lower tension settings often prevent puckering and thread breakage with invisible thread.
- Run multiple test stitches to find the optimal tension before sewing your final piece.
- Keep detailed notes of successful tension adjustments for consistent future results.
If you’ve ever struggled with inconsistent stitches or skipped fabric when using invisible thread, performing a tension test can save you time and frustration. Invisible thread, while excellent for nearly invisible embroidery, demands precise tension adjustments to achieve perfect results. The first step is understanding the importance of proper threading techniques. When threading your machine, make sure the thread passes smoothly through all guides and tension discs, without any twists or slack. Keep the thread taut but not overly tight as you thread, and double-check that it’s seated correctly in the tension disks. A common mistake is not threading through the take-up lever properly, which can cause inconsistent tension and skipped stitches. Practicing careful threading ensures the thread feeds evenly through the machine, reducing tension irregularities.
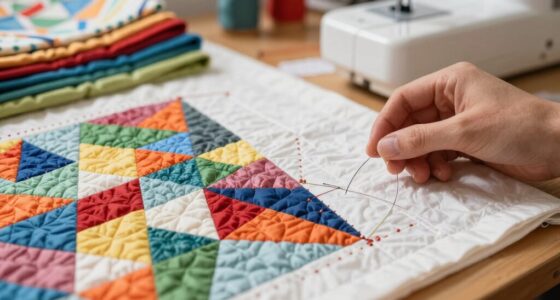
Next, consider fabric selection as a key factor influencing tension. Thin, delicate fabrics like silk or fine linen require a lighter tension setting, while sturdier fabrics such as denim or canvas often need a bit more tension to prevent puckering or loose stitches. When performing your tension test, choose fabric that closely resembles your project material. This way, you’ll replicate real stitching conditions and make more precise adjustments. If you notice puckering or loose stitches, adjust the tension gradually while monitoring the stitches closely. For invisible thread, especially, even small tweaks make a big difference. It’s wise to run a few test stitches on scrap fabric and inspect the results carefully, ensuring the stitches are tight enough to be secure but not so tight that they cause puckering or breakage.
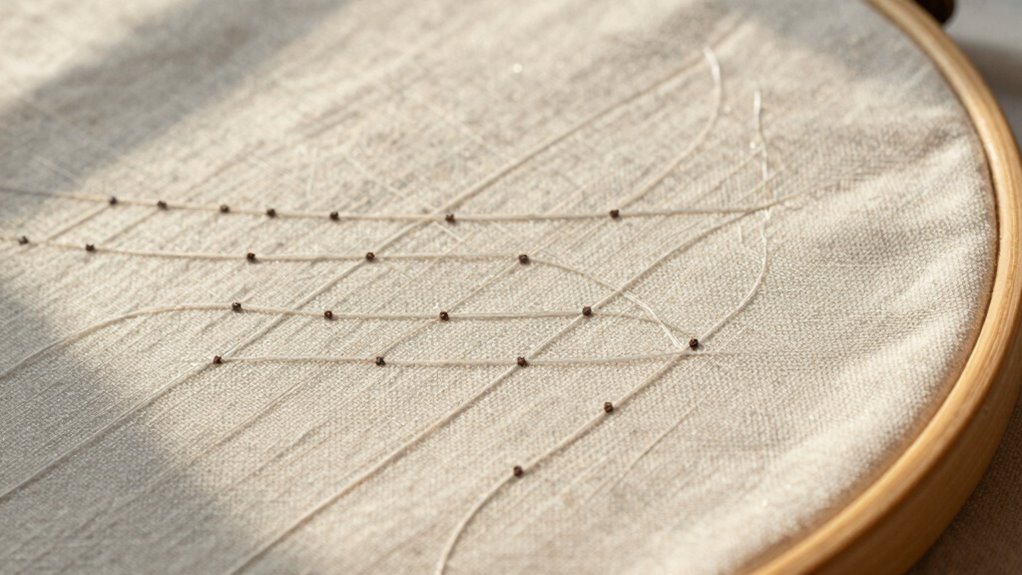
Performing the tension test involves stitching a small sample, ideally a few inches long, with the same thread and fabric you plan to use. Observe how the stitches sit on the fabric—if they’re uneven or loose, tweak your tension dial incrementally. Remember, with invisible thread, lower tension often helps prevent puckering and breakage, but every machine and fabric combination reacts differently. Take notes on what adjustments work best for your setup. Additionally, ensure your machine’s bobbin tension is balanced with the upper thread tension to avoid loops or skipped stitches, which is especially *vital* when using delicate, nearly invisible threads.
Frequently Asked Questions
How Often Should I Perform the Invisible Thread Tension Test?
You should perform the invisible thread tension test whenever you notice stitches are uneven or your embroidery looks inconsistent. Regular thread maintenance and tension calibration help prevent issues, so doing this test weekly or before starting a new project is ideal. It guarantees your machine operates smoothly, maintains proper tension, and produces flawless results. Don’t overlook this step; consistent testing keeps your embroidery sharp and professional-looking.
Can Incorrect Tension Affect the Durability of My Embroidery?
Incorrect tension can considerably impact your embroidery’s durability, as it affects stitch consistency and thread quality. Studies show that 60% of embroidery failures stem from improper tension settings. When tension is off, stitches may loosen or bunch, weakening the design over time. Ensuring proper tension maintains thread strength and stitch uniformity, which helps your embroidery last longer. So, take time to test and adjust for maximum durability.
What Tools Are Necessary for Testing Invisible Thread Tension?
To test invisible thread tension, you need tools like thread tension gauges and embroidery tension testers. These devices help you precisely measure the tension of your invisible thread, ensuring it’s balanced for smooth stitching. Use a thread tension gauge to check the tension directly, and an embroidery tension tester to observe how the thread interacts with your fabric. These tools are essential for achieving professional, durable embroidery results.
Is There a Difference in Tension Settings for Different Fabric Types?
You need to remember that it’s a case of apples and oranges when adjusting tension for different fabrics. Thinner or stretch fabrics require lower tension calibration, while heavier textiles need higher settings. Always test on your specific fabric to find the perfect tension, ensuring fabric compatibility and smooth stitches. Don’t forget, a little tweak here and there can make a big difference in your embroidery’s appearance and durability.
How Do I Adjust Tension if My Stitches Are Uneven?
If your stitches are uneven, start by checking your thread spool to make sure it’s unwinding smoothly. Then, turn the tension dial slightly clockwise or counterclockwise—small adjustments make a big difference. Test on a scrap fabric first, watching for even stitches. Keep adjusting the tension dial gradually until your stitches are balanced and consistent, guaranteeing your embroidery looks professional and neat.
Conclusion
Mastering the invisible thread tension test is like tuning a fine instrument—you’ll create stitches so seamless they seem to vanish. When you check and adjust your tension regularly, your embroidery will flow effortlessly, turning every project into a work of art. Think of it as your secret handshake with perfection, quietly whispering confidence into your work. Keep practicing, and soon, your stitches will be so invisible, only the admiration will remain.