
To seal your paper crafts without a plastic look, choose matte or satin finishes to preserve their natural texture and colors. Apply light, even coats of spray or brush-on sealants, holding them about 12 inches from your project for smooth coverage. Avoid gloss or high-shine products that give a plastic feel. Testing on a small area first helps verify the finish suits your craft’s aesthetic. Keep going to discover tips for a flawless, natural seal.
Key Takeaways
- Use matte or satin spray sealants with light, even coats at about 12 inches distance.
- Opt for clear acrylic gels or varnishes applied with a soft brush for control.
- Apply wax-based finishes like Renaissance wax for a natural, non-plastic look.
- Test sealants on small areas first to ensure the finish remains natural and non-glossy.
- Choose sealants compatible with paper to preserve texture and avoid a plastic-like appearance.
Are you wondering how to keep your paper crafts looking pristine and protected? Sealing your projects is essential to prevent damage from moisture, dirt, and handling, but you also want to avoid that plastic-like finish that can make your work look cheap or overly glossy. The key lies in choosing the right finishing techniques and sealing alternatives that preserve the natural texture and appearance of your paper while offering durability.
First, consider the finishing techniques that suit your project. A popular option is using a matte or satin spray sealant, which provides a subtle sheen without the high-gloss shine of traditional gloss coatings. These sprays are easy to apply and dry quickly, giving your paper craft a protective barrier while maintaining a natural look. When applying, hold the spray can at a consistent distance—usually about 12 inches—and use light, even coats to avoid drips or uneven coverage. Multiple thin layers are better than one thick coat, as they help preserve the craft’s detail without adding bulk or glossiness.
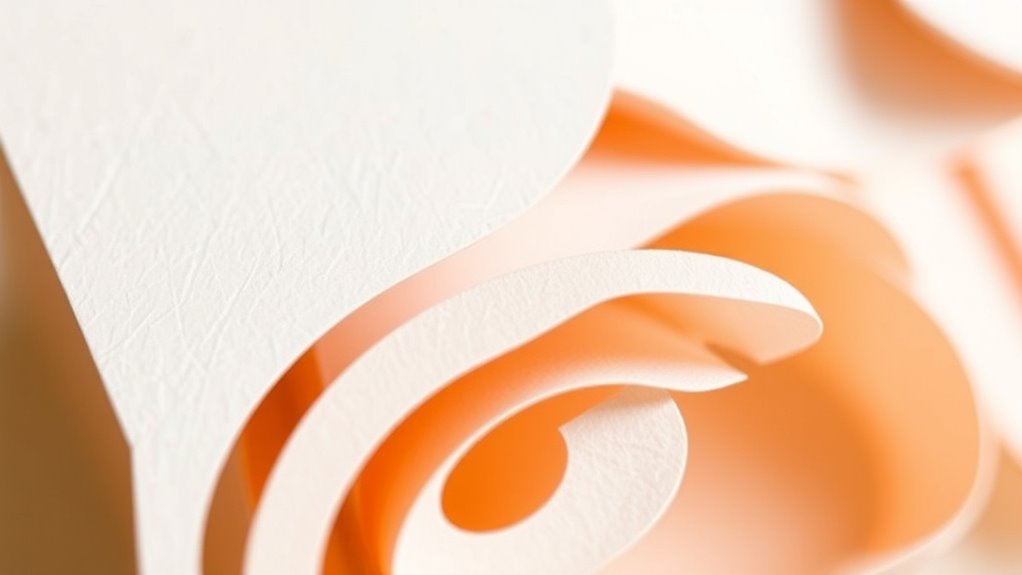
If you’re seeking sealing alternatives that don’t involve spray sealants, consider using clear acrylic gels or varnishes. These products can be brushed or wiped onto your paper craft with a soft brush or sponge. Look for matte or satin finishes to keep the look subtle and natural. When applying, use gentle strokes to avoid disturbing delicate elements or causing smudges. Allow each layer to dry thoroughly before adding another to ensure an even, protective coating. These options give you more control over the sealant’s thickness and finish, helping you avoid the plastic-like appearance often associated with certain sealants.
Another effective sealing alternative is using wax-based products, like soft beeswax or Renaissance wax. These create a protective layer that enhances your paper’s color and texture without adding shine. To apply, melt a small amount of wax and buff it onto your craft with a soft cloth, then gently buff away any excess. This method not only seals your project but also imparts a subtle, matte finish that feels natural and refined. Additionally, choosing appropriate sealant types that are compatible with paper can prevent unwanted reactions or damage over time.
Whichever sealing method you choose, always test it on a small, inconspicuous area first. This way, you can see how your paper reacts and ensure the finish aligns with your aesthetic goals. Remember, the goal is to protect your paper craft without sacrificing its delicate beauty or making it look plastic. With the right finishing techniques and sealing alternatives, your projects will remain vibrant, protected, and true to their original charm.
matte spray sealant for paper crafts
As an affiliate, we earn on qualifying purchases.
As an affiliate, we earn on qualifying purchases.
Frequently Asked Questions
Can I Use Spray Sealants on Delicate Paper Crafts?
Yes, you can use spray sealants on delicate paper crafts for delicate paper preservation. Just apply the spray sealant in a light, even coat from a distance to prevent oversaturation or damage. Always test the spray on a small, hidden area first to verify it won’t cause unwanted effects. This method helps protect your craft without making it look plastic, keeping its original texture and appearance intact.
Will Sealing Damage or Discolor Vintage or Handmade Papers?
Sealing vintage or handmade papers can risk damage or discoloration if you don’t choose the right products. But with archival quality sealants designed for paper preservation, you can protect your crafts without harming their integrity. These sealants prevent yellowing and preserve details, ensuring your pieces stay beautiful over time. Always test on a small area first, and opt for acid-free, reversible options to maintain the authenticity of your delicate papers.
How Long Does a Sealed Paper Craft Last Without Yellowing?
A sealed paper craft can last several years without yellowing if you include UV protection and humidity control. Proper sealing minimizes exposure to sunlight and moisture, which cause discoloration and deterioration. Keep your craft in a cool, dry place, and consider using an archival-quality sealant with UV filters. This approach preserves your work’s appearance, ensuring it stays vibrant and intact for many years to come.
Is There an Eco-Friendly Sealing Option for Paper Crafts?
A stitch in time saves nine, so choosing eco-friendly options is smart. You can seal your paper crafts with biodegradable adhesives or natural finishing options like beeswax or plant-based varnishes. These alternatives protect your work without harmful chemicals or plastic-like finishes, ensuring your craft remains environmentally friendly and authentic. By opting for these natural solutions, you create beautiful, sustainable art that lasts without compromising your eco-conscious values.
Can I Reseal a Paper Craft After It’s Been Sealed?
Yes, you can reseal a paper craft, but it can be tricky. To do this, carefully clean the surface, then use a light layer of eco-friendly sealant or spray over the original sealant. Resealing techniques vary, and reapplication challenges include uneven coverage or damaging the initial finish. Be gentle to avoid tearing or warping the paper, and always test on a small area first for the best results.
satin finish acrylic varnish for paper
As an affiliate, we earn on qualifying purchases.
As an affiliate, we earn on qualifying purchases.
Conclusion
Sealing your paper crafts without giving them a plastic feel is like wrapping a delicate gift with a touch of magic. By choosing the right sealant and applying it carefully, you keep your artwork’s charm alive while protecting it from the elements. Think of it as dressing your craft in a translucent, glass-like coat—preserving its beauty without hiding its soul. With patience and the right techniques, your paper creations will stay stunning and true to their original charm.
wax-based sealant for paper projects
As an affiliate, we earn on qualifying purchases.
As an affiliate, we earn on qualifying purchases.
clear acrylic gel matte finish
As an affiliate, we earn on qualifying purchases.
As an affiliate, we earn on qualifying purchases.