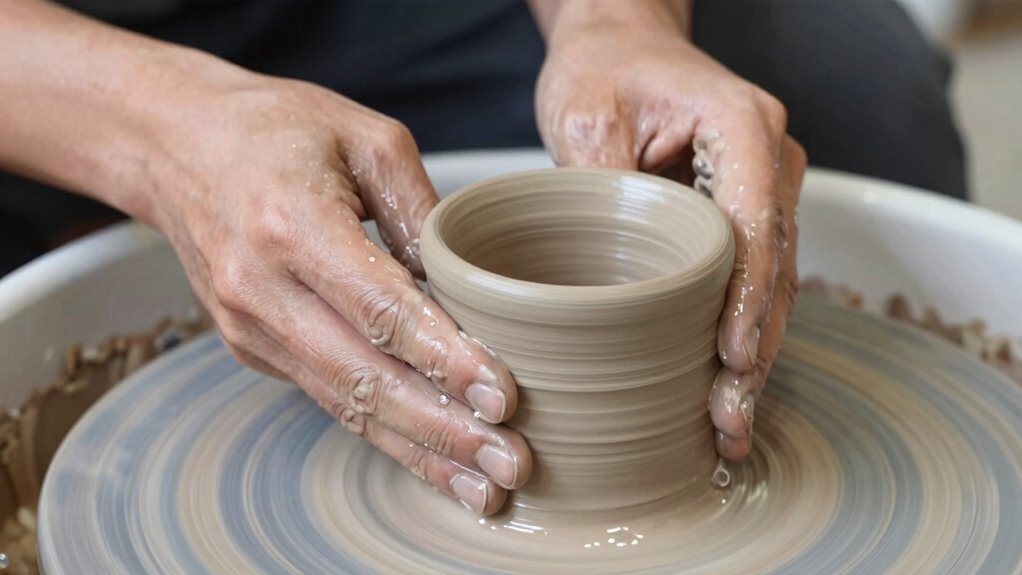

To handle the slowest stage of pottery without ruining it, you need patience and careful control. Avoid rushing the drying, glazing, or firing process, and listen to your piece’s specific needs. Apply glazes evenly and wait until each layer is thoroughly dry before proceeding. During firing, follow a proper schedule, monitor temperature, and manage atmosphere settings. Mastering these steps guarantees your pottery remains intact and beautiful—stick around to uncover the detailed techniques that make this possible.

Get business pricing on tools and workshop supplies
- Business-only prices and quantity discounts
- Tax-exempt purchasing
- Multiple users, one account, clear invoices
Key Takeaways
- Maintain patience and avoid rushing through glazing and firing processes to prevent damage.
- Follow recommended firing schedules with gradual temperature increases and decreases.
- Use proper kiln loading techniques, ensuring adequate space and support to avoid sticking or warping.
- Monitor temperature and atmosphere closely with kiln controllers or pyrometers for consistent results.
- Handle each stage with care, trusting the process to achieve durable, high-quality pottery.
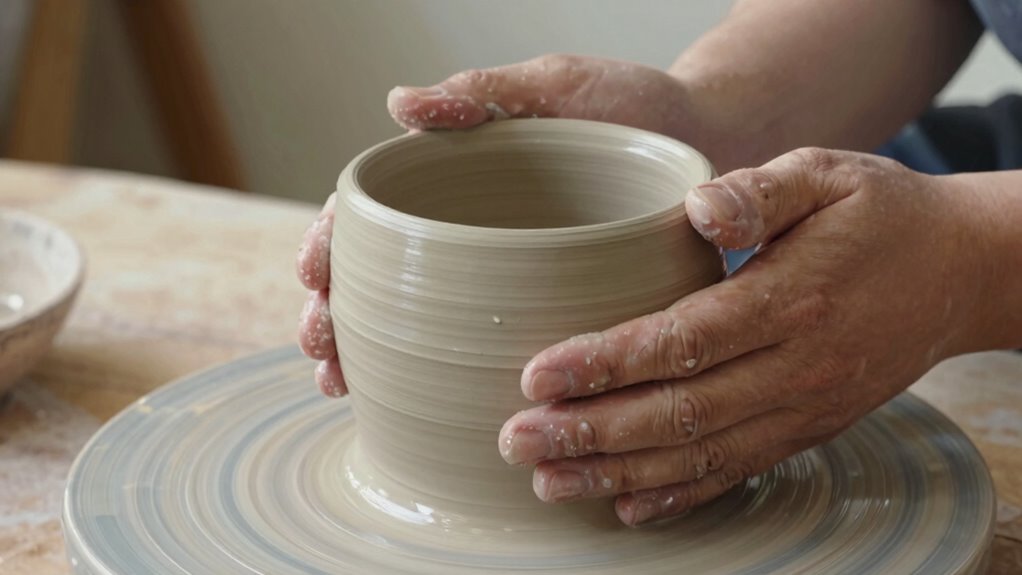
Have you ever wondered why the slowest stage of pottery can be the most challenging? It’s during this time that your piece is most vulnerable to damage, and your decisions can make or break its final appearance. Patience is essential here, especially when it comes to glazing techniques and kiln firing methods. Your careful approach during these phases ensures your pottery ends up looking as beautiful and durable as you envisioned.
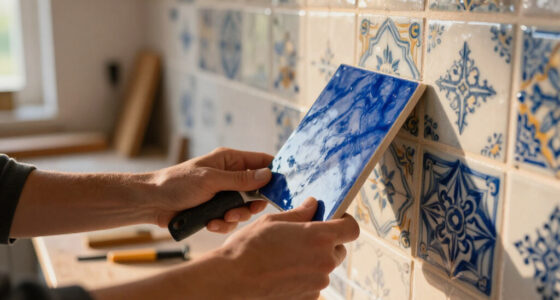
Once you’ve shaped and dried your piece, you’ll need to focus on glazing techniques. Applying glaze might seem straightforward, but it requires precision and control. Too thick, and it might run or bubble in the kiln; too thin, and it won’t give you the desired color or texture. You should use even strokes, maintaining a consistent thickness across the surface. Sometimes, multiple coats are necessary, but always allow each layer to dry completely before adding the next. This prevents uneven drips or pooling, which could ruin the look. Remember, glazing isn’t just about color; it’s about creating a protective, glossy finish that enhances your piece’s form. Experiment with different glaze types and application methods to find what works best for your style and the specific clay body you’re using. Additionally, understanding kiln firing techniques can help you optimize the final outcome of your pottery. Developing a good understanding of firing schedules and how they affect your piece is equally important to prevent damage during this critical stage. To further improve your firing results, paying attention to temperature control during the firing process is crucial for achieving consistent and beautiful finishes.
Achieve a smooth, glossy finish with even glaze layers and proper drying between coats.
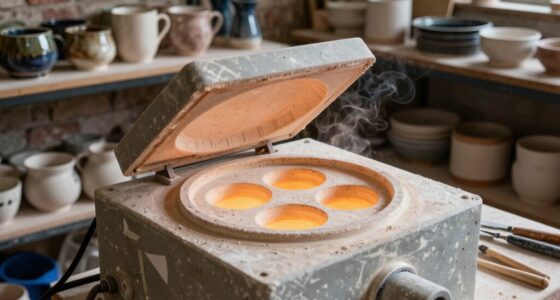
As you prepare for kiln firing, understanding kiln firing methods becomes crucial. The firing process is where your pottery truly comes to life, but it’s also where mistakes can happen if you’re not attentive. Always follow the recommended firing schedule for your clay and glaze. Rapid heating or cooling can cause cracking or warping, so gradual temperature changes are vital. Use a reliable kiln controller or pyrometer to monitor the temperature accurately. When loading the kiln, make sure your pieces are placed with enough space to prevent them from touching or sticking during firing. If you’re firing multiple pieces, consider using kiln posts or shelves to keep everything evenly spaced. Also, be mindful of the firing atmosphere—whether oxidation or reduction—since this affects glaze colors and overall finish.
Handling the slowest stage of pottery demands patience, attention to detail, and a good understanding of your materials and equipment. By mastering glazing techniques and kiln firing methods, you minimize risks and maximize your chances of achieving a stunning final product. Remember, this stage isn’t just about waiting; it’s about actively guiding your piece through careful application and precise firing. This process requires confidence and precision, but the satisfaction of seeing your hard work transform into a finished piece makes it all worthwhile.
As an affiliate, we earn on qualifying purchases.
Frequently Asked Questions
How Can I Tell When My Pottery Is at Its Slowest Stage?
You can tell your pottery is at its slowest stage when it’s firm but still damp enough to shape gently. During this phase, you might notice slight flexibility, making it ideal to refine your form or try glazing techniques. Avoid rushing to kiln firing; instead, wait until it’s completely dry to prevent cracks. This careful timing guarantees your piece survives the firing process intact and beautifully finished.
What Are Common Mistakes During the Slow Drying Phase?
Imagine you’re a medieval alchemist, carefully guarding your potion. During the slow drying phase, common mistakes include uneven air circulation, which causes cracking, and poor temperature control, leading to warping. You might be tempted to speed up drying or move your pottery around, but that risks damage. Keep the environment consistent, with proper air flow and stable temperature, to let your piece dry evenly and avoid cracks or distortions.
How Does Humidity Affect the Slow Stage of Pottery?
Humidity levels markedly impact the slow stage of pottery, as high humidity in your drying environment slows evaporation, risking uneven drying or cracking. Conversely, low humidity accelerates drying, which can cause warping or cracks. To manage this, maintain a consistent humidity level, ideally around 40-50%, using a controlled environment or dehumidifier. Proper humidity helps guarantee even drying, reducing the risk of damage and preserving your pottery’s integrity.
Can I Speed up the Slow Drying Process Safely?
You can speed up the slow drying process safely by using rapid drying techniques carefully. Maintain consistent temperature control in a warm, dry space to prevent cracks or warping. Avoid direct sunlight, which can cause uneven drying. Use fans gently to circulate air, but don’t blow directly on your piece. This helps accelerate drying while minimizing risks of damage, ensuring your pottery remains intact and quality remains high.
What Tools Are Best for Handling Pottery at This Stage?
You’ll need delicate tools like fine wooden or metal ribs and soft brushes to handle your pottery at this fragile stage. These tools allow you to gently support the piece without disturbing its clay consistency. Keep your tools clean and well-maintained—dull or dirty tools can cause disaster! Using the right tools with precision and care makes all the difference, turning a potential catastrophe into a masterpiece in the making.
As an affiliate, we earn on qualifying purchases.
Conclusion
Remember, patience is key when handling the slowest stage of pottery. Some believe that rushing this phase can weaken your piece, but recent studies suggest that gentle, consistent care actually strengthens the clay’s structure over time. By respecting the natural drying process and avoiding abrupt movements, you allow the clay’s chemistry to stabilize. So, trust in slow, deliberate handling—your patience not only preserves your work but also deepens your connection to the craft.
electric pottery kiln controller
As an affiliate, we earn on qualifying purchases.
As an affiliate, we earn on qualifying purchases.
As an affiliate, we earn on qualifying purchases.
Fall Picks
fall essentials
As an affiliate, we earn on qualifying purchases.