
To build a functional pottery workspace, dedicate separate zones for prep, throwing, and drying. Use sturdy tables and shelves for organization, with tools stored in labeled containers within easy reach. Equip the throwing area with a comfortable wheel and good lighting, and set up a drying station with ventilated racks. Keep each zone tidy and well-organized, ensuring tools are accessible to streamline your workflow. Continue exploring to discover tips for creating an efficient, inspiring ceramic studio.
Key Takeaways
- Allocate distinct, well-organized zones for prep, throwing, and drying to streamline workflow and minimize clutter.
- Use sturdy tables, comfortable wheels, and drying racks strategically placed for easy access and efficiency.
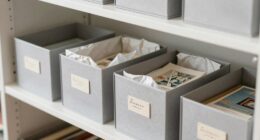
- Implement labeled storage containers and shelving for tools and materials specific to each stage.
- Ensure adequate lighting, ergonomic furniture, and ventilation tailored to each workspace zone.
- Maintain cleanliness and order through regular organization to support creativity and safety throughout the process.
Have you ever wondered how to create the perfect space for your pottery projects? Building a well-organized pottery workspace starts with understanding how to set up areas dedicated to prep, throwing, and drying. The key is to design each zone with purpose, ensuring your ceramic tools are easily accessible and your workspace organization promotes efficiency. When you walk into your studio, you should feel inspired and ready to work without clutter blocking your flow.
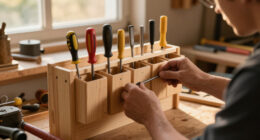
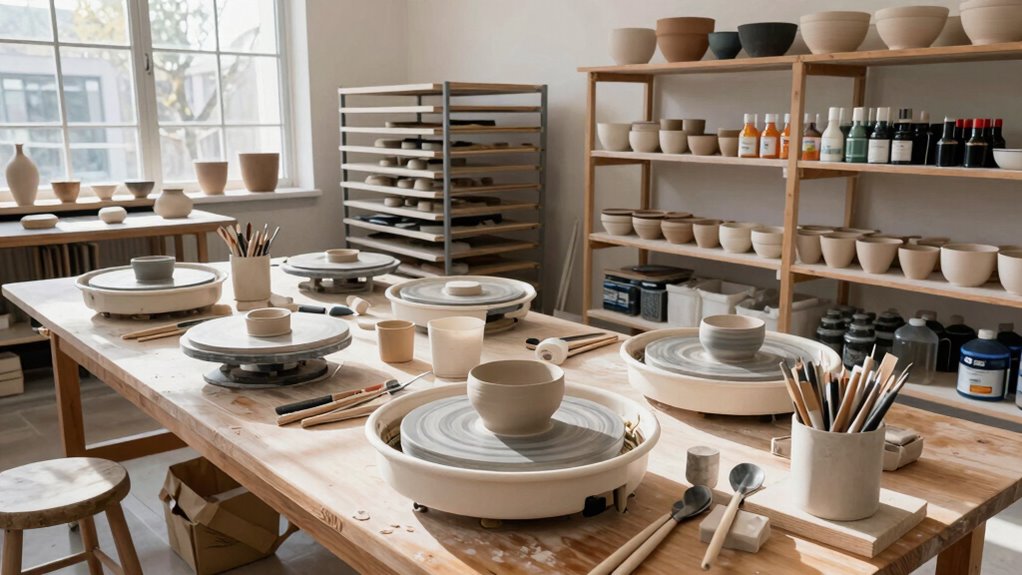
Begin by establishing a prep area where you can comfortably prepare your clay. This space needs a sturdy table or workbench, along with plenty of surface area for kneading, wedging, and shaping clay. Keep your ceramic tools—such as knives, ribs, sponges, and scoring tools—within arm’s reach, stored in labeled containers or on a small tool rack. This way, you won’t waste time searching for what you need, and your workspace will stay tidy. Incorporate shelves or pegboards above your prep zone to hang your tools, keeping them organized and easy to grab. Good workspace organization here helps streamline your workflow and prevents frustration during the initial stages of your project.
Organize your prep area with accessible tools and shelves to streamline workflow and stay tidy.
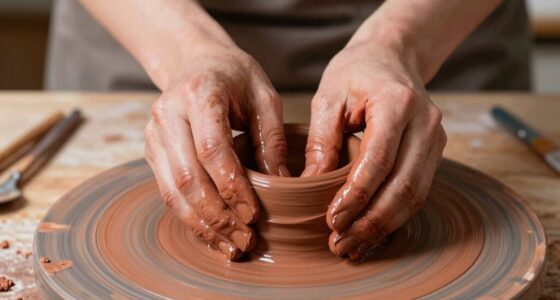
Once your clay is prepared, shift to your throwing area. This is where the magic happens, so it should be equipped with a comfortable, level wheel, and a clean, smooth surface nearby for trimming and refining. Keep your essential ceramic tools close—like wire cutters, needle tools, and sponges—so you can focus on shaping without unnecessary interruptions. Use small containers or trays to organize tools specific to throwing, making sure everything is visible and easy to access. Creating a dedicated workspace helps maintain concentration and promotes a seamless process from shaping to trimming. Additionally, ensuring your workspace is well-lit can significantly improve your precision and overall experience. To further enhance productivity, consider incorporating ergonomic furniture that supports your posture during long sessions. Regularly organizing and labeling your storage can also save time and keep your workspace neat, especially when managing multiple projects.
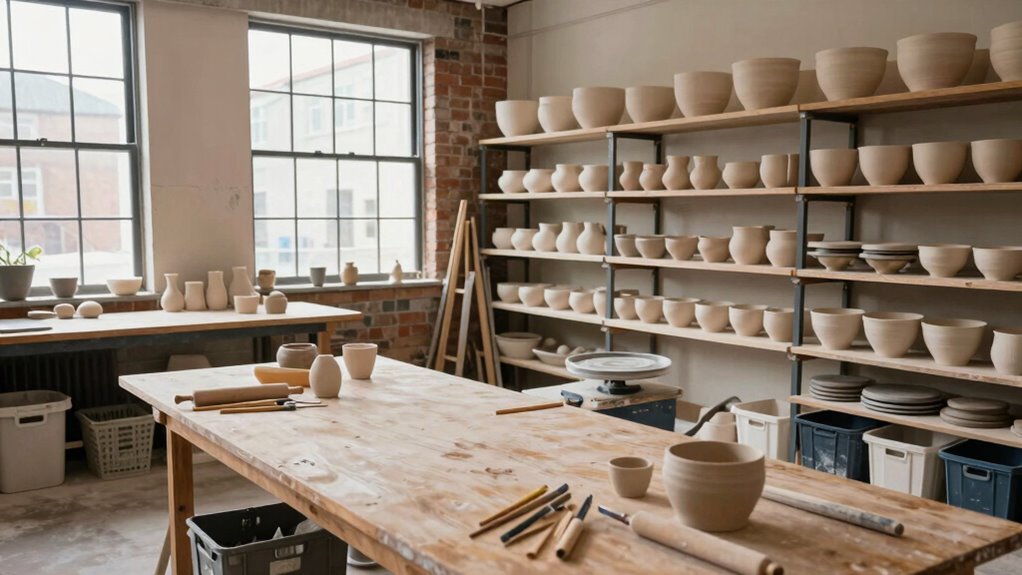
Finally, set up a dedicated drying station. This area should be well-ventilated and free from dust, with ample space for your pieces to dry without disturbance. Keep your drying racks or shelves organized and labeled, so you know exactly where each piece is in its drying stage. Having a specific zone prevents accidental damage and keeps your workspace safe. Proper workspace organization extends here by keeping tools and supplies like plastic wrap, sponges, or slip nearby for any touch-ups or adjustments during drying.

Eltean 48" Workbench,Heavy Duty 2500 LBS Capacity Work Benches for Garage,Work Bench with Drawers and Storage,Work Table with Light & Pegboard
- Sturdy Cold-Rolled Steel Construction: Supports up to 2500 lbs capacity
- Ample Storage with Drawers and Cabinets: Includes 2 drawers, lockable cabinet, and pegboard
- Adjustable LED Lighting: Magnetic, movable lights with 3 color temps
As an affiliate, we earn on qualifying purchases.
As an affiliate, we earn on qualifying purchases.
Frequently Asked Questions
What Safety Precautions Should I Consider in a Pottery Workspace?
You should prioritize safety by wearing protective gear like gloves, masks, and goggles to prevent injuries and inhalation of dust. Keep safety signage visible to remind you of hazards, such as kiln warnings or slippery floors. Guarantee proper ventilation and clean up dust regularly to avoid respiratory issues. Being cautious and following safety protocols helps you create a safe, enjoyable pottery workspace while minimizing risks.
How Do I Choose the Right Lighting for Pottery Tasks?
Your workspace’s lighting can make or break your pottery precision—like a lighthouse guiding a ship through stormy seas. To choose the right lighting, opt for glare reduction to prevent eye strain and guarantee focus. Prioritize color accuracy so you can see true clay shades and glazes. Adjustable LEDs are your best bet, offering bright, natural light that helps you work accurately and comfortably during every phase of your pottery process.
What Ventilation Options Are Recommended for a Pottery Studio?
You should install effective ventilation systems and air filtration to keep your pottery studio safe. Use exhaust fans or a dedicated ventilation hood near your kilns and throwing areas to remove dust, fumes, and odors. Additionally, consider high-quality air filters to trap fine particles during prep and drying stages. Regularly maintain these systems, ensuring proper airflow, which will improve air quality and protect your health while you work.
How Can I Organize Tools Efficiently in My Workspace?
Imagine your workspace as a well-organized garden, with tools neatly arranged like vibrant flowers. You can optimize your workspace layout by dedicating specific zones for each task—clay prep, throwing, and drying—then use tool storage solutions like wall-mounted racks, labeled bins, and magnetic strips. This keeps tools within arm’s reach, reduces clutter, and streamlines your workflow, so creativity flows effortlessly with every turn of the wheel.
What Are Cost-Effective Ways to Set up a Pottery Studio?
You can set up a budget-friendly pottery studio by repurposing recycled materials for furniture and storage. Look for used tables, shelves, and chairs at thrift stores or online marketplaces. Opt for affordable, durable materials like plywood or reclaimed wood to build workbenches and drying racks. This approach keeps costs low while creating a functional space, allowing you to focus on your craft without overspending.

VEVOR 14in/35cm Pottery Wheel for Adults, 0-6in Lift-Table 450W Professional Pottery Kit with Foot Pedal Detachable Basin DIY Art Clay Potter's Wheel for Kids Adults Beginners at Home Pottery, White
- Large Aluminum Turntable: 14-inch (35cm) for big projects
- Detachable Water Basin: Easy to clean and splash-proof
- Waterproof LCD Panel: Controls speed, direction, and modes
As an affiliate, we earn on qualifying purchases.
As an affiliate, we earn on qualifying purchases.
Conclusion
Creating a dedicated pottery workspace boosts your creativity and efficiency, making every step from prep to drying smoother. Did you know that artists with organized studios are 30% more productive? By setting up specific zones for each stage, you’ll streamline your process and enjoy your craft even more. Remember, a well-designed space fuels inspiration and helps you produce better work. So, invest in your workspace—you’ll see your skills and satisfaction grow with each piece you create.

IBCXBIO Art Drying Rack for Classroom – 18 Removable Shelves, Mobile Rolling Metal Painting Drying Rack with Locking Casters, Paint Rack for Art Studio, School & Home
- Removable Shelves: 18 shelves for extensive drying capacity
- Effortless Mobility: Swivel casters with locking brakes
- Durable Construction: All-steel, rust-resistant frame
As an affiliate, we earn on qualifying purchases.
As an affiliate, we earn on qualifying purchases.

Tosnail 3 Pack Plastic Box with Handle, Portable Storage Container, Organizer Cases for Art Painting Supplies, Crafting Tools, Sewing Accessories, Ribbons, Washi Tapes, Pottery Tools, Nail Polish
- Package Includes: 3 clear plastic boxes with handles
- Dimensions: 11.8 x 3.6 x 3.5 inches each
- Inner Size: 11.3 x 3.1 x 2.8 inches
As an affiliate, we earn on qualifying purchases.
As an affiliate, we earn on qualifying purchases.