Understanding cone numbers helps you control your kiln firing with confidence. Higher cone numbers mean higher temperatures, and cones soften and bend at specific points to show when your kiln reaches the right heat. Proper placement and monitoring of cones guarantee your glaze melts perfectly and your clay fires safely. If you want to master firing techniques and avoid common mistakes, there’s plenty more to discover to improve your results.
Key Takeaways
- Cone numbers indicate specific temperature ranges to control kiln firing and glaze maturity.
- Higher cone numbers withstand higher heat, helping prevent overfiring or underfiring.
- Cones bend as they heat; their shape signals when the desired temperature is reached.
- Proper cone placement and regular kiln maintenance ensure accurate temperature readings.
- Using cones confidently leads to consistent, safe firing results and better ceramic quality.
Understanding the Purpose of Cone Numbers
Understanding the purpose of cone numbers is essential for mastering kiln firing. Cone numbers help you control the firing process, ensuring your glazes melt properly and remain compatible with your clay body. By selecting the correct cone, you prevent issues like crawling or pinholing, which can ruin your artwork. Cone numbers also promote kiln safety by indicating the precise temperature your kiln should reach, preventing overheating or underfiring. When you understand what each cone represents, you can adjust firing schedules confidently, knowing your glazes will develop as intended. This knowledge minimizes risks and helps you achieve consistent results. Ultimately, cone numbers serve as a crucial guide in balancing glaze compatibility with kiln safety, making your firing process smoother and more predictable. Knowing cone temperatures helps you plan your firing schedule more effectively. Additionally, understanding thermal expansion ensures your glazes and clay body remain stable throughout firing. Recognizing how heat work impacts the physical changes within your kiln can also improve overall firing success, especially when you consider how kiln atmosphere influences the final results.
The Relationship Between Cone Numbers and Temperature

You’ll notice that cone numbers correspond directly to specific temperature ranges in your kiln. As the cone number increases, so does the heat it can withstand, helping you control firing accurately. Understanding this relationship makes achieving consistent results much easier.
Cone Numbers and Heat
Cone numbers serve as a standardized way to indicate the heat work a kiln can achieve, linking specific cone values to precise temperatures. When you understand these numbers, you can better control your firing process, ensuring your glazes melt and mature correctly. For example, if your glaze is formulated for cone 6, firing to that cone guarantees proper glaze compatibility. It also helps with kiln maintenance by preventing overfiring or underfiring, which can damage elements or cause uneven results. Knowing the relationship between cone numbers and heat allows you to set accurate firing schedules, reducing guesswork. This standardization makes it easier to replicate successful firings and maintain consistency over time. This knowledge helps you achieve consistent results, protect your kiln from unnecessary stress, and avoid costly mistakes—all while creating beautiful, durable ceramics.
Temperature Range Correlation
While cone numbers are a useful guide, they directly correspond to specific temperature ranges that vary depending on the type of kiln and firing conditions. Understanding this correlation helps you achieve consistent results and guarantee glaze compatibility. Different cones melt or mature at different temperatures, so knowing the temperature range associated with each cone helps you plan your firing schedule accurately. Proper kiln maintenance is essential to maintain reliable temperature readings and prevent overshooting or undershooting your target range. Regular calibration ensures your kiln heats evenly, preserving your glazes’ appearance and strength. Additionally, temperature calibration is vital for ensuring your kiln’s accuracy over time. By understanding the relationship between cone numbers and temperature, you can confidently control your firing process, reduce failures, and produce consistent, high-quality ceramic pieces. Recognizing the temperature range associated with each cone allows for better planning and adjustments during firing.
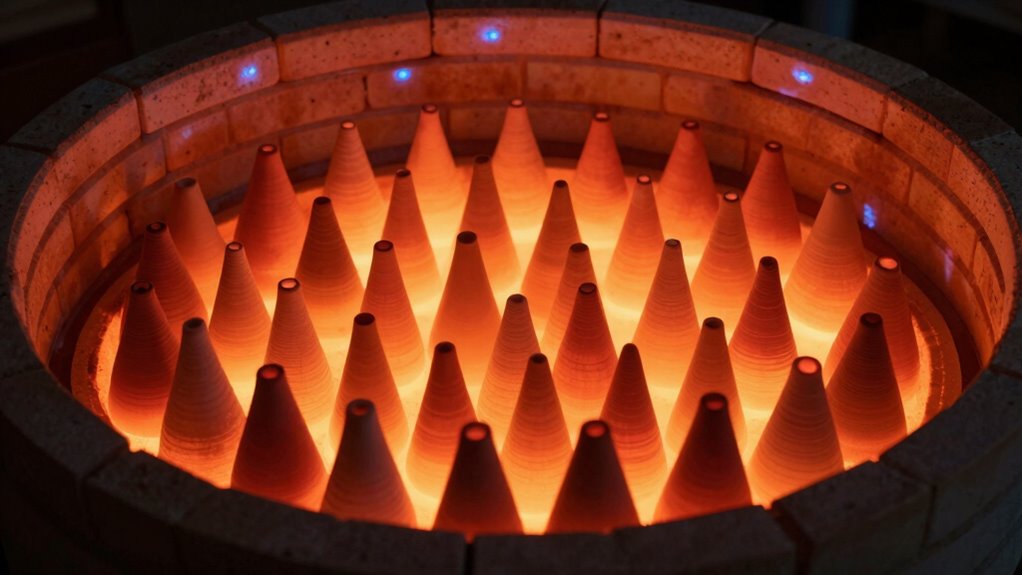
How Cones Indicate Firing Progress
Cones are essential tools that visually demonstrate how far along your kiln’s firing process has progressed. As the temperature rises, the cone begins to soften and bend, signaling that the desired stage—such as glaze melting—is near. When the cone bends just to its marked point, it indicates that the kiln has reached the target temperature, and it’s time to shut down or reduce heat. This visual cue helps you monitor firing progress accurately without constantly opening the kiln, which could compromise kiln safety. By paying attention to the cone’s shape, you ensure your ceramics are fired correctly, preventing over-firing or under-firing. Understanding cone numbers provides a reliable way to interpret these signals and adjust your firing schedule accordingly. Cones provide a simple, reliable way to track progress and achieve consistent results in your firing process. Knowing how to read cone bend is essential for making precise firing decisions and ensuring your pieces turn out just right. Properly interpreting the firing temperature helps prevent damage and ensures quality results, especially when combined with knowledge of pyrometric cones and their specific gradations. Additionally, familiarizing yourself with firing schedules can help you plan and control your kiln’s temperature ramps more effectively.
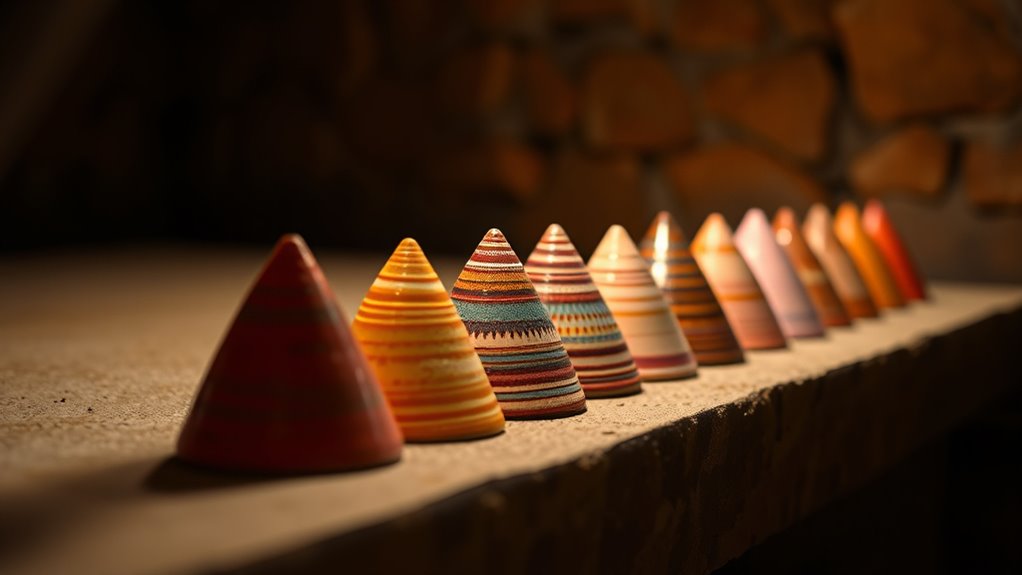
Different Types of Kiln Cones and Their Uses

Understanding the different types of kiln cones is essential for achieving consistent firing results. Cones vary based on composition and purpose, affecting glaze compatibility and kiln insulation. For example, some cones are designed for high-temperature firings, while others suit low-temperature glazes. Here’s a quick overview:
| Cone Type | Temperature Range | Best Use |
|---|---|---|
| Standard | cone 06–10 | General firing, versatile |
| Low Fire | cone 06–04 | Low-temperature glazes, insulation |
| High Fire | cone 04–10 | High-temperature ceramic work |
| Specialty Cones | varies | Specific glaze or material needs |
Choosing the right cone guarantees your kiln’s insulation maintains consistent heat, and your glazes turn out just right.
Reading and Interpreting Cone Fire Charts
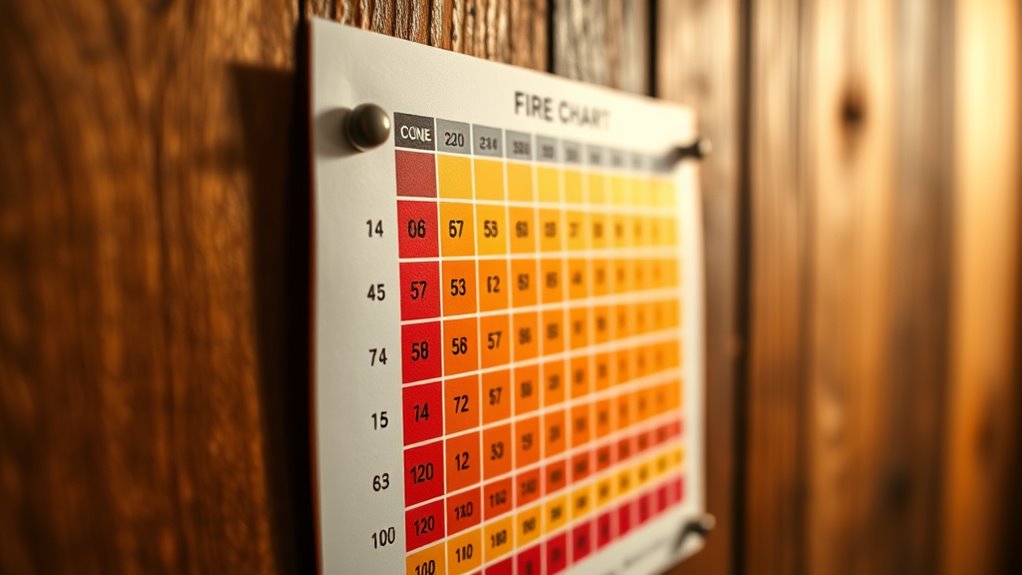
Reading and interpreting cone fire charts is a key step in achieving consistent kiln results. These charts show you the temperature range associated with each cone number, helping you control glaze melting and prevent over-firing. By understanding the chart, you can set your kiln to reach the desired cone, ensuring your glazes melt just right without risking damage or kiln safety issues. Keep in mind that different cones indicate varying degrees of heatwork, so reading the chart accurately guides you in adjusting firing schedules. Proper interpretation helps you avoid under- or over-firing, which can affect glaze appearance and safety. Developing an understanding of passive voice detection can further improve your writing clarity and precision. Additionally, familiarizing yourself with cone numbers and their corresponding temperatures allows for more precise control over your firing process. Recognizing how kiln temperature impacts cone performance can also help you make better firing adjustments. A clear grasp of firebricks and their insulating properties can improve your kiln’s efficiency and safety. Understanding how filtration and pump protection impact your kiln firing can also help maintain consistent results. With practice, you’ll develop confidence in reading the charts, making your firing process more predictable and safe for both your work and your kiln.
Tips for Achieving Consistent Firing Results

To get consistent firing results, you need to keep a close eye on your kiln’s temperature. Make sure you’re using reliable tools to monitor heat levels accurately. Also, stick to steady firing techniques to avoid fluctuations that can affect your pieces.
Proper Temperature Monitoring
Maintaining consistent temperature during firing is essential for achieving reliable results, and accurate monitoring is the key. You need to regularly check your kiln’s temperature to ensure proper glaze melting without over-firing. Use a reliable pyrometer or thermocouple to get precise readings, especially at critical points in the firing cycle. Record temperature data to track changes and identify fluctuations that could affect your results. Proper temperature monitoring also enhances kiln safety by preventing dangerous overheating or damage. Keep an eye on your kiln’s control panel and verify that it’s functioning correctly. Consistent monitoring helps you adjust firing schedules as needed, ensuring your glazes melt properly and your kiln operates safely. Staying vigilant with temperature checks is fundamental to successful, predictable ceramic firing.
Consistent Firing Techniques
Consistent firing results depend on more than just accurate temperature monitoring; it also requires dependable firing techniques. To achieve this, understand how glaze chemistry reacts at specific temperatures—knowing your glazes helps you predict results better. Regular kiln maintenance is essential; clean burners, check thermocouples, and ensure even heating. Use consistent firing schedules, avoiding abrupt changes that can disrupt glaze melting. Record each firing’s details, including cone and temperature, so you can replicate successful results. Properly positioned ware and even spacing promote uniform heat distribution. Developing a routine for kiln preheating and cooling minimizes variables. Additionally, understanding connected equipment and maintaining proper calibration of your kiln’s sensors can significantly improve firing consistency. Incorporating temperature regulation techniques can further help in achieving reliable results. By maintaining your kiln well and understanding glaze chemistry, you set a solid foundation for reliable, repeatable firing outcomes—reducing surprises and boosting confidence.
Common Mistakes When Using Cones

One common mistake when using cones is misplacing them during firing, which can lead to inaccurate temperature readings and uneven heating. If you don’t position cones correctly, you might think your kiln reaches the right temperature when it doesn’t, affecting your glazing techniques and final results. Another mistake is neglecting regular kiln maintenance, such as cleaning and inspecting elements, which can cause inconsistent cone response. Failing to calibrate your kiln properly can also result in misreadings, making it harder to achieve desired finishes. Always ensure cones are placed in the correct area and replace worn parts promptly. Proper kiln maintenance helps cones react accurately, giving you confidence in your firing process and the consistency of your glazed pieces. Additionally, understanding kiln calibration is essential for accurate cone readings and reliable firing results. Regularly checking element performance ensures the kiln heats evenly and responds correctly to temperature changes. Being aware of thermal behavior can further improve firing consistency and outcomes. Moreover, knowing how firing atmospheres influence cone response can help you adapt your techniques for different effects and finishes. Paying attention to atmospheric conditions inside the kiln can also impact your cone reactions and final results.
Simplifying Cone Firing for Beginners

Have you ever felt overwhelmed by the complexity of cone firing? You’re not alone. To simplify, focus on understanding your kiln’s temperature range and matching it with glaze compatibility. Start with low-fire cones if you’re unsure, as they’re easier to control. Regular kiln maintenance guarantees consistent results and prevents surprises during firing. Keep your kiln clean and check elements regularly. Use a reliable temperature controller to monitor cone numbers accurately. Don’t overthink the process—stick to basic firing schedules and record your results. Over time, you’ll recognize how different cones relate to your specific kiln and glazes. Simplifying your approach reduces stress and helps you learn faster. Remember, mastering cone firing is about consistency, understanding your materials, and maintaining your kiln properly.
Frequently Asked Questions
How Do Environmental Factors Affect Cone Firing Accuracy?
Environmental factors like oxidation effects and temperature fluctuations can impact your cone firing accuracy. Oxidation effects alter the kiln atmosphere, changing how glazes and clays mature, which may cause cones to bend at different points. Temperature fluctuations, especially sudden changes, can lead to uneven firing, making cones bend prematurely or too late. To get consistent results, monitor your environment carefully and keep kiln conditions as stable as possible during firing.
Can Cones Be Reused After Firing?
Cones can’t be reused after firing because they melt and deform like ice melting in the sun. Once you’ve used a cone to measure firing temperature, it’s no longer accurate for future tests. When choosing cones, consider glaze compatibility and the firing temperature needed for your project. Reusing cones could lead to misjudging kiln heat, risking damage to your pottery or glaze issues. Always replace cones after each firing for accuracy.
What Safety Precautions Should I Take When Using Cones?
When using cones, you should always wear protective gear like heat-resistant gloves and safety glasses to prevent burns or injuries. Keep a fire extinguisher nearby and verify your kiln is in a well-ventilated area to maintain fire safety. Never leave the kiln unattended while firing, and double-check that all safety protocols are followed before starting. These precautions help you work safely and prevent accidents.
Do Different Clay Bodies Require Different Cone Settings?
Yes, different clay bodies require different cone settings because of their unique clay composition and firing temperature. You should always check the manufacturer’s recommendations for your specific clay, as some may need a higher or lower cone to reach ideal strength and color. Adjusting cone settings ensures proper vitrification and prevents over- or under-firing, helping your pottery turn out just right every time.
How Often Should I Calibrate My Kiln for Precise Cone Firing?
You should calibrate your kiln at least once a year to make certain accurate cone firing. Regular kiln maintenance helps catch any temperature inconsistencies that could affect your firing schedule. If you notice uneven glazes or cracked pottery, recalibrate sooner. Consistent calibration maintains precise cone control, giving you better results every time and preventing over-firing or under-firing. Prioritize calibration as part of your routine kiln maintenance to keep your kiln firing reliably.
Conclusion
Now that you understand cone numbers, firing becomes less intimidating. For example, imagine firing a piece and noticing the cone bending slightly—you’re on track! With practice, you’ll read cones confidently and achieve consistent results. Don’t worry about small mistakes; they’re part of learning. Keep experimenting, stay patient, and soon you’ll master cone firing, creating beautiful, reliably finished ceramics every time.