
TL;DR
A DIY project uses hot glue applied over an upside-down bowl to form a custom decorative bowl. A removable barrier can protect the base and make the dried glue easier to lift off; the finished piece is best suited to light decorative use, not heavy storage.
A DIY guide from Hunker outlines how to make a custom decorative bowl by applying hot glue over an upside-down bowl and removing it after the glue has cooled. The method lets crafters choose the bowl’s pattern and finish, but the guide cautions that the resulting piece is not suited to heavy storage because hot glue is not especially sturdy.

Get business pricing on tools and workshop supplies
- Business-only prices and quantity discounts
- Tax-exempt purchasing
- Multiple users, one account, clear invoices
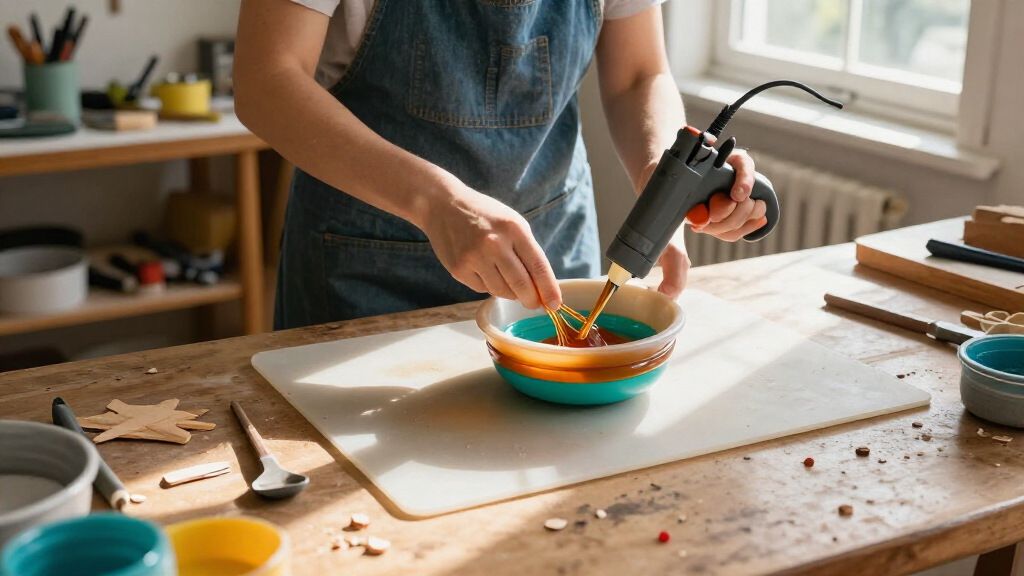
In its instructions, Hunker says the base bowl acts as a mold or form, so it should be close to the size and shape desired for the finished piece. The guide recommends turning it upside down to give the glue gun more room to reach around the sides. Before applying glue, makers can cover the bowl’s exterior with parchment paper, wax paper or petroleum jelly. According to the guide, these barriers can make removal easier and help protect painted or decorated surfaces from being pulled away with the glue.
Hunker’s instructions say that once the glue gun has heated, lines of glue can be applied in a chosen design, from irregular crisscrosses to a spiral or repeated shapes such as circles, flowers or waves. The lines need to touch one another so the dried structure holds together when lifted from the mold. The glue should cool completely before removal. The guide does not give a cooling time, so makers should wait until the glue is fully set rather than relying on a specific number of minutes.
After removal, the guide says the bowl can be painted or decorated. It suggests metallic paint to emphasize the raised lines, white for a lace-like appearance, or black for a more restrained finish. For more precise designs, a pattern can be traced onto parchment or wax paper laid over the bowl, then followed with the glue gun. Hunker also suggests adding artificial flowers or beads, or attaching a handle to make a basket-style decoration.
Can Hot Glue Become A Creative Bowl?
Shape connected hot glue lines over an upside-down bowl to make a custom decorative piece. Its pattern and finish are yours to choose; its use should stay light.
Build Around a Form
The existing bowl sets the new piece’s basic shape and size.
Turn a bowl upside down. Parchment paper, wax paper or petroleum jelly can help with release and protect decorated surfaces.
Apply glue in a chosen pattern, making sure the lines touch so the shape holds together.
Wait until fully set before carefully lifting it off. Paint or decorate the finished bowl.
Choose a Look
The guide suggests several ways to personalize the finished piece.
Make it your own
Try crisscrosses, spirals, circles, flowers or waves. Trace a pattern on paper for more precise designs.
Add color and detail
Metallic paint emphasizes raised lines; white suggests lace. Beads or artificial flowers add decoration.
Keep Use Light
The guide presents the bowl as decoration or light storage, not a durable container.
- Lightweight display
- Decorative storage
- Basket-style decoration with a handle
- Avoid heavy contents, especially on upper tiers
- Food safety, heat resistance and waterproofing are not established
- No tested load limit or durability certification is provided
A Low-Cost Decorative Craft
Hunker presents the project as a way to make a one-off decorative object using a household bowl as a form and a hot glue gun as the shaping material. Because the maker controls the glue pattern, the result can be adapted to a room’s colors or to supplies already on hand. The technique also provides a simple entry point for experimenting with pattern and paint without needing a specialized mold.
The guide’s cautions highlight the project’s limits as well as its design options. It describes hot glue as less sturdy than stronger bowl materials and advises against using it to hold heavy items, particularly in a tiered storage arrangement. Hunker presents the craft as decoration and light storage, not as a replacement for a durable serving bowl or a load-bearing container.
Popular right now

Dyson Airwrap i.d. Multi-Styler

Bose QuietComfort Wireless Noise-Cancelling Headphones, Sandstone

Vitamix Nano Personal Blender with SmoothiePilot Technology, Black
As an affiliate, we earn on qualifying purchases.
The Bowl Works as a Mold
As described in Hunker’s guide, the method relies on an existing bowl to establish the new piece’s basic profile. Turning the base over makes its exterior available for the glue pattern and can be easier to work around than applying glue inside the bowl. The guide says a barrier layer is optional, but can reduce the chance that glue will stick to the base or damage a painted finish during removal.
Hunker also suggests using a hot glue bowl as part of a larger craft, including a tiered countertop display made with thrifted candlesticks. The guide notes a weight limitation: the glue bowl may not support heavy contents on upper tiers. It does not provide tested load limits or claim that the finished bowl is food-safe or washable.
Use and Durability Limits
Hunker’s instructions do not specify a glue type, the amount of glue required, a cooling time, or a tested measure of durability. The guide also does not say that the finished bowl is food-safe, heat-resistant or waterproof. Since those properties are not established, the bowl should be treated as decorative unless its suitability for a particular use is independently confirmed.
Removal may also depend on the base bowl’s material and surface. The guide recommends barriers to ease release and protect finishes, but does not offer a guaranteed removal method for every bowl. Hot glue guns and freshly dispensed glue can cause burns, so careful handling is needed while making the craft.
Making and Finishing the Bowl
For anyone following Hunker’s project, the next step is to select a base bowl, decide on a pattern and prepare a removable barrier if needed. Apply connected glue lines, allow them to cool fully, and lift the form off carefully. The guide suggests painting or decorating the finished piece and limiting its use to lightweight display or storage.
Before using the bowl for anything beyond decoration, makers would need reliable information about its safety and durability; Hunker provides no testing or certification. The guide also cautions that heavier objects should be kept off hot-glue bowls in a tiered display, especially on upper levels.
Key Questions
What materials are needed to make a hot glue bowl?
Hunker’s guide lists a hot glue gun and a bowl to use as a form as the basic materials. Parchment paper, wax paper or petroleum jelly are optional barriers that the guide says can make removal easier and protect the bowl’s surface.
Why should the bowl be turned upside down?
According to Hunker’s instructions, applying glue to the outside of an inverted bowl gives more room to work around its sides. The guide says working inside the bowl may be harder, and paper barriers can be difficult to lay flat inside it.
How do you keep the dried glue bowl in one piece?
Hunker advises making sure the glue lines or pattern connect with one another rather than leaving separate sections. The guide also says to let the glue cool completely before sliding the finished shape off the base.
Can a hot glue bowl hold heavy items?
Hunker says hot glue is not the sturdiest material and advises against relying on it for heavy storage. The guide does not give a weight rating or recommend the bowls for serving food.
Can the finished bowl be painted?
Yes. Hunker’s guide suggests painting the bowl after removal, including metallic, white or black finishes, and says beads or artificial flowers can also be added.
Source: hunker.com