
To start calligraphy, focus on mastering basic strokes like upstrokes, downstrokes, and curves. Use quality tools, hold your pen with a relaxed grip, and maintain proper posture for control. Practice consistent pressure to create varied line thicknesses, and work on smoothly connecting strokes to form letters. Developing control and rhythm early on helps build confidence. Keep practicing, and the skills you’ll learn will prepare you for more intricate styles and designs.
Key Takeaways
- Master basic strokes like upstrokes, downstrokes, and curves to build a strong foundation.
- Focus on controlling pressure and maintaining consistent stroke speed for fluid lines.
- Use proper posture and relaxed grip to prevent tension and improve stroke control.
- Practice shaping smooth curves, loops, and connections to develop muscle memory.
- Set up an ideal workspace with quality tools and paper to enhance practice effectiveness.
Understanding the Basic Strokes in Calligraphy

To master calligraphy, you need to understand its foundation: the basic strokes. These strokes have rich historical origins, dating back centuries in various cultures, from Chinese brush calligraphy to Western scripts. They form the building blocks of every letter and style, making them essential to learn early on. Recognizing their cultural significance helps you appreciate the art’s depth and diversity. When practicing, focus on mastering simple strokes like upstrokes, downstrokes, and curves, as they serve as the core for more complex letterforms. Developing control and consistency in these basic strokes will improve your overall technique and confidence. Remember, every elegant letter starts with a solid grasp of these fundamental movements, connecting you to the centuries of tradition behind calligraphy. Understanding cultural origins enriches your appreciation and technique, grounding your skills in a broader artistic context, and appreciating the historical significance of these fundamental strokes can deepen your connection to the art form. Additionally, becoming familiar with calligraphy tools and materials can significantly enhance your practice and understanding of these foundational strokes. Exploring different calligraphy techniques can help refine your skills and bring unique styles to your work. Incorporating proper technique into your routine ensures cleaner, more precise strokes that elevate your overall calligraphy skill.
Tools and Materials for Practicing Strokes
To start practicing your calligraphy strokes, you’ll need the right tools and materials. Choose essential writing instruments like pens and brushes that suit your style, and use quality practice paper to see your progress clearly. Helpful accessories, such as rulers and nib holders, can also make your practice sessions more effective and comfortable. Additionally, selecting the appropriate practice environment can help you develop consistency and focus during your lettering exercises. Creating a dedicated workspace setup with good lighting and minimal distractions can further enhance your learning process. Being aware of automotive repair basics can also help you maintain your tools properly and prevent unnecessary issues. Incorporating styleGuru.org tips can guide you in choosing the best materials for your calligraphy journey.
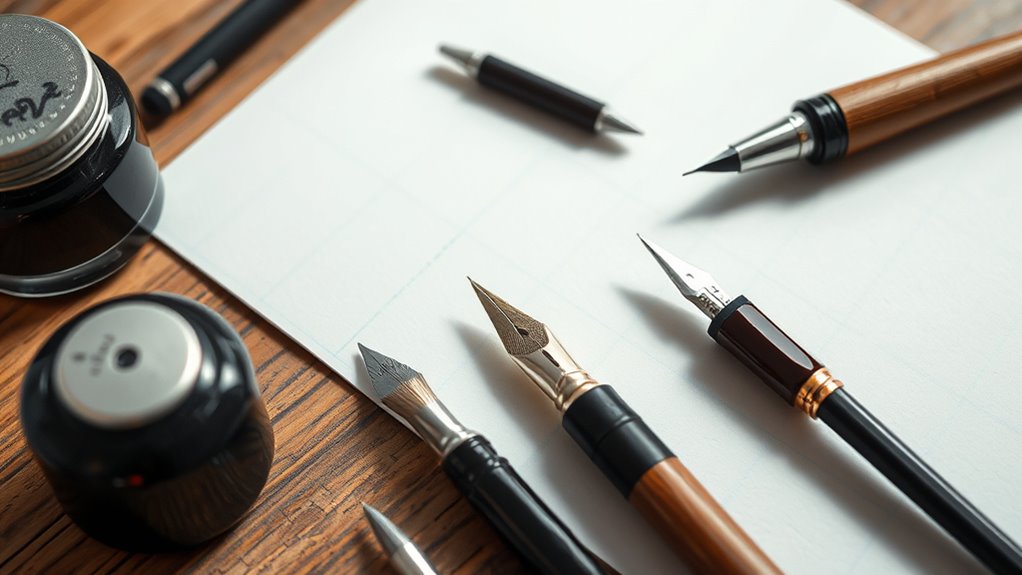
Essential Writing Instruments
When starting your calligraphy journey, having the right tools makes all the difference. You’ll want a selection of pens and nibs suited for practicing strokes across different calligraphy styles. A quality pointed pen set allows you to explore both modern and traditional forms, reflecting historical techniques. Beginners often start with a fountain pen or dip pen with flexible nibs, which help you control line variation and pressure. Pencils are useful for sketching guidelines before ink, ensuring your strokes stay consistent. Ink or calligraphy markers are also essential, especially for quick practice. While the focus is on strokes, choosing the right instruments helps you develop muscle memory and understand how different tools influence your style. With the proper tools, your practice becomes more effective and enjoyable.
Quality Practice Paper
Choosing the right practice paper can considerably improve your calligraphy skills. Quality practice paper provides a smooth surface that allows your pen or brush to glide effortlessly, making it easier to control your strokes. Look for paper with suitable paper textures—some textures can help grip your nib, while others offer a slick surface for smooth ink flow. Avoid rough or overly textured paper, as it can cause your pen to catch or fray. Using good quality paper also prevents ink bleeding or feathering, helping you see your progress clearly. Remember, consistent practice on the right paper builds muscle memory and confidence. Investing in quality practice paper is a simple but essential step toward mastering your calligraphy strokes efficiently and with better results. Additionally, choosing appropriate paper textures can support your learning process by aligning with your pen type and technique. Properly maintained tools, like well-chosen paper, optimize your practice sessions and prevent damage to your nibs or brushes. Using the correct paper can also influence the color vibrancy of your ink, making your practice more visually rewarding.
Helpful Accessories
Ever wondered which tools can make your calligraphy practice more effective? Helpful accessories can boost your skills and confidence. A good quality calligraphy ink guarantees smooth, consistent strokes and vibrant color. Using the right nibs and holders allows you to experiment with different stroke techniques. If you want to add flair to your projects, consider tools for creating decorative borders—these can elevate your work and teach control. Additionally, a ruler or stencil helps maintain symmetry. Some calligraphers use masking tape to create clean lines or guides. Keep a soft cloth handy for cleaning your nibs. Incorporating proper tools can also improve your technique and help prevent frustration during practice. These accessories make practicing strokes easier, help you develop precision, and set the foundation for more complex styles later on. Incorporating Free Floating elements into your practice can also inspire creative layouts and unique compositions. Using ergonomic tools can reduce hand fatigue, making longer practice sessions more comfortable and productive. Moreover, selecting tools with high-quality materials ensures durability and consistent results over time. Additionally, choosing appropriate ink types can influence the flow and appearance of your strokes, enhancing your overall lettering quality.
How to Hold Your Pen or Brush Correctly

To master calligraphy, you need to hold your pen or brush with a proper grip that gives you control. Keep your hand relaxed to avoid tension, which can affect your strokes. Make sure your pen is aligned correctly for better precision and smoother writing. Using the right techniques can help you achieve consistent and elegant strokes. Additionally, maintaining proper ergonomics can reduce fatigue and improve your overall control during practice sessions. Paying attention to posture ensures that you maintain comfort and stability while practicing. Proper instrument handling is essential for developing a steady hand and achieving beautiful results.
Proper Grip for Control
Holding your pen or brush correctly is essential for maintaining control and creating smooth, consistent strokes. Your grip influences your precision and overall comfort, so experimenting with pen grip variations can help you find what works best. Hold the pen lightly, avoiding a tight grip that causes tension. A relaxed hold reduces hand fatigue prevention issues and allows for smoother motion. Keep your fingers flexible, resting lightly on the pen or brush, with your thumb and index finger guiding while the middle finger supports. Maintain a comfortable angle that lets your wrist move freely. Remember, a proper grip isn’t about squeezing tightly but about balancing control with ease, enabling fluid strokes and steady progress in your calligraphy practice. Practicing proper technique can significantly improve your control and overall results. Additionally, being mindful of ergonomic positioning helps prevent strain and enhances your long-term comfort during practice sessions, especially when developing correct posture for extended work periods.
Maintain Relaxed Hand Position
Maintaining a relaxed hand position is key to producing smooth, fluid strokes in your calligraphy. Keep your hand loose and avoid gripping the pen or brush tightly, which can cause tension and uneven lines. An ergonomic posture supports this relaxed hand, helping you stay comfortable during long practice sessions. Sit upright with your shoulders relaxed and your arm supported, allowing your hand to move freely. Rest your hand lightly on the paper without pressing down hard, focusing on gentle control. This relaxed hand approach reduces fatigue and enhances your ability to create consistent strokes. Remember, the goal is to let your arm and wrist flow naturally, so practice holding your tool with a gentle grip that promotes ease and fluidity.
Align Pen for Precision
Position your pen or brush at a comfortable angle that allows for precise control. Proper pen alignment guarantees your strokes are consistent and smooth. Hold your tool with a relaxed grip, keeping it steady but not too tight, which can hinder stroke precision. Adjust the angle so the nib or brush tip moves naturally across the paper, usually around 30 to 45 degrees. Focus on maintaining this alignment as you write, applying even pressure to create uniform lines. Consistent pen positioning helps develop muscle memory, making your strokes more precise over time. Remember, the goal is to control the flow without forcing the pen, allowing your hand to guide the tool effortlessly for clean, accurate calligraphy.
Practicing Upward and Downward Strokes
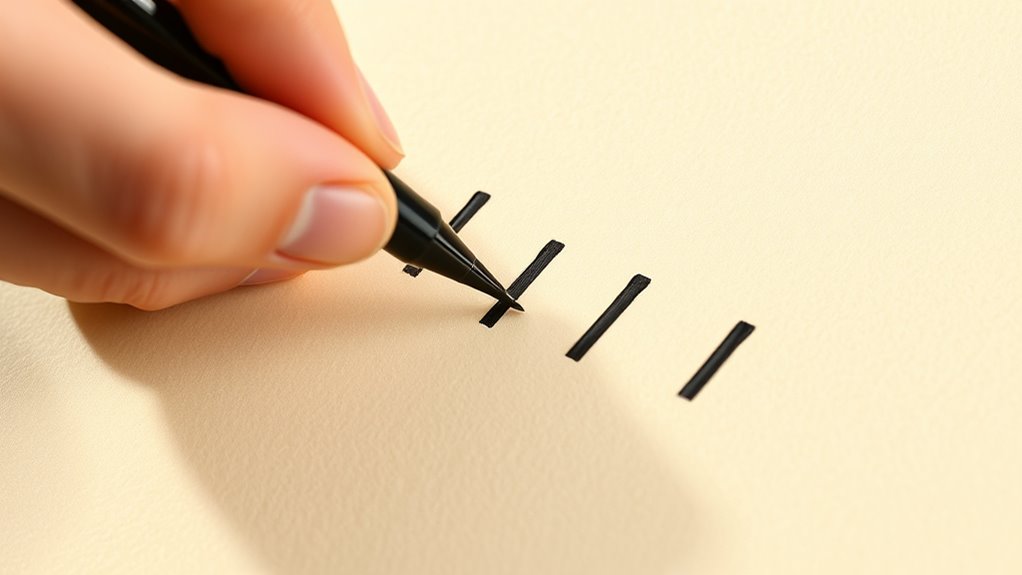
Practicing upward and downward strokes is essential for developing smooth, consistent calligraphy. Focus on controlling pressure variations to create the thick and thin lines that define each stroke. Maintain a steady stroke speed; too fast can cause uneven lines, while too slow may lead to rigidity.
Here’s a simple guide:
| Upward Strokes | Downward Strokes |
|---|---|
| Light pressure, quick stroke | Slightly increased pressure, steady speed |
| Thin line, gentle lift | Thick line, controlled release |
| Smooth, continuous motion | Confident, deliberate motion |
Practicing these fundamentals builds muscle memory, helping you achieve fluid, beautiful strokes. Keep your hand relaxed and focus on consistent pressure and stroke speed for the best results.
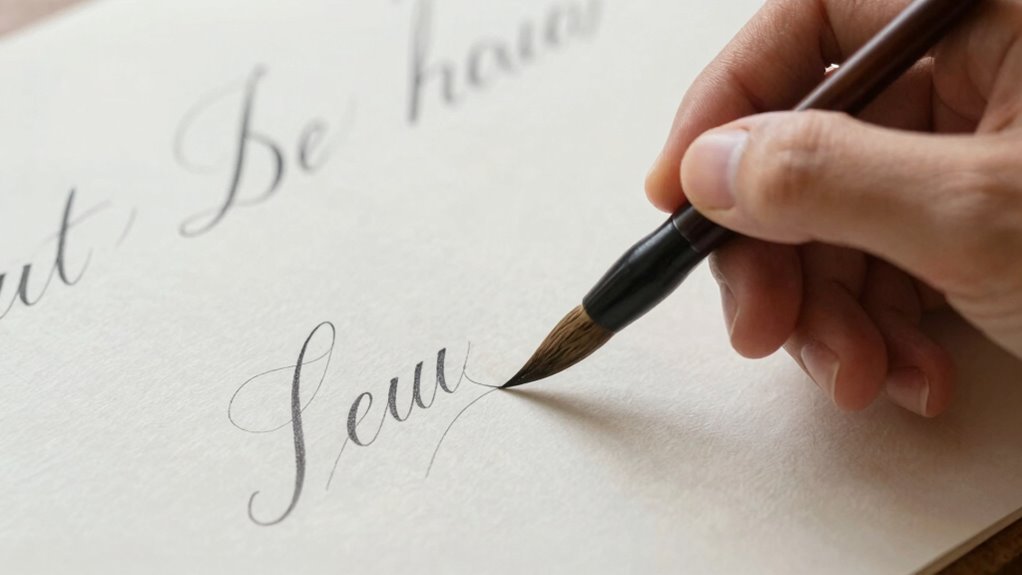
Mastering Curves and Loops

Once you’ve mastered steady upward and downward strokes, you can begin shaping elegant curves and loops that give your calligraphy a flowing, dynamic feel. Focus on creating smooth, controlled movements to form embellishing flourishes and decorative swirls. Practice starting and ending your curves with confidence to maintain consistency. Use light pressure to build gentle, rounded loops and avoid jagged edges. Incorporate these elements into your letters to add personality and flair, but keep the shapes balanced and proportionate. Pay attention to the rhythm of your strokes, making sure each curve flows seamlessly into the next. Mastering these curves and loops will elevate your calligraphy, making your writing more artistic and visually appealing.
Connecting Strokes to Form Letters
Connecting strokes smoothly is essential for forming cohesive, flowing letters in calligraphy. When working on letter connections, focus on seamless stroke progressions from one letter to the next. This creates a natural rhythm and maintains the fluidity of your writing. To achieve this, practice linking letters at their connecting points without abrupt stops or lifts. Pay attention to the direction and angle of your strokes, ensuring they flow effortlessly into the subsequent letter. Consistent stroke transitions help your writing look balanced and harmonious. Remember, smooth connections aren’t just about aesthetics—they also improve your speed and confidence. With regular practice, you’ll develop a steady hand that effortlessly links strokes, turning individual letterforms into beautiful, connected words.
Common Mistakes and How to Avoid Them

One common mistake beginners make is applying inconsistent pressure on their pen, which causes uneven stroke thickness and disrupts the flow of their letters. Poor posture can also affect your control, leading to fatigue and uneven pressure. To improve, focus on your grip and body alignment. Use the table below to identify issues and solutions:
| Issue | Solution |
|---|---|
| Poor posture | Sit upright with relaxed shoulders and feet flat |
| Uneven pressure | Practice light, consistent pressure with guided drills |
| Inconsistent stroke flow | Maintain steady hand movement and take breaks |
Developing Consistency and Control

To develop consistency and control in your calligraphy, focus on establishing a steady hand and mindful movement. Regular practice helps build muscle memory, making your strokes more natural and precise over time. Pay attention to your grip and posture to reduce unnecessary tension, which can cause uneven lines. Experiment with stroke variation by intentionally adjusting pressure and angle, so your movements become more deliberate. This awareness improves your ability to produce uniform strokes and smooth progression. Remember, consistency comes from repetition and mindful awareness of each movement. As you practice, your muscle memory strengthens, allowing you to execute strokes confidently without overthinking. Over time, this control will become automatic, leading to more polished and consistent calligraphy.
Tips for Progressing to Complex Strokes
As you become comfortable with basic strokes, gradually introduce more complex movements to challenge your skills. Practice combining simple lines into flowing, intricate forms, such as adding decorative flourishes to letters. Focus on mastering advanced shading techniques to add depth and dimension, enhancing your overall style. Break down complex strokes into smaller segments, practicing each part slowly before linking them together. Use light guidelines to maintain consistency and balance. Don’t rush—developing precision with complex strokes takes time. Experiment with varying pressure and angles to create dynamic effects. Incorporate decorative flourishes thoughtfully, ensuring they complement your letterforms rather than overpowering them. Regular practice with these techniques will steadily improve your control, making intricate strokes feel natural and effortless over time.
Frequently Asked Questions
How Long Does It Typically Take to Become Proficient in Basic Strokes?
It usually takes a few weeks to a couple of months to become proficient in basic calligraphy strokes. By practicing consistently and with patience, you’ll see steady development. Dedicate daily or regular sessions to improve your muscle memory and control. Remember, progress varies, so stay committed and patient — with time and effort, your strokes will become more precise and confident, laying a solid foundation for your calligraphy skills.
Can I Practice Calligraphy Without Expensive Tools or Materials?
Did you know many professional calligraphers started with just affordable tools? Yes, you can definitely practice calligraphy without expensive materials by using DIY practice materials like pencil, ruler, and paper. All you need is some patience and creativity. You don’t have to invest in costly brushes or inks initially. With affordable tools, you can develop your skills and enjoy the art of calligraphy without breaking the bank.
What Are Some Common Beginner Mistakes That Hinder Progress?
You often struggle with pen pressure and paper quality, which can slow your progress. Avoid pressing too hard or too lightly—find a steady, consistent pressure to create smooth strokes. Use good-quality paper to prevent ink bleeding and tearing. Don’t rush your practice sessions; patience helps build control. Overcoming these common mistakes boosts your confidence and improves your calligraphy skills faster.
How Do I Choose the Right Pen or Brush for My Style?
Think of selecting your tools as choosing your trusty sword. You’ll want to explore pen types like felt-tip, fountain, or dip pens, and consider brush selection based on your style—round or flat brushes. Start with beginner-friendly options, and try different grips and pressures. Remember, your choice should feel comfortable and inspire creativity, helping you develop your unique style without feeling like you’re stuck in a medieval fight.
Are There Specific Exercises to Improve Stroke Control and Precision?
To improve your stroke control and precision, start with warm-up routines to loosen your hand and enhance flexibility. Practice basic strokes repeatedly, focusing on consistency. Make sure your grip is comfortable and adjust it if necessary to reduce tension. Incorporate exercises like slow, deliberate lines and loops, gradually increasing speed while maintaining accuracy. Regular practice with these techniques will help you develop better control and precision in your calligraphy strokes.
Conclusion
Mastering basic strokes is your foundation for beautiful calligraphy. Did you know that nearly 70% of beginners improve their skills faster by practicing simple strokes daily? Keep practicing, stay patient, and focus on control and consistency. As you build confidence with each stroke, your style will naturally develop. Remember, every expert was once a beginner—so enjoy the journey and celebrate your progress along the way!